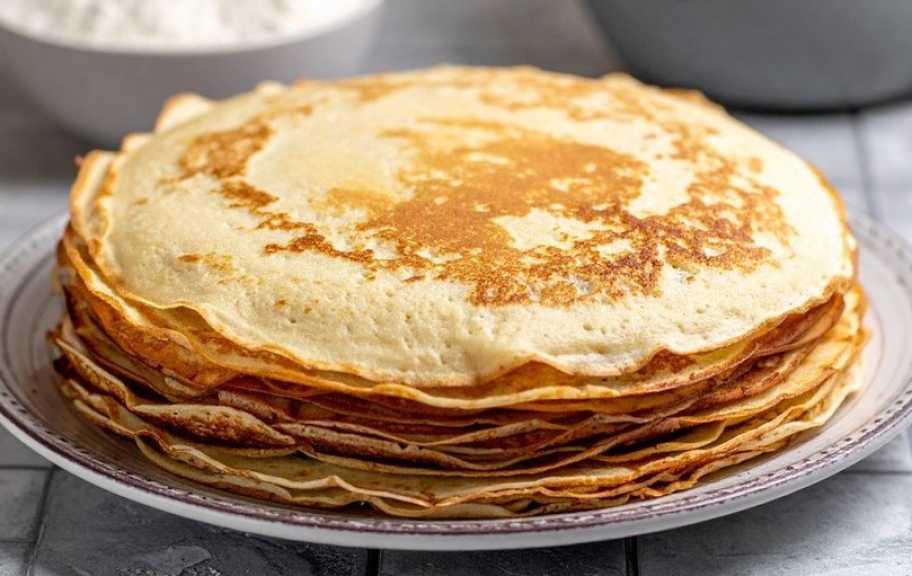
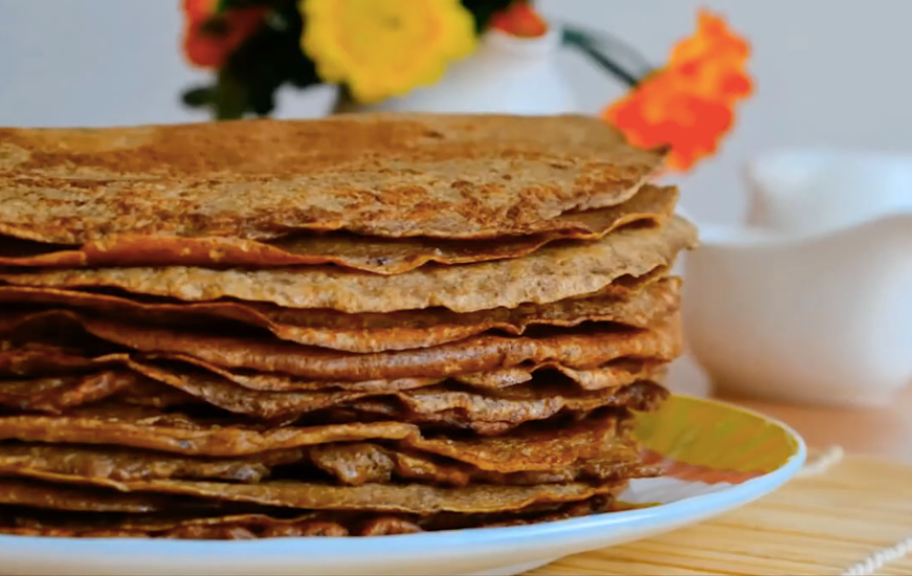
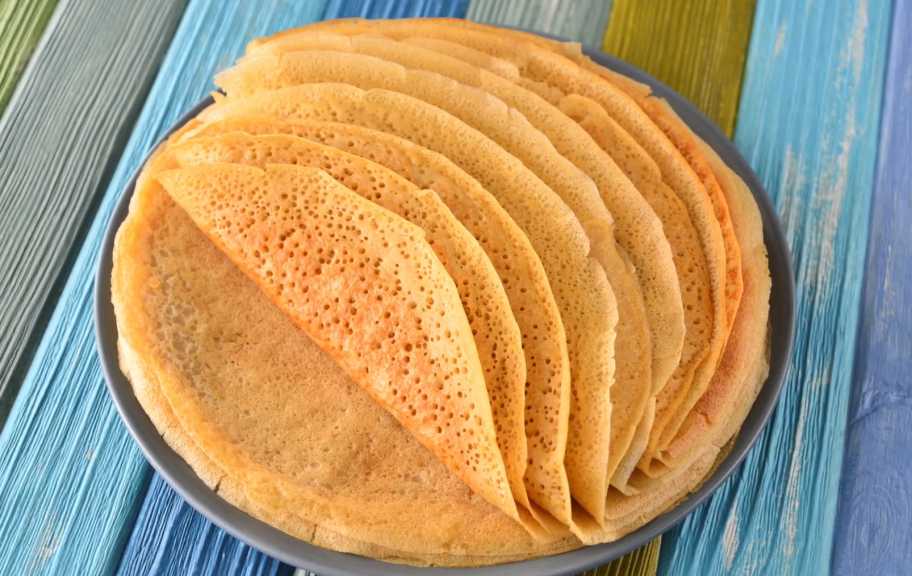
Thin kefir pancakes with holes
Origin of the recipe
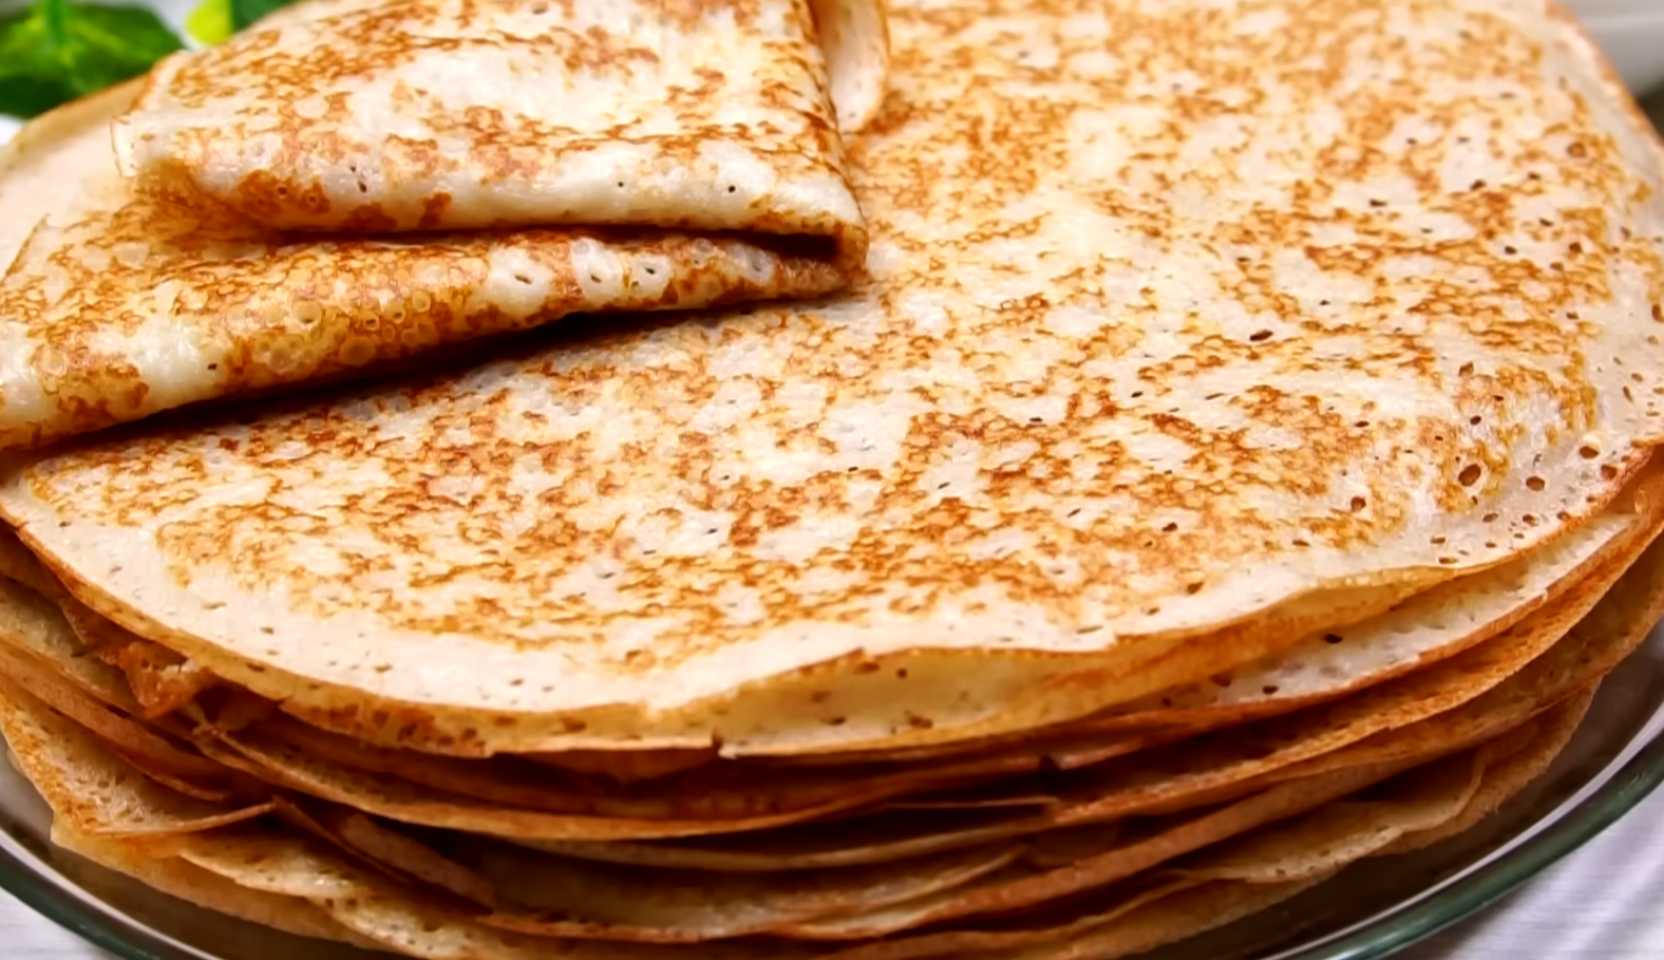
Thin, holey kefir pancakes are a beloved classic of Russian home cooking. They were made back in Soviet times, when kefir was an affordable and everyday staple. The acidity of kefir, combined with baking soda or baking powder, creates a characteristic porous texture—hence the "holes," which make the pancakes especially airy and light. These pancakes were baked for breakfast and during Maslenitsa, served with sour cream, honey, jam, or cottage cheese. Today, this recipe remains one of the most popular due to its simplicity, quick preparation, and versatility—these pancakes are equally delicious with both sweet and savory preparations.
What do you need for cooking?
Ingredients
-
Kefir
-
Water (boiling water)
-
Eggs
-
Sugar
-
Soda
-
Salt
-
Flour
-
Vegetable oil
Kitchen utensils
- Pot
- Whisk
- shoulder blade
- Sieve
- deep bowl
- Non-stick frying pan
Step-by-step recipe:
Step 1:
 Pour kefir and baking soda into a bowl. Mix until smooth.
Step 2:
 Break eggs into a bowl, add salt and sugar and mix thoroughly until smooth.
Step 3:
 Gradually add the flour, sifting it through a sieve to avoid lumps. Whisk until smooth.
Step 4:
 Pour boiling water into the pan and stir.
Step 5:
 Add vegetable oil and mix well again – the dough should be liquid, like sour cream.
Step 6:
 Heat a dry frying pan over medium heat. Pour a portion of the batter into the pan, spreading it evenly, tilting the pan slightly.
Step 7:
 Fry the pancake until the surface is bubbly and matte.
Step 8:
 Carefully flip the pancake with a spatula and fry the other side until golden brown.
Step 9:
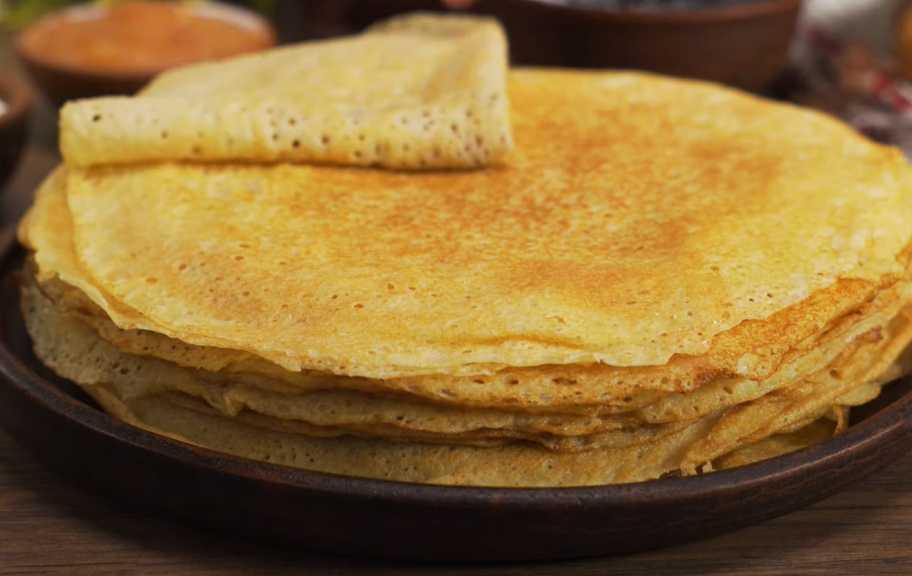
 Place the finished pancake on a plate, covering it with a towel to keep it soft.
Step 10:
 Repeat steps 6-9 until all the dough is used up.
Step 11:
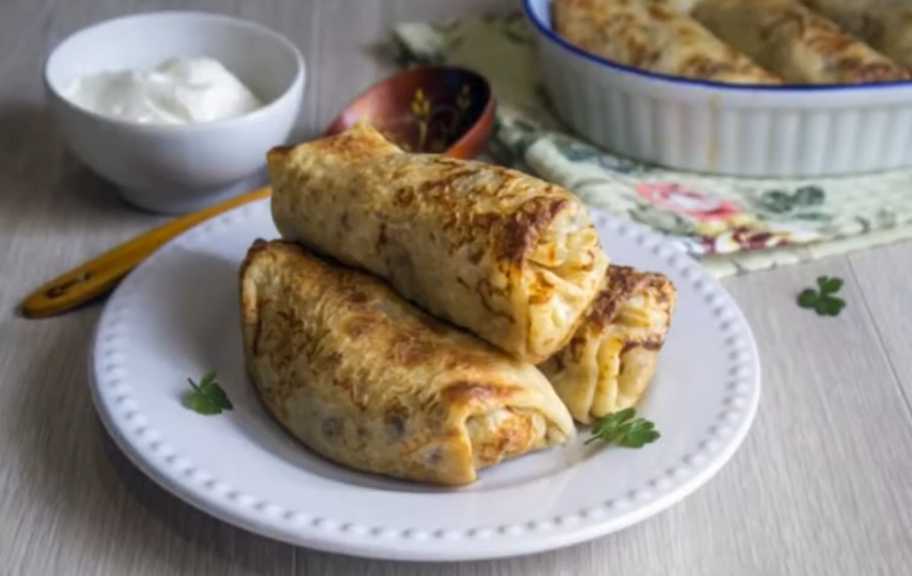
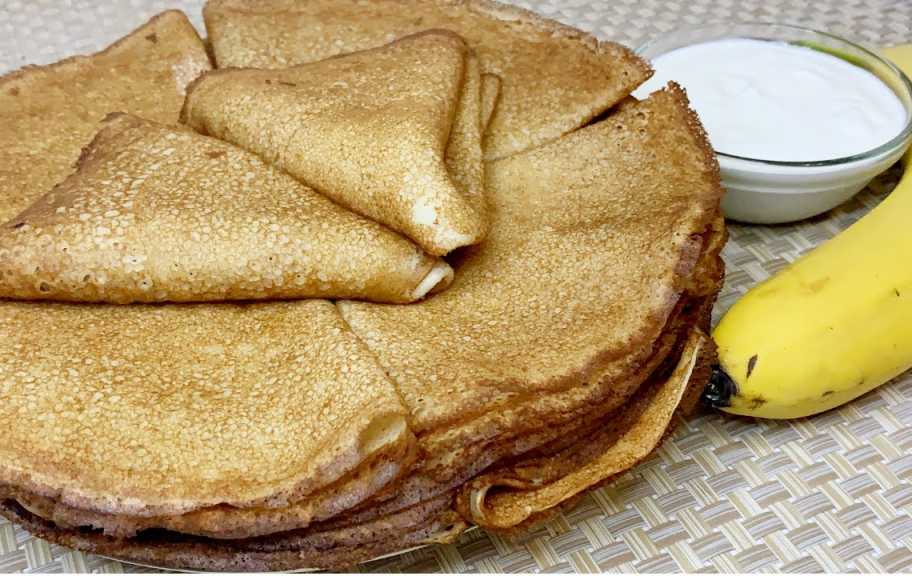
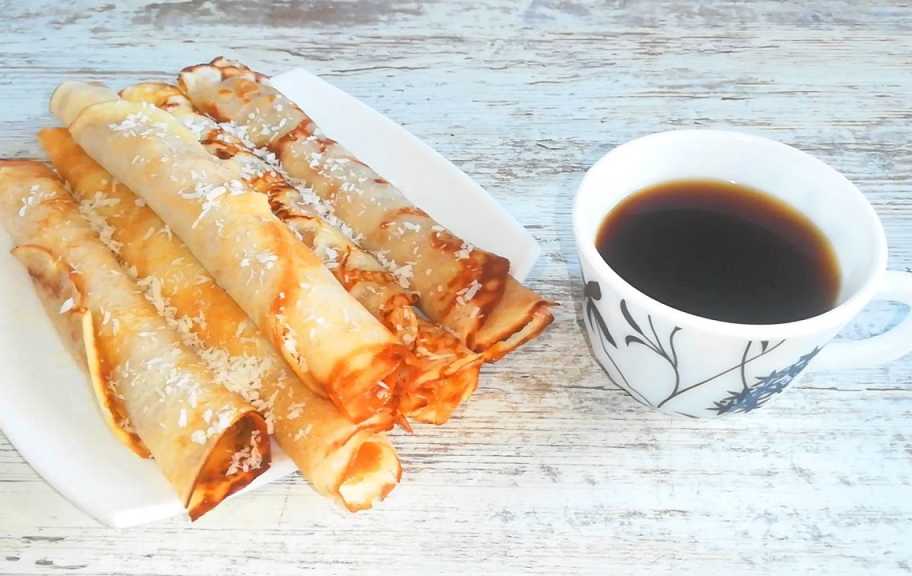
 Serve the pancakes warm with sour cream, jam or any other filling of your choice.
Cooking tips:
For maximum fluffiness, use fresh kefir—it reacts better to heat and gives the desired consistency.
Prepare the pan in advance. Before you begin frying, heat a clean and dry pan thoroughly. This will prevent the first pancake from sticking.
Use a non-stick coating. For beginners and for guaranteed success, choose a frying pan with a high-quality non-stick coating. This will make flipping much easier.
Grease the pan with oil. Even if you have a non-stick pan, lightly grease it with vegetable oil using a silicone brush or paper towel before each pancake. This will ensure a golden crust and prevent burning.
Don't overheat the pan. Too much heat will cause the pancake to burn on the outside and remain raw on the inside. Medium heat is ideal.
Spread the batter evenly. After pouring a portion of the batter, immediately tilt and rotate the pan to ensure the batter spreads in a thin and even layer over the entire surface.
Wait for bubbles. Don't rush to flip the pancake. Wait until numerous small bubbles appear on the surface and the edges become light and dry. This is a sign that the bottom side is ready.