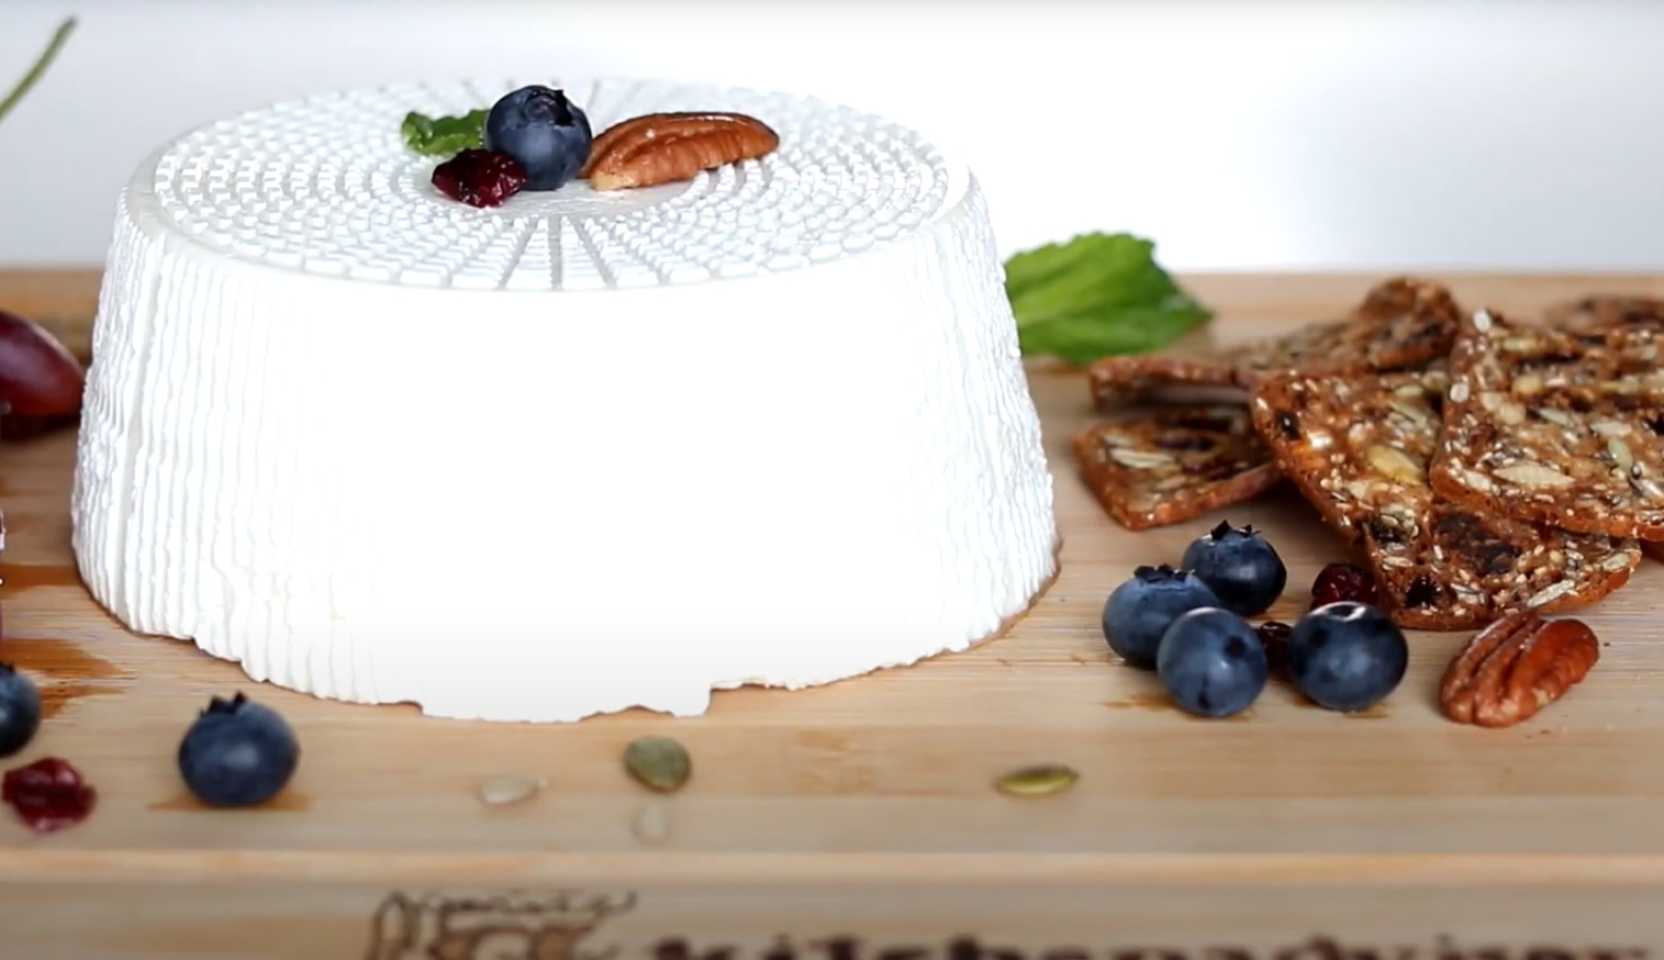
Homemade ricotta cheese
Origin of the recipe
Ricotta means "re-boiled" in translation, as it was often made from the whey left over from other cheeses. However, it can also be made from scratch—it's not easy, but very simple, as long as you maintain the right temperature. This delicate and low-fat curd cheese is included in many traditional Italian dishes.
What do you need for cooking?
Ingredients
-
Milk
-
Citric acid
-
Salt without iodine
Kitchen utensils
- Pot
- Skimmer
- Colander
- Cooking thermometer
Step-by-step recipe
Step 1:
 Dissolve 2 teaspoons of citric acid in a glass of cold water.
Step 2:
 and let it sit for a while.") Pour half of the solution into a five-liter stainless steel pan (aluminum is not suitable) and let it sit for a while.
Pour half of the solution into a five-liter stainless steel pan (aluminum is not suitable) and let it sit for a while.
Step 3:
 Pour in milk and stir quickly for 5-10 seconds.
Step 4:
 Add one and a half tablespoons of salt.
Step 5:
 Heat over low heat, stirring to prevent the milk from burning.
Step 6:
 Use a thermometer to monitor the temperature. At 75-77 degrees, small flakes should begin to form. If not, add another tablespoon of acid solution, stirring slowly.
Step 7:
 Heat the milk to 88-90 degrees Celsius and remove from heat. Gather the rising curd mixture from the edges to the center, cover the pan with a lid, and let it sit for 10-15 minutes.
Step 8:
 Using a slotted spoon, carefully transfer the curd mixture into a cheesecloth-lined colander or a cheesecloth-lined cheese mold. If the curds are small, you can also line the mold with cheesecloth.
Step 9:
 Let the whey drain for a few hours, then cool the finished cheese in the refrigerator.
Cooking tips
If possible, use whole milk and not ultra-pasteurized. A little cream can be added to low-fat milk.
Salt for cheese should be of the "extra" grade and must be non-iodized, so that the iodine does not react.
If you are using a colander instead of a lattice mold for self-pressing cheeses, you should line it with four layers of cheesecloth and, after the whey has drained, use it to form the cheese wheel.
To help the whey drain faster, you can place a small weight on top.
Don't throw away the whey - you can use it for baking or try to extract some more cheese from it by repeating the curdling process.
4 liters of milk produces approximately 500 grams of cheese.