Bento cake
Origin of the recipe
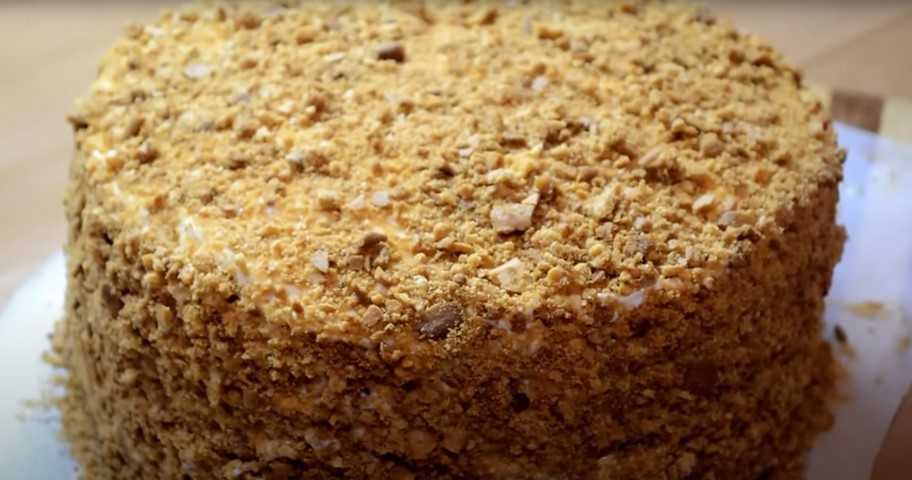
The bento cake originated in Korea, although the word "bento" is Japanese. It refers to a small portion of food conveniently packed into a box. Bento cakes are truly miniature, easily eaten by a single person. They are often used as personal gifts, with a personalized message or fun decoration. Treat friends or family with mini cakes, decorated to your taste and imagination.
What do you need for cooking?
Ingredients
Sponge cake
-
Eggs
-
Sugar
-
Flour
-
Vanillin
Raspberry layer
-
Raspberry
-
Sugar
-
Cornstarch
Cream for layering and covering
-
Cream cheese
-
Powdered sugar
Kitchen utensils
- Bowls
- Pot
- Mixer
- shoulder blade
- Pastry bag
- Spatula
- Nozzles
Bento cake is an exquisite dessert that captivates with its miniature size and incredibly delicate flavor. Making it at home is easier than you think: just follow the step-by-step recipes and use high-quality ingredients. Create your own unique bento cake with airy cream and beautiful decoration to surprise your guests or treat yourself to a delicious and beautiful treat!
Step-by-step recipe
Step 1:
 Place 5 eggs in a bowl and beat with a mixer for about a minute.
Step 2:
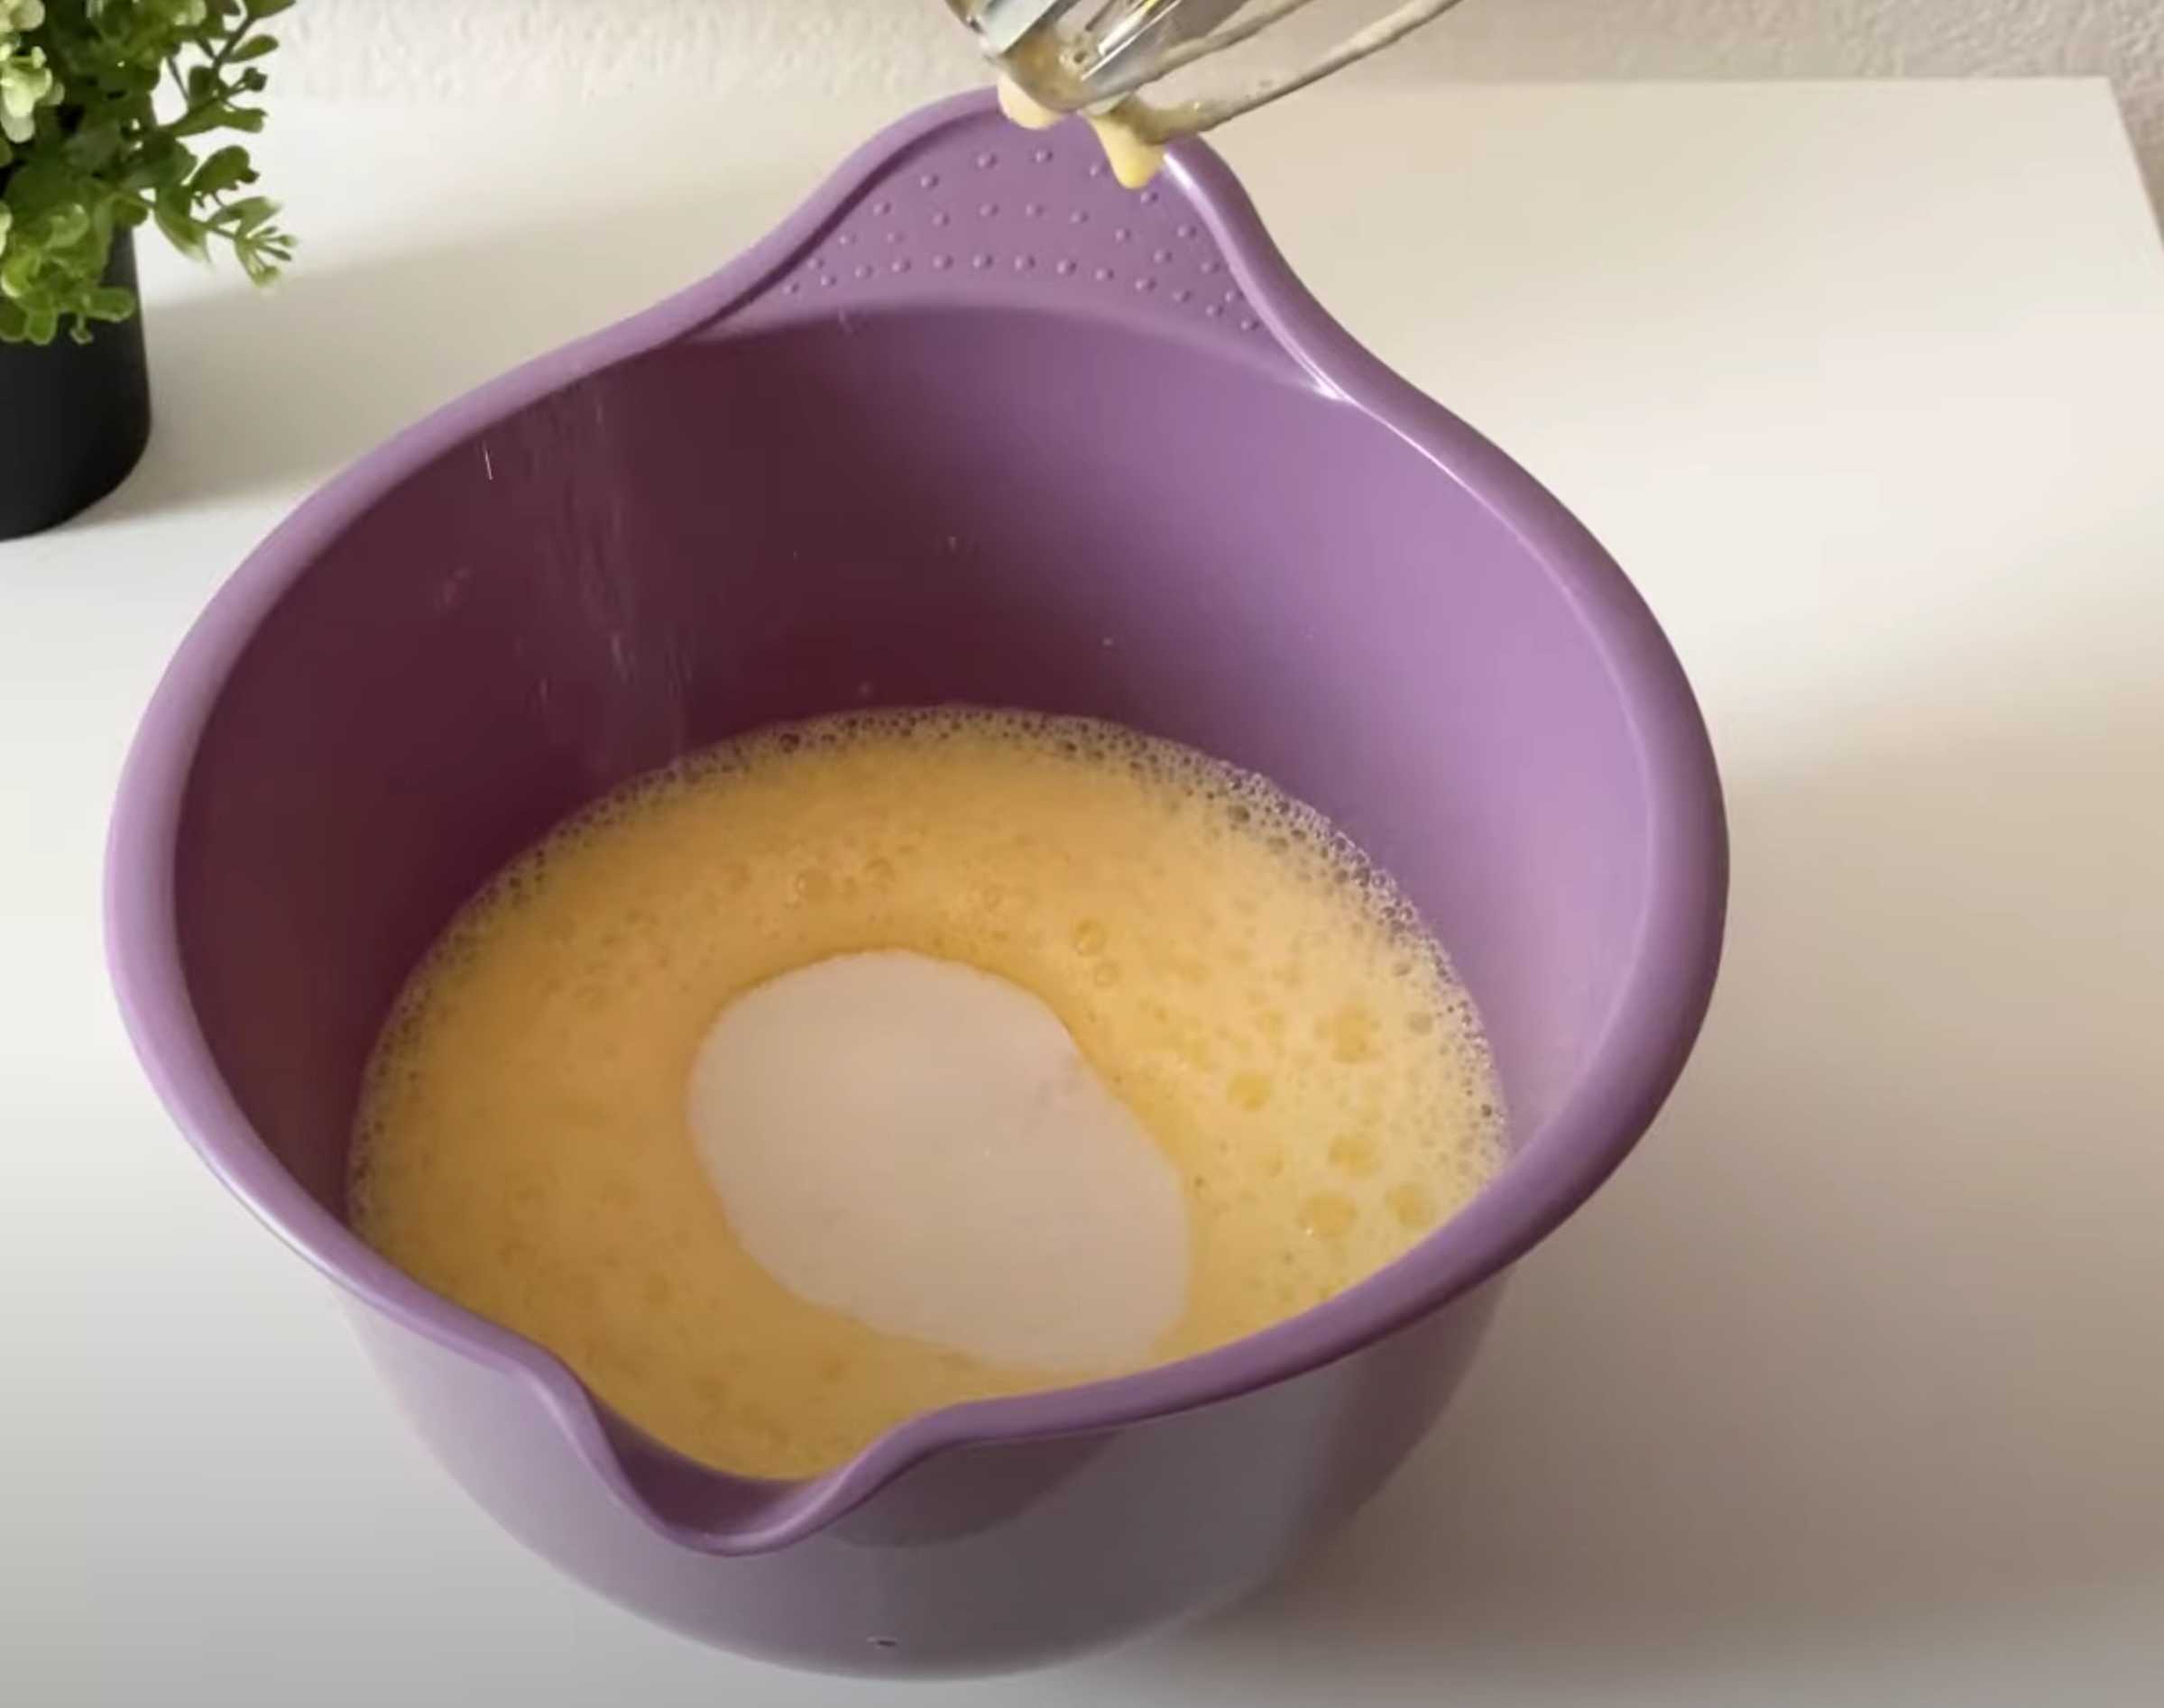 Add sugar and vanilla and beat for 3-4 minutes.
Step 3:
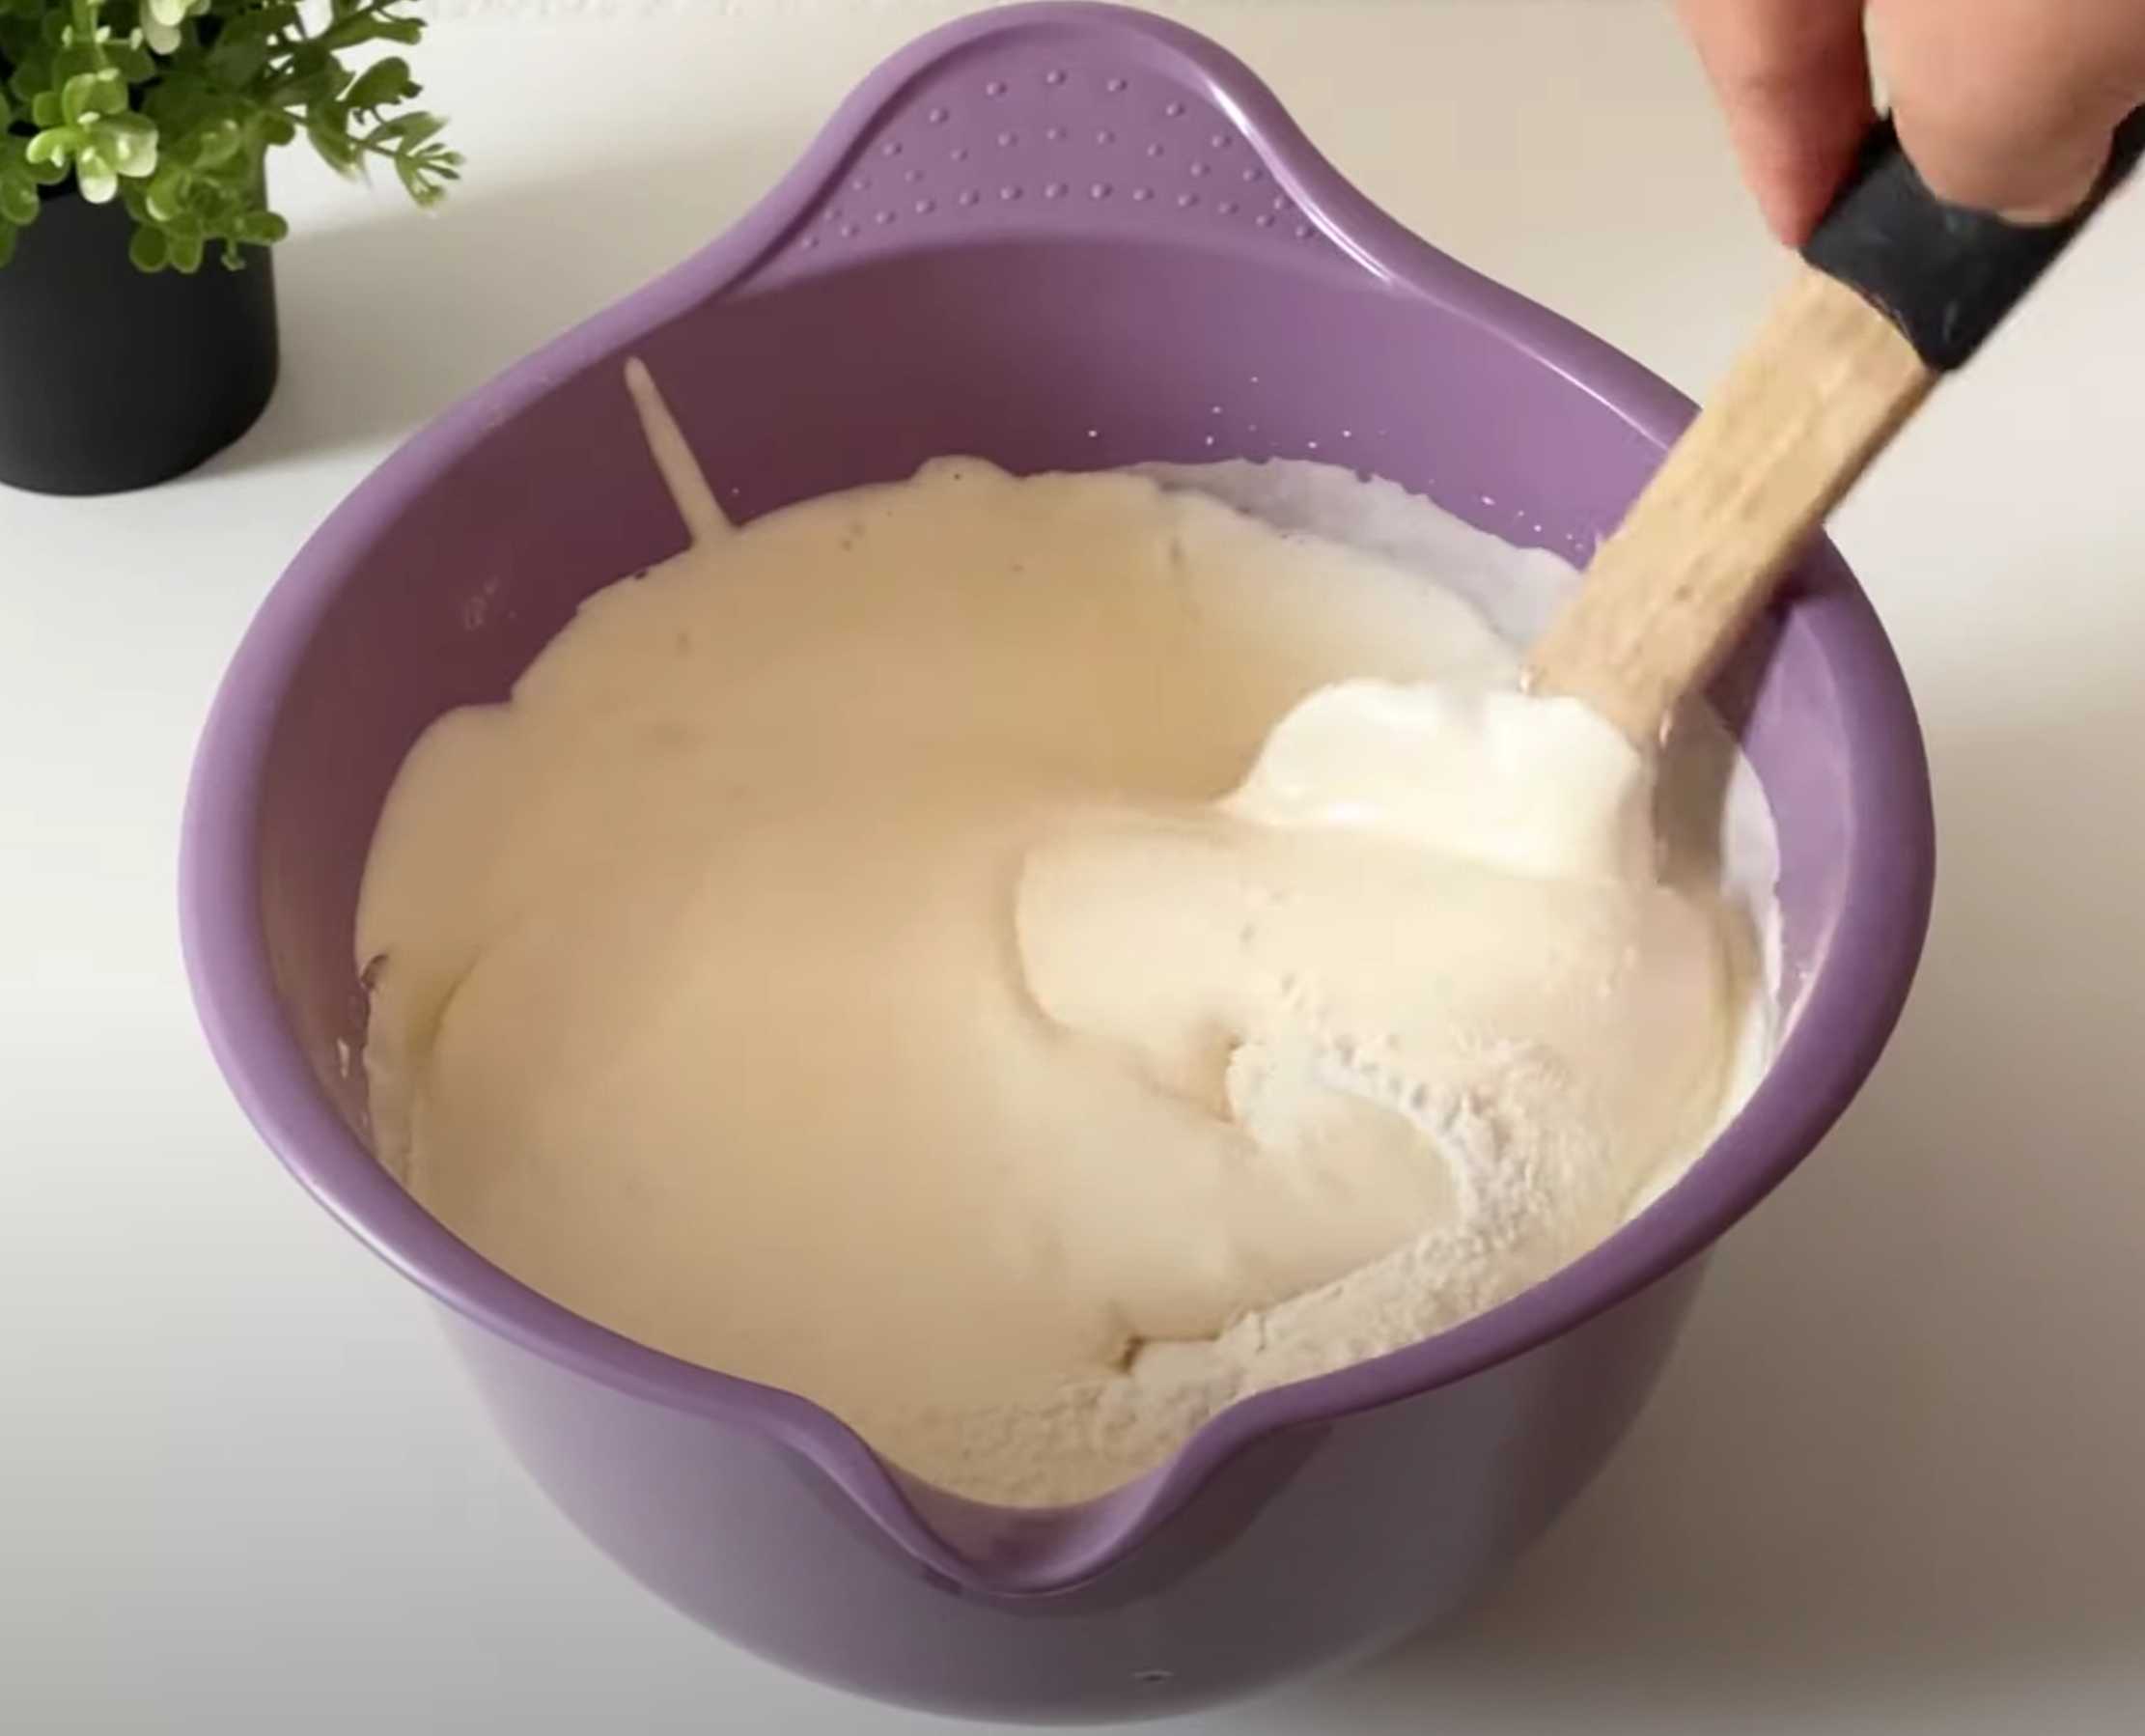 Gradually, stirring gently with a spatula, add flour.
Step 4:
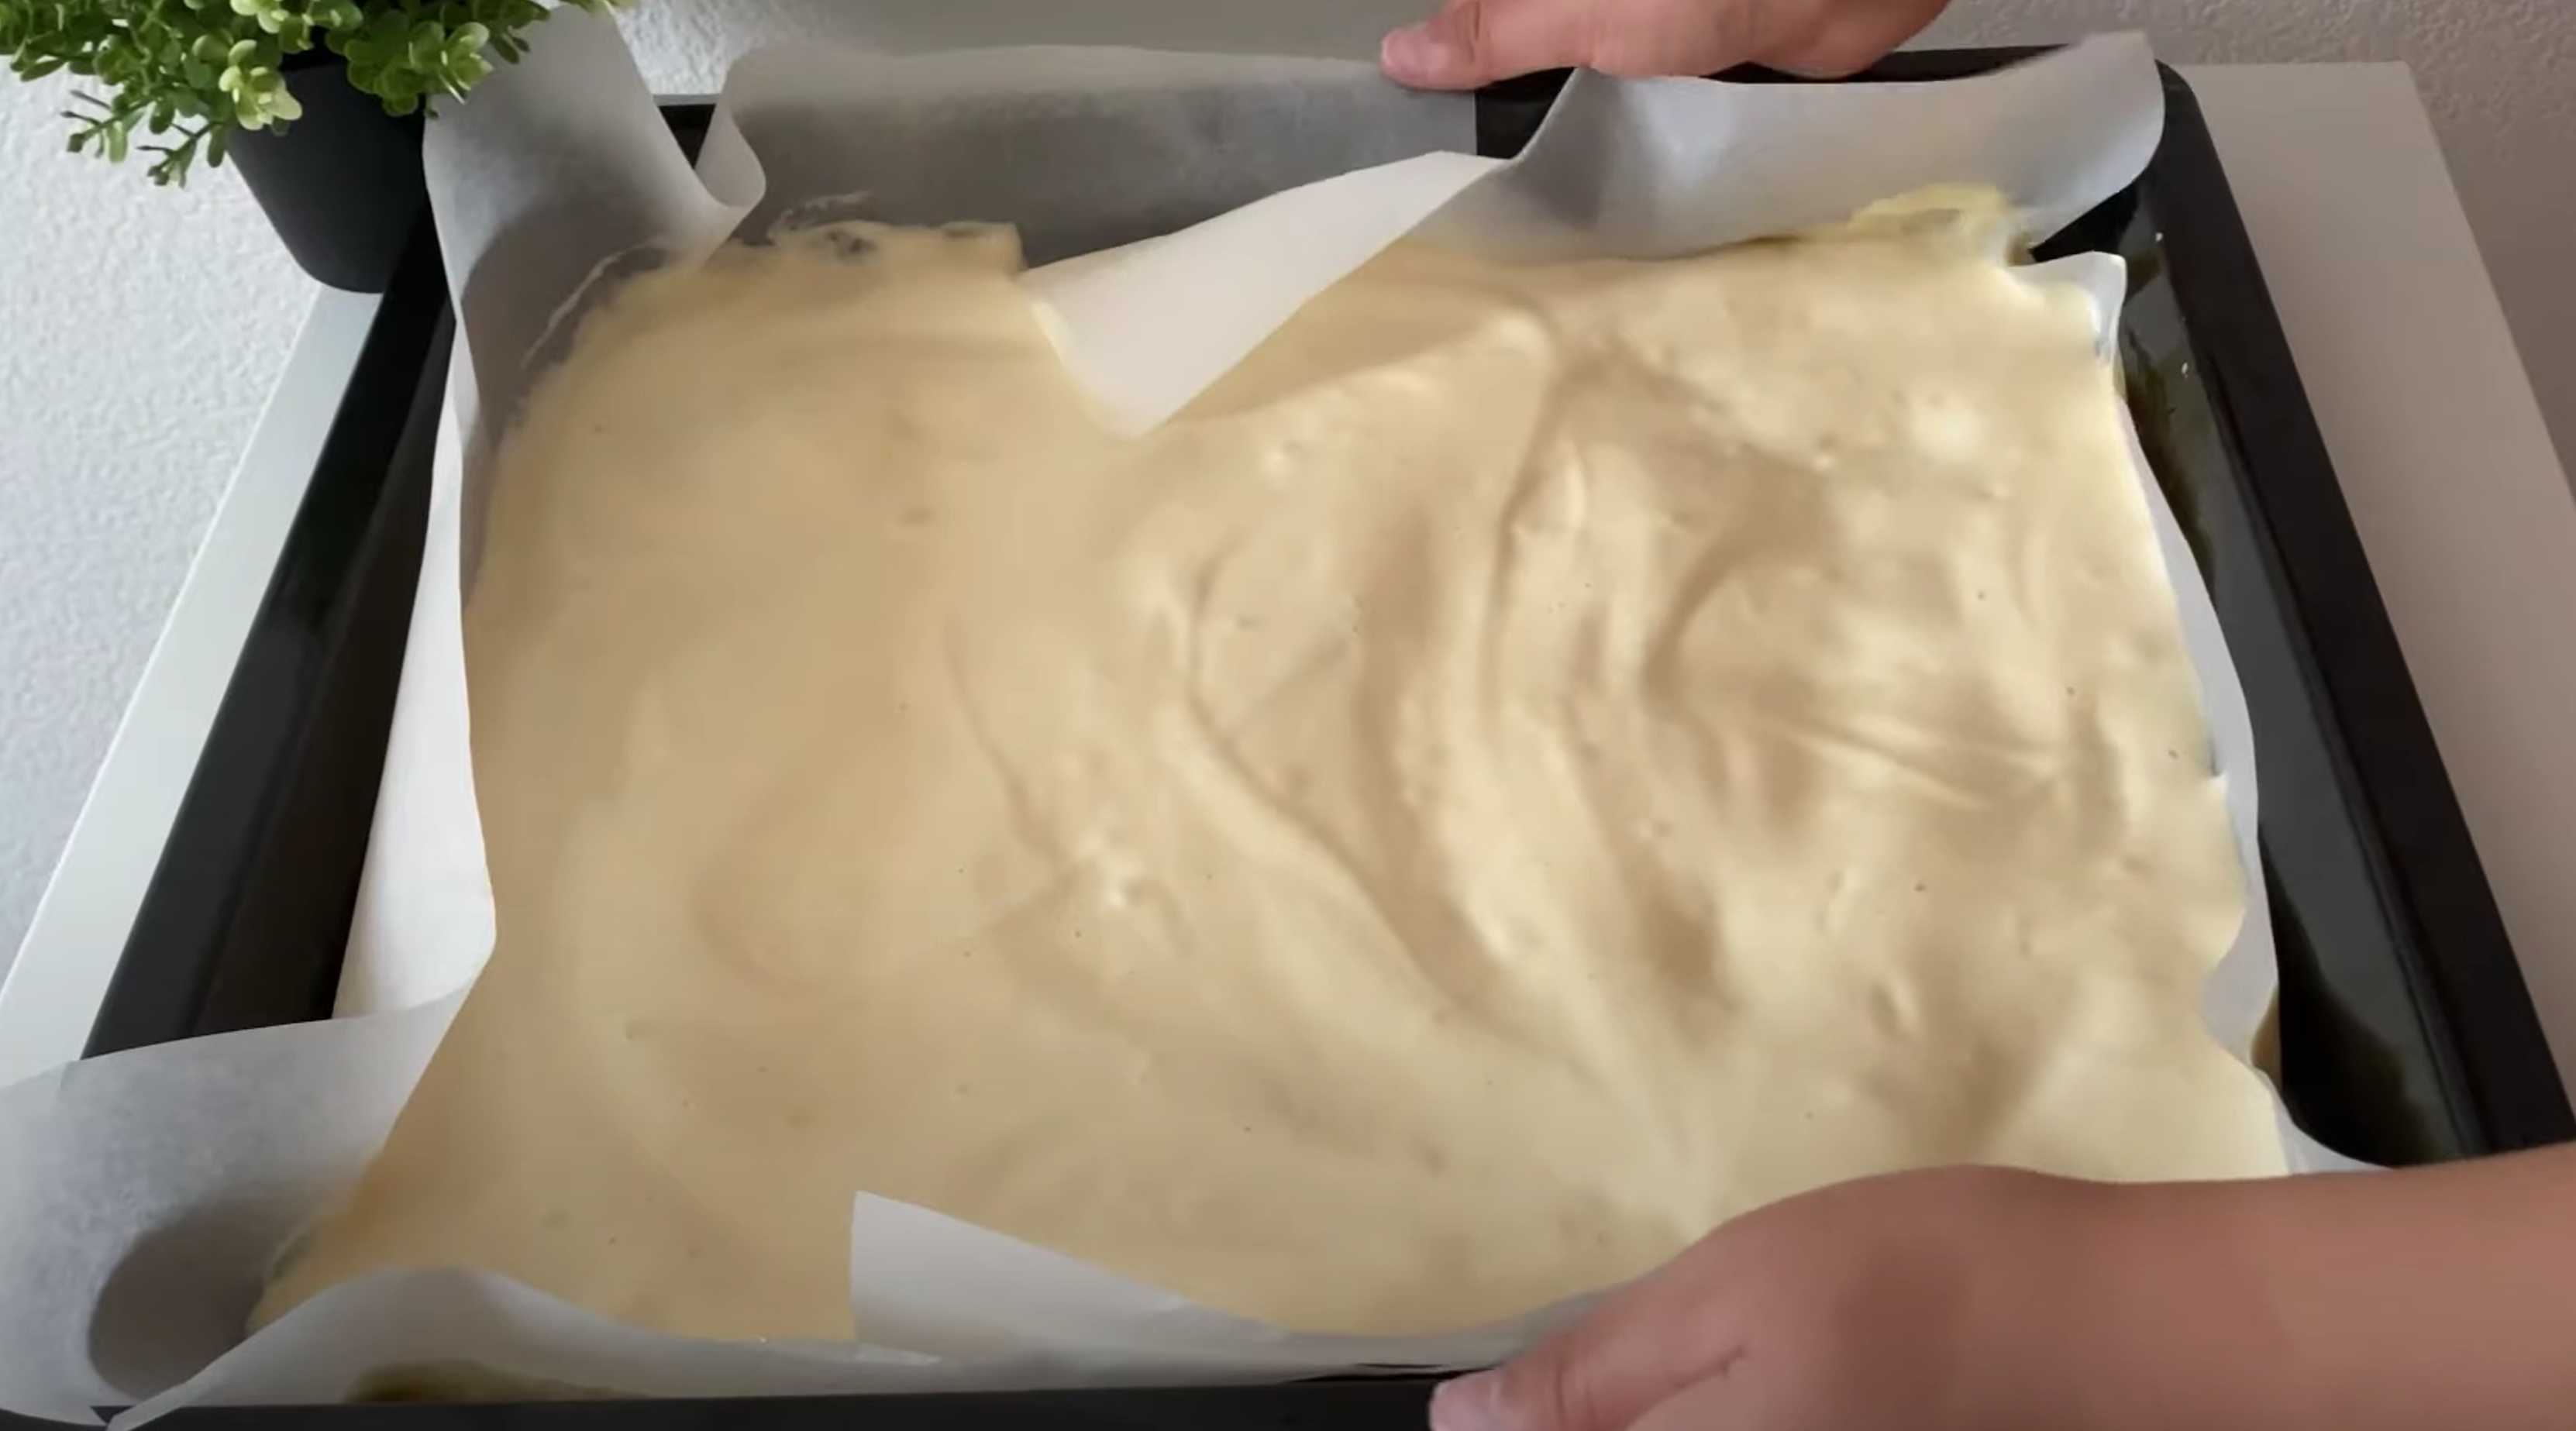
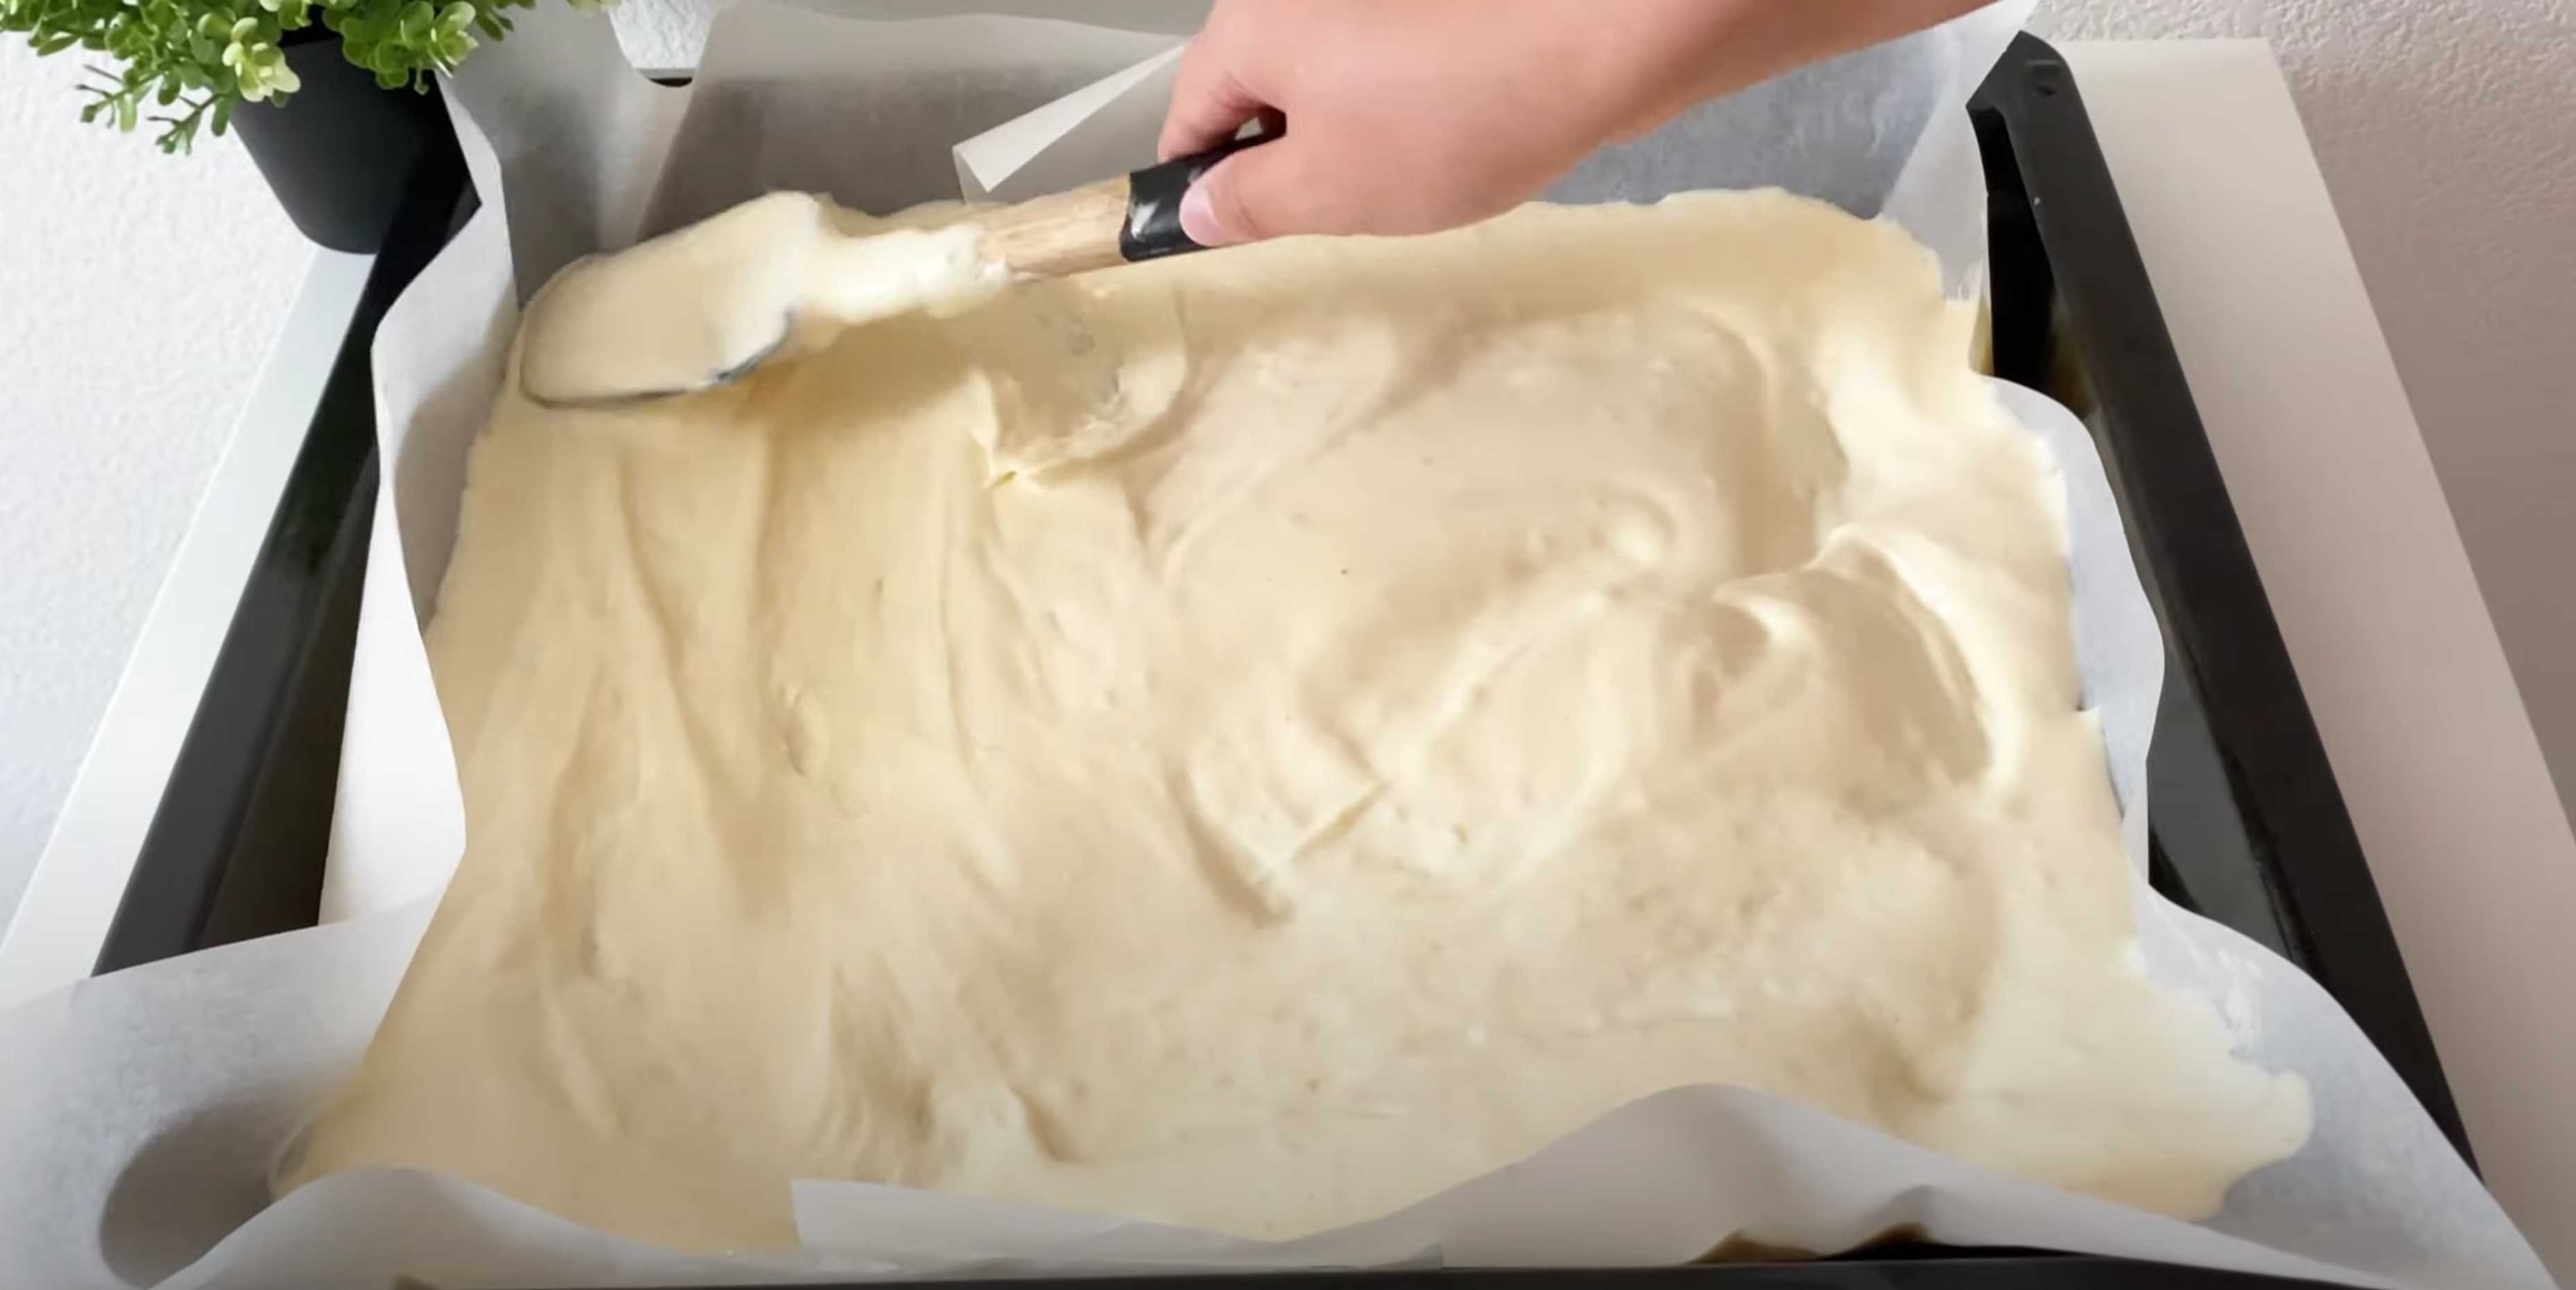 Line a baking sheet with paper, place the dough on it and spread it over the entire surface using a spatula.
Step 5:
 Bake in an oven preheated to 180 degrees for 10-13 minutes.
Step 6:
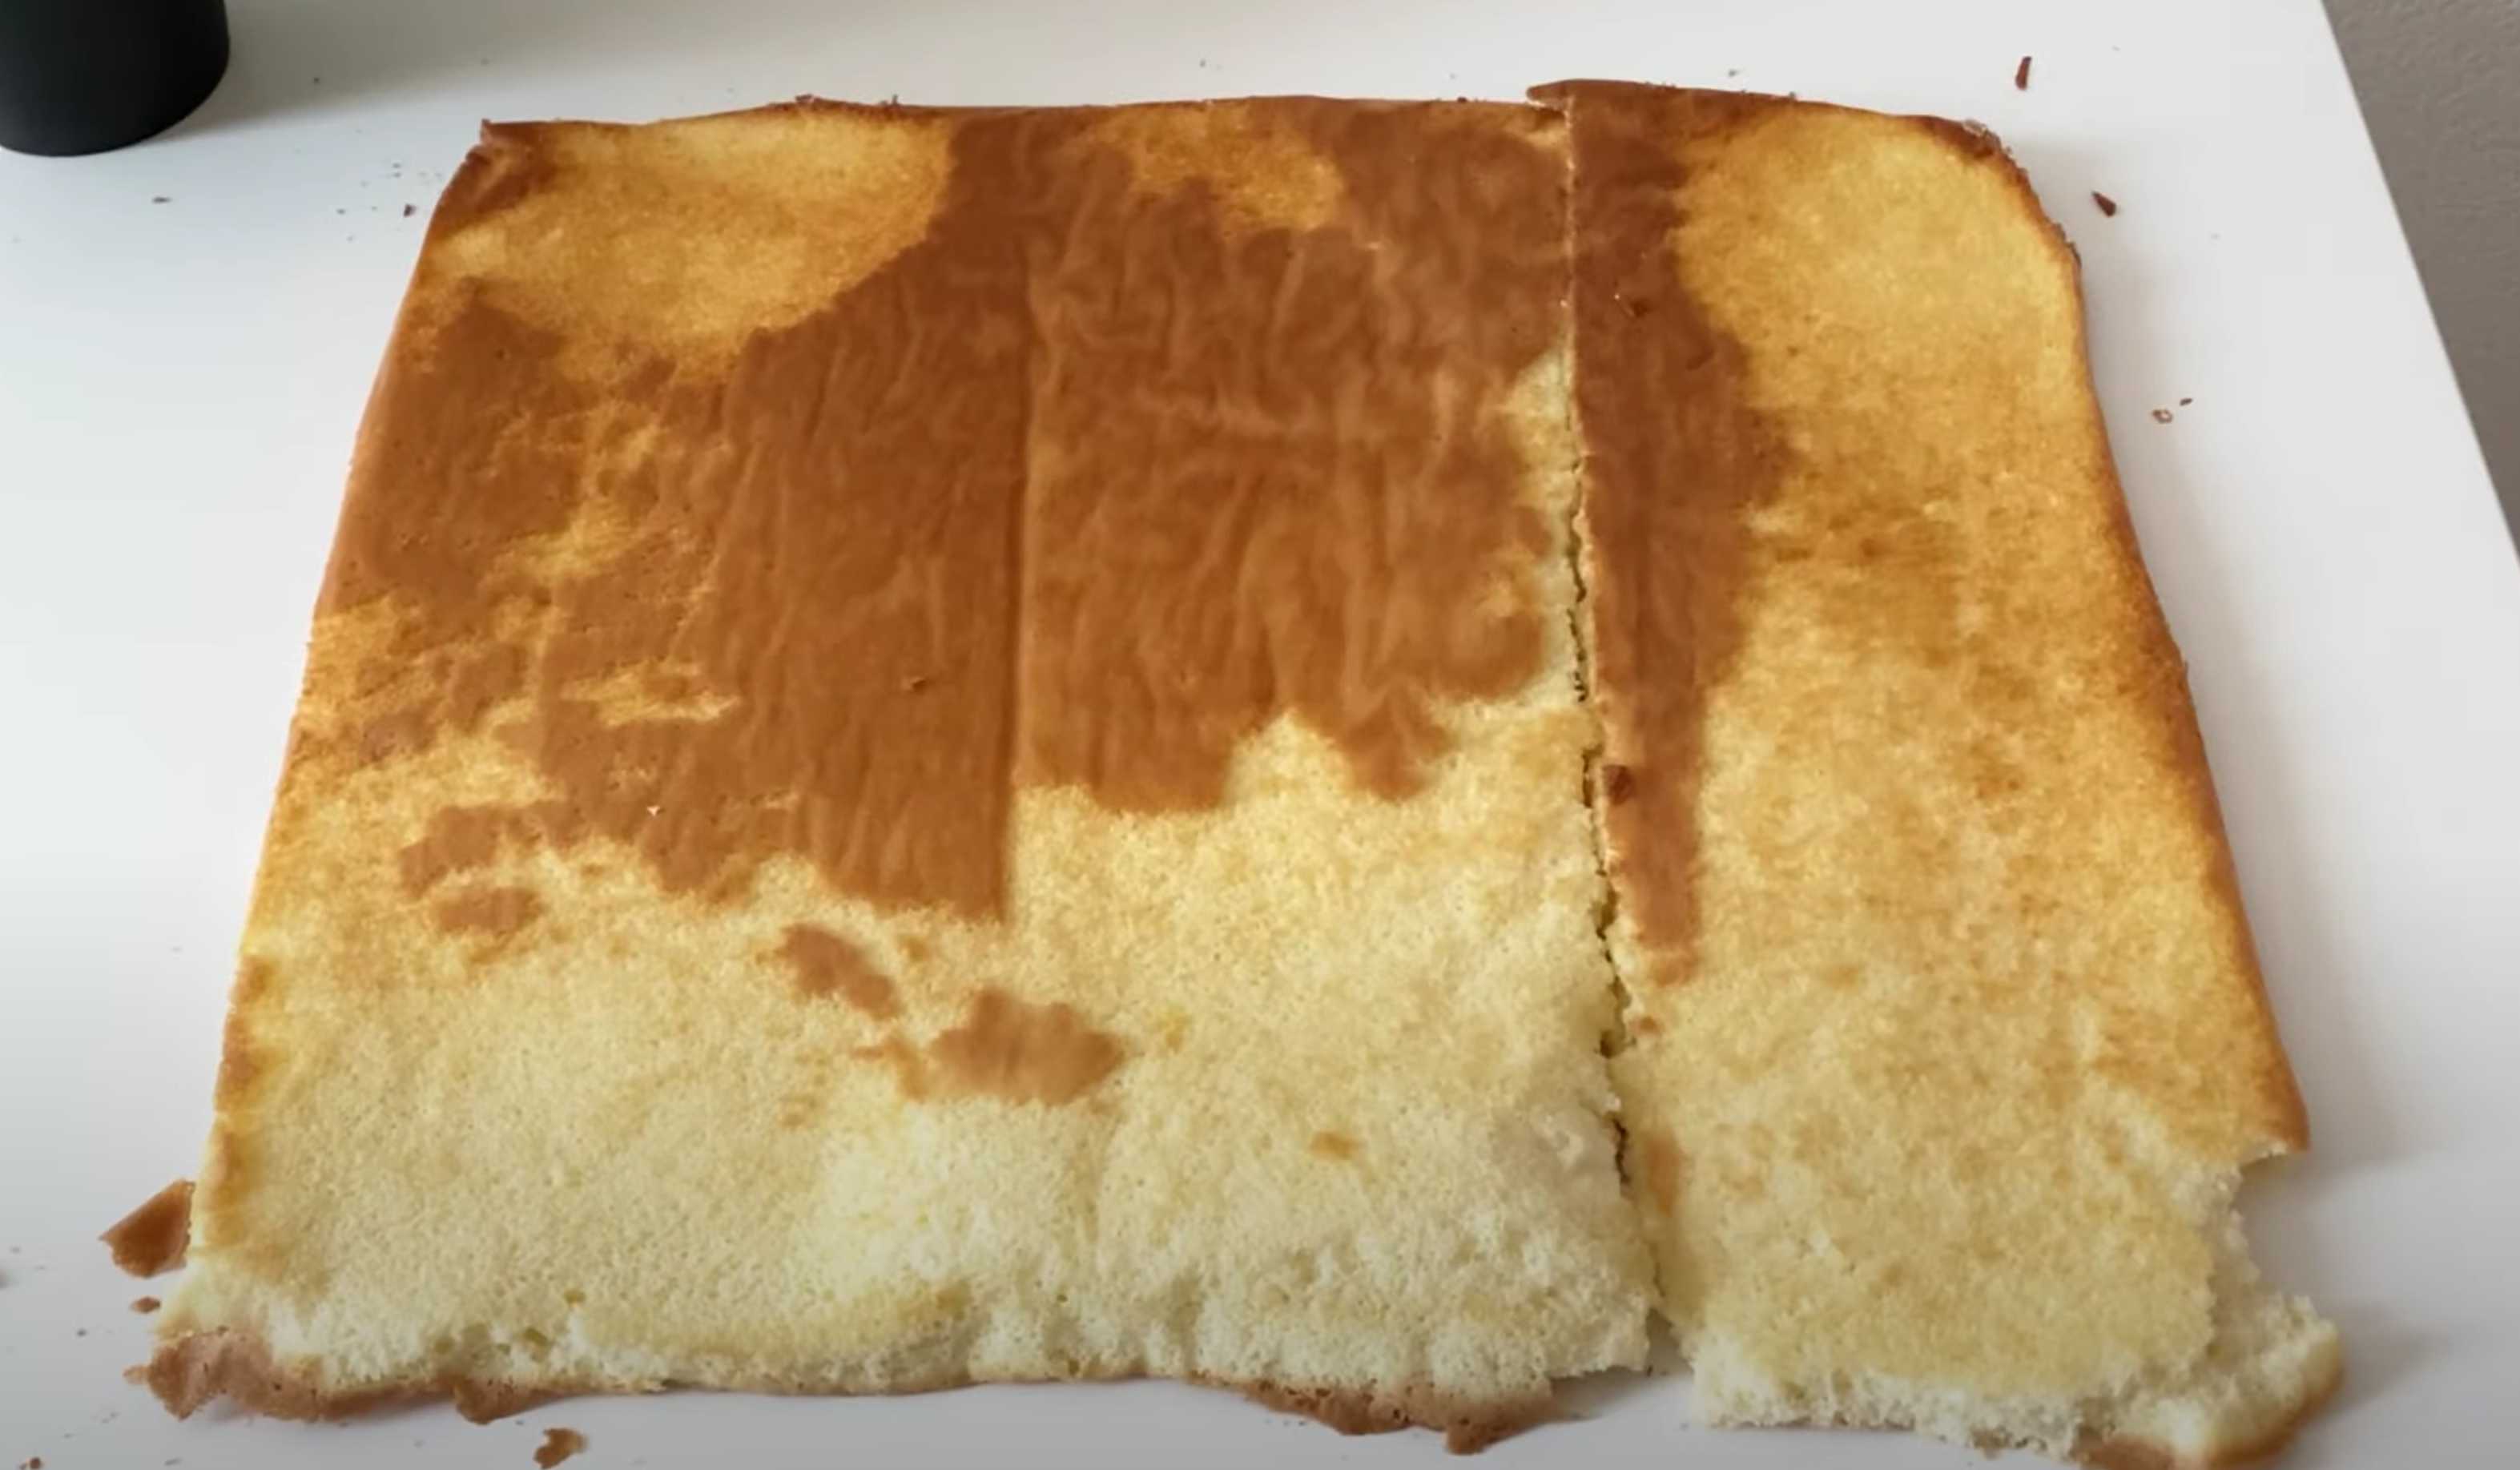
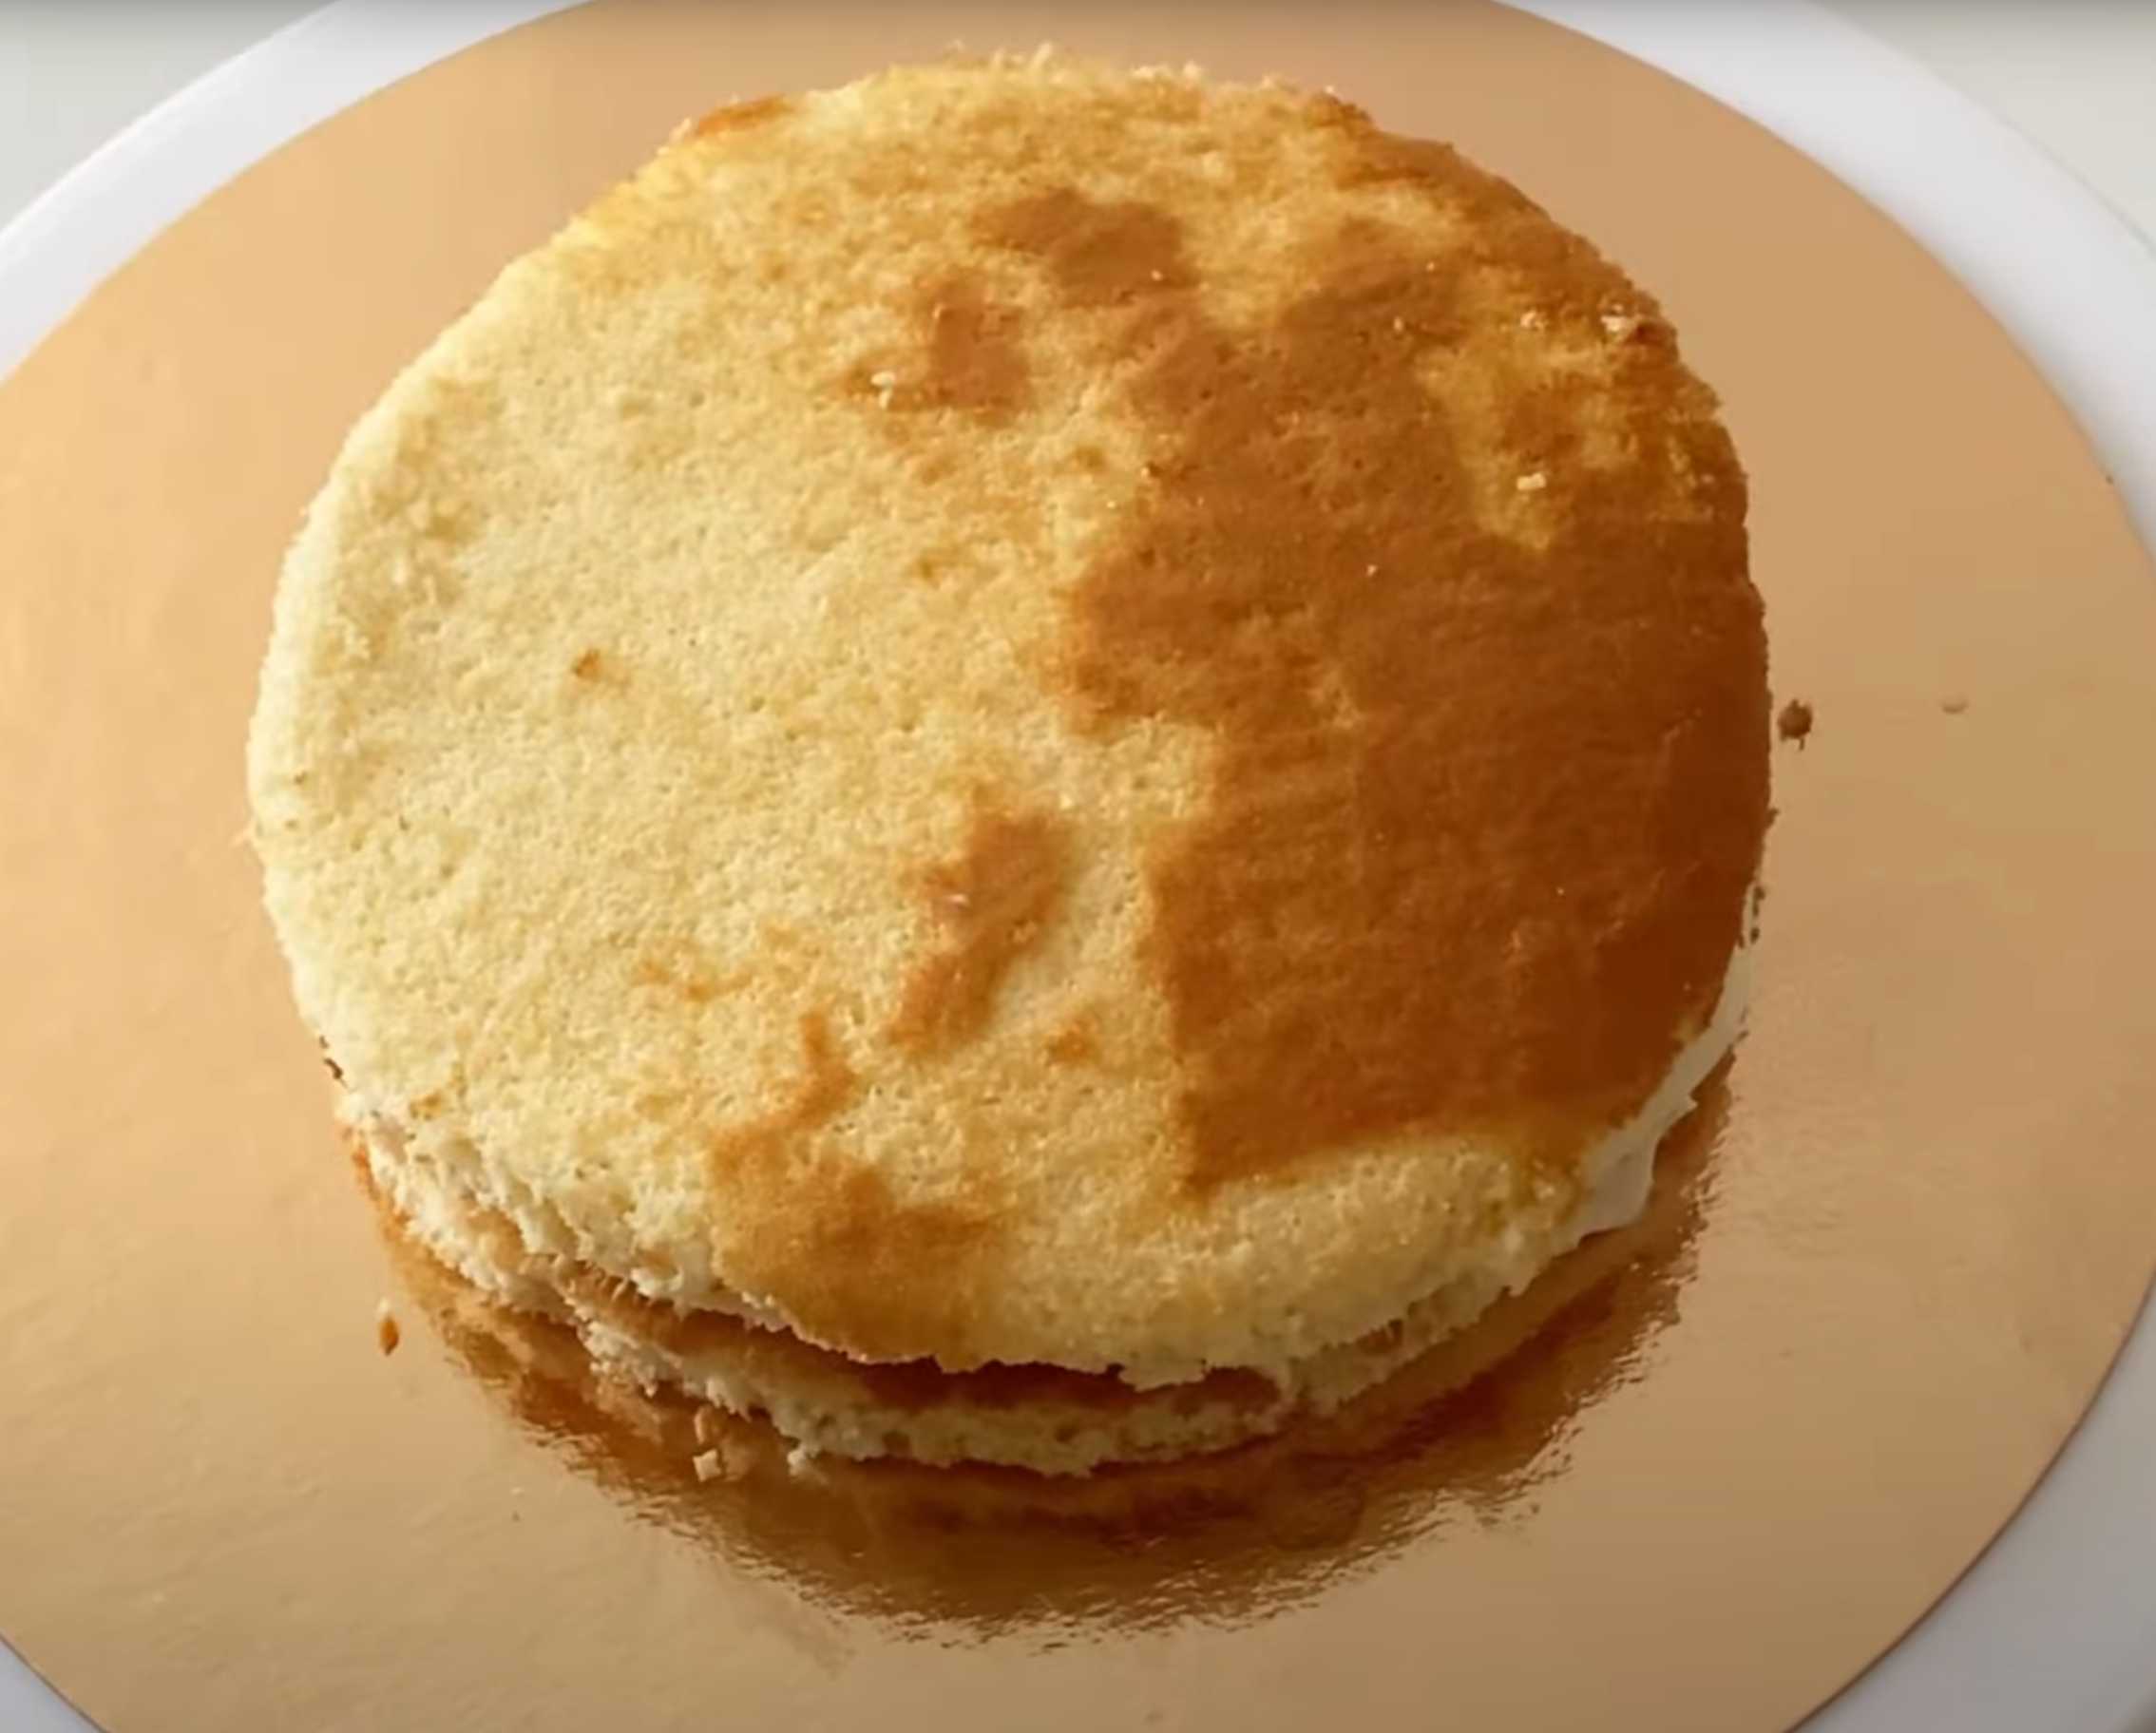
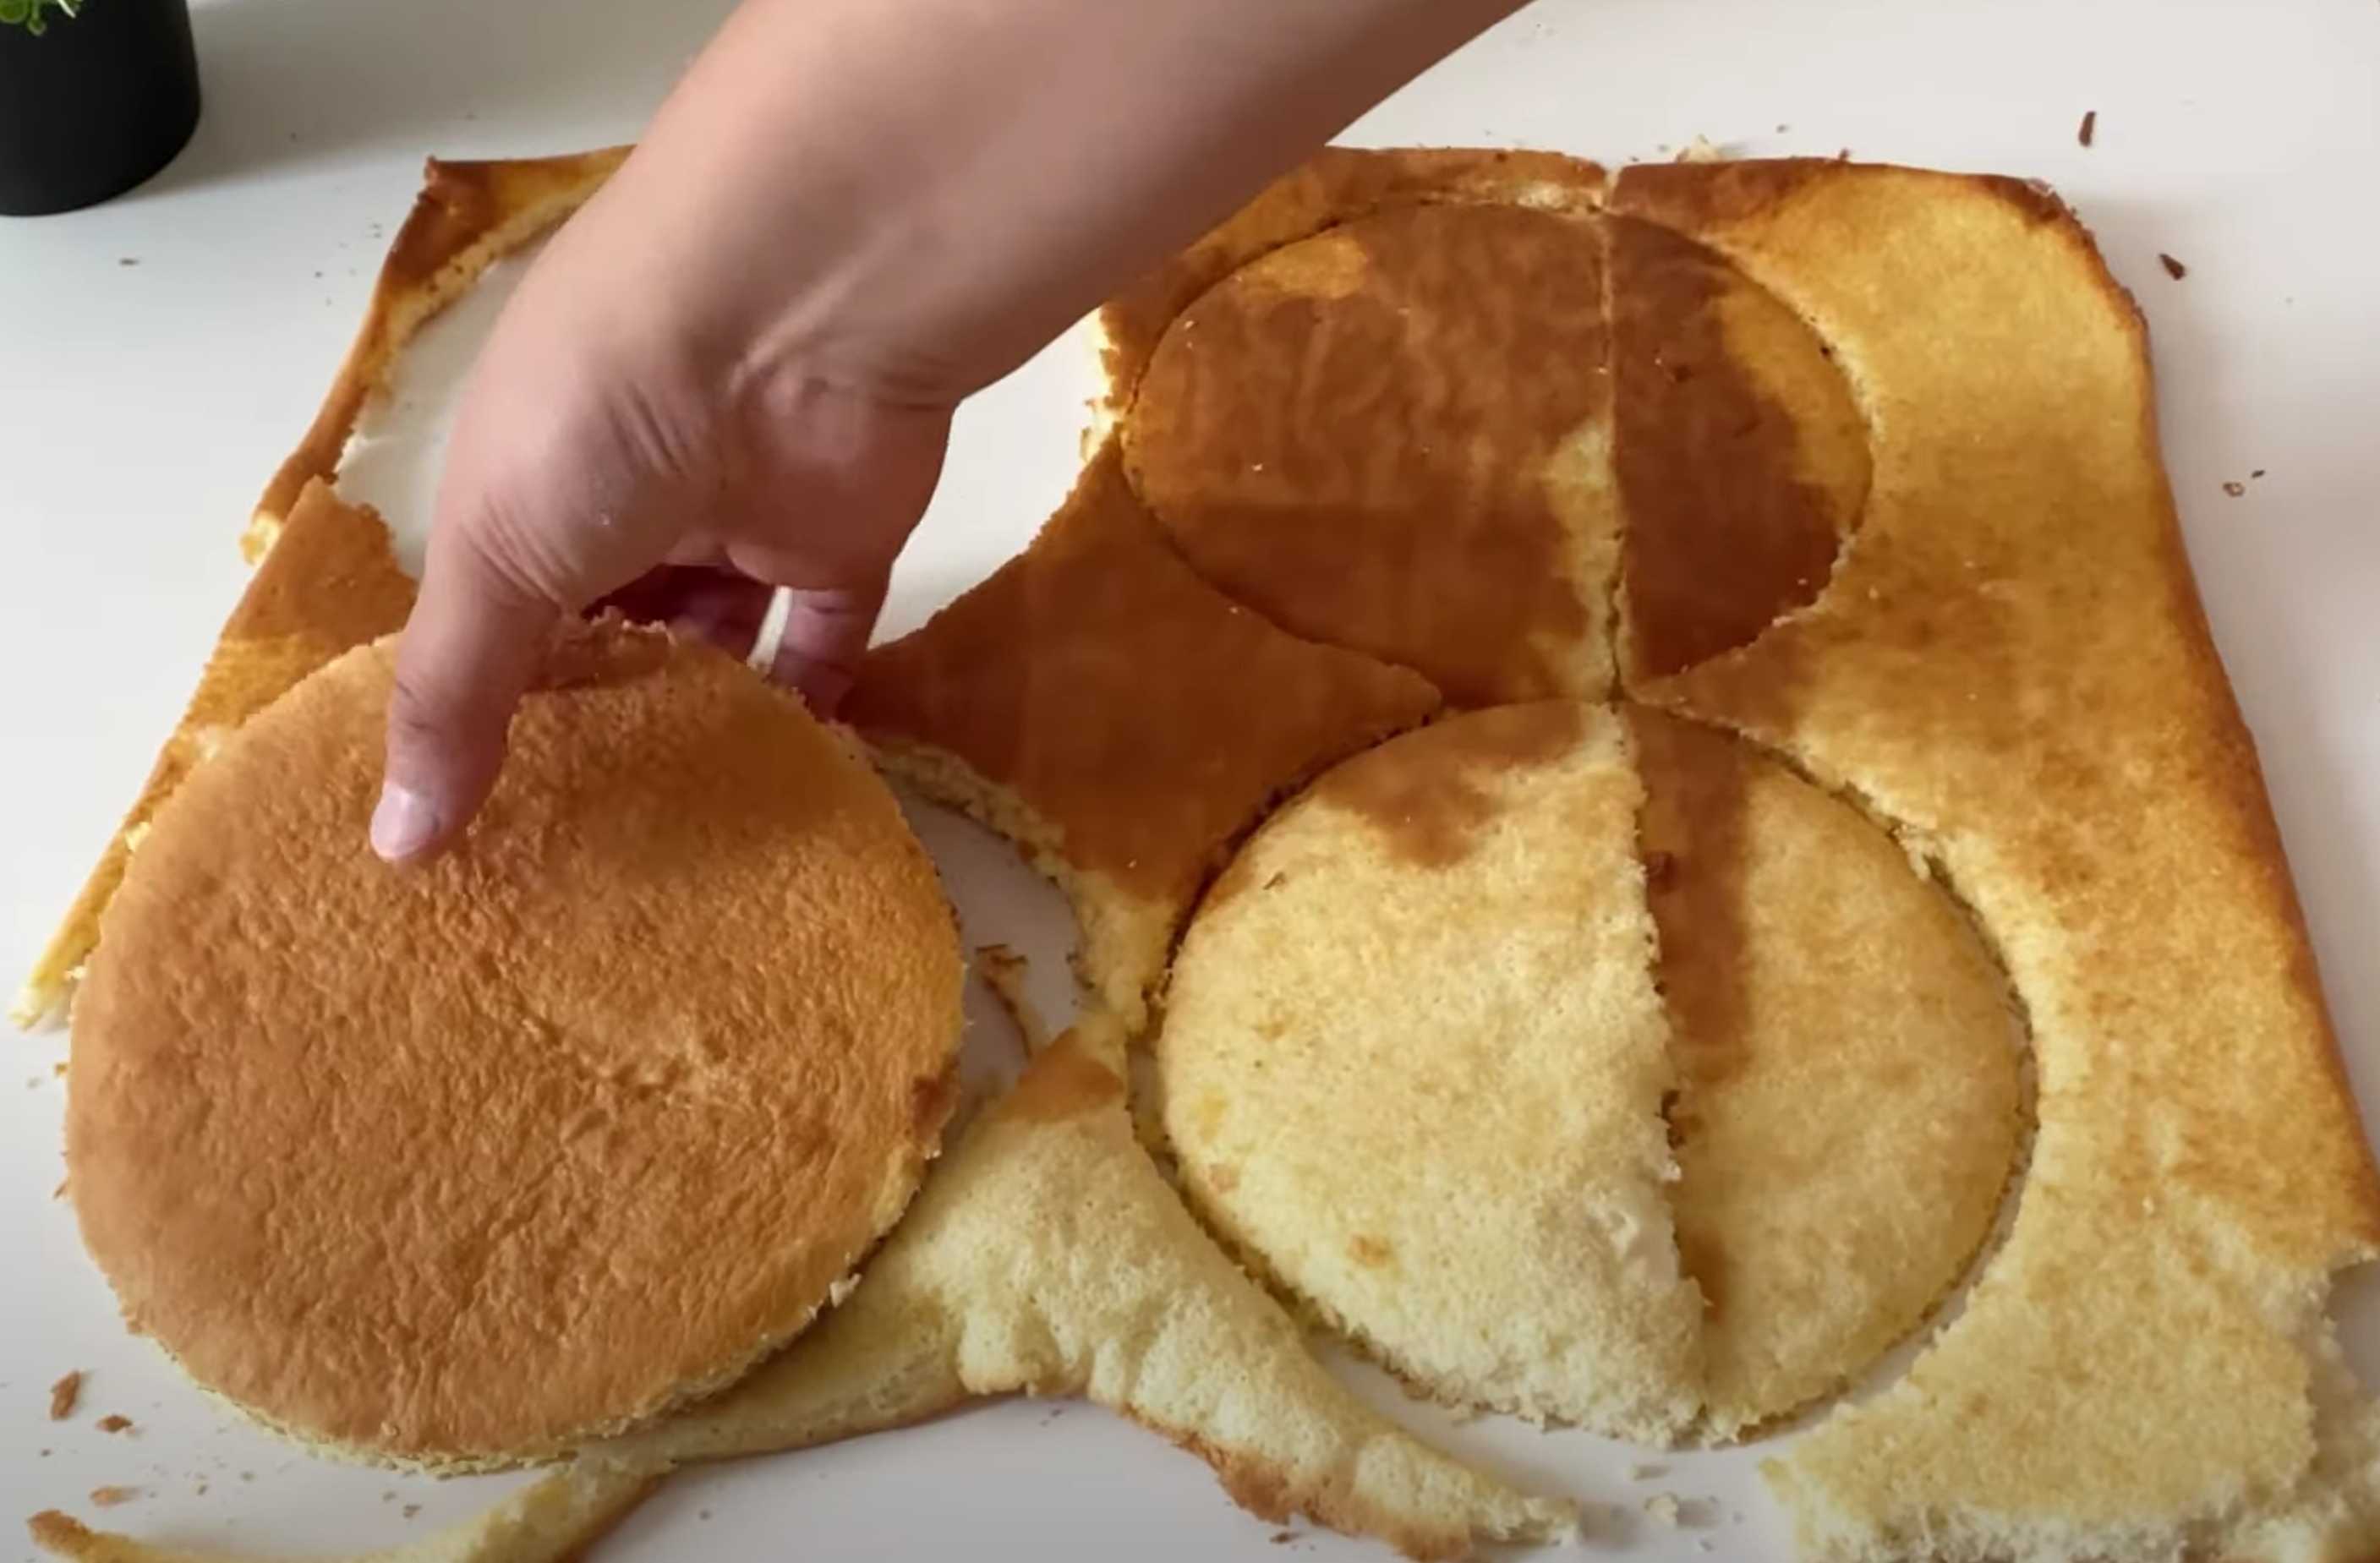 Turn the sponge cake over, carefully remove the paper, cut the cakes into 15 cm diameter bowls and wrap in cling film.
Step 7:
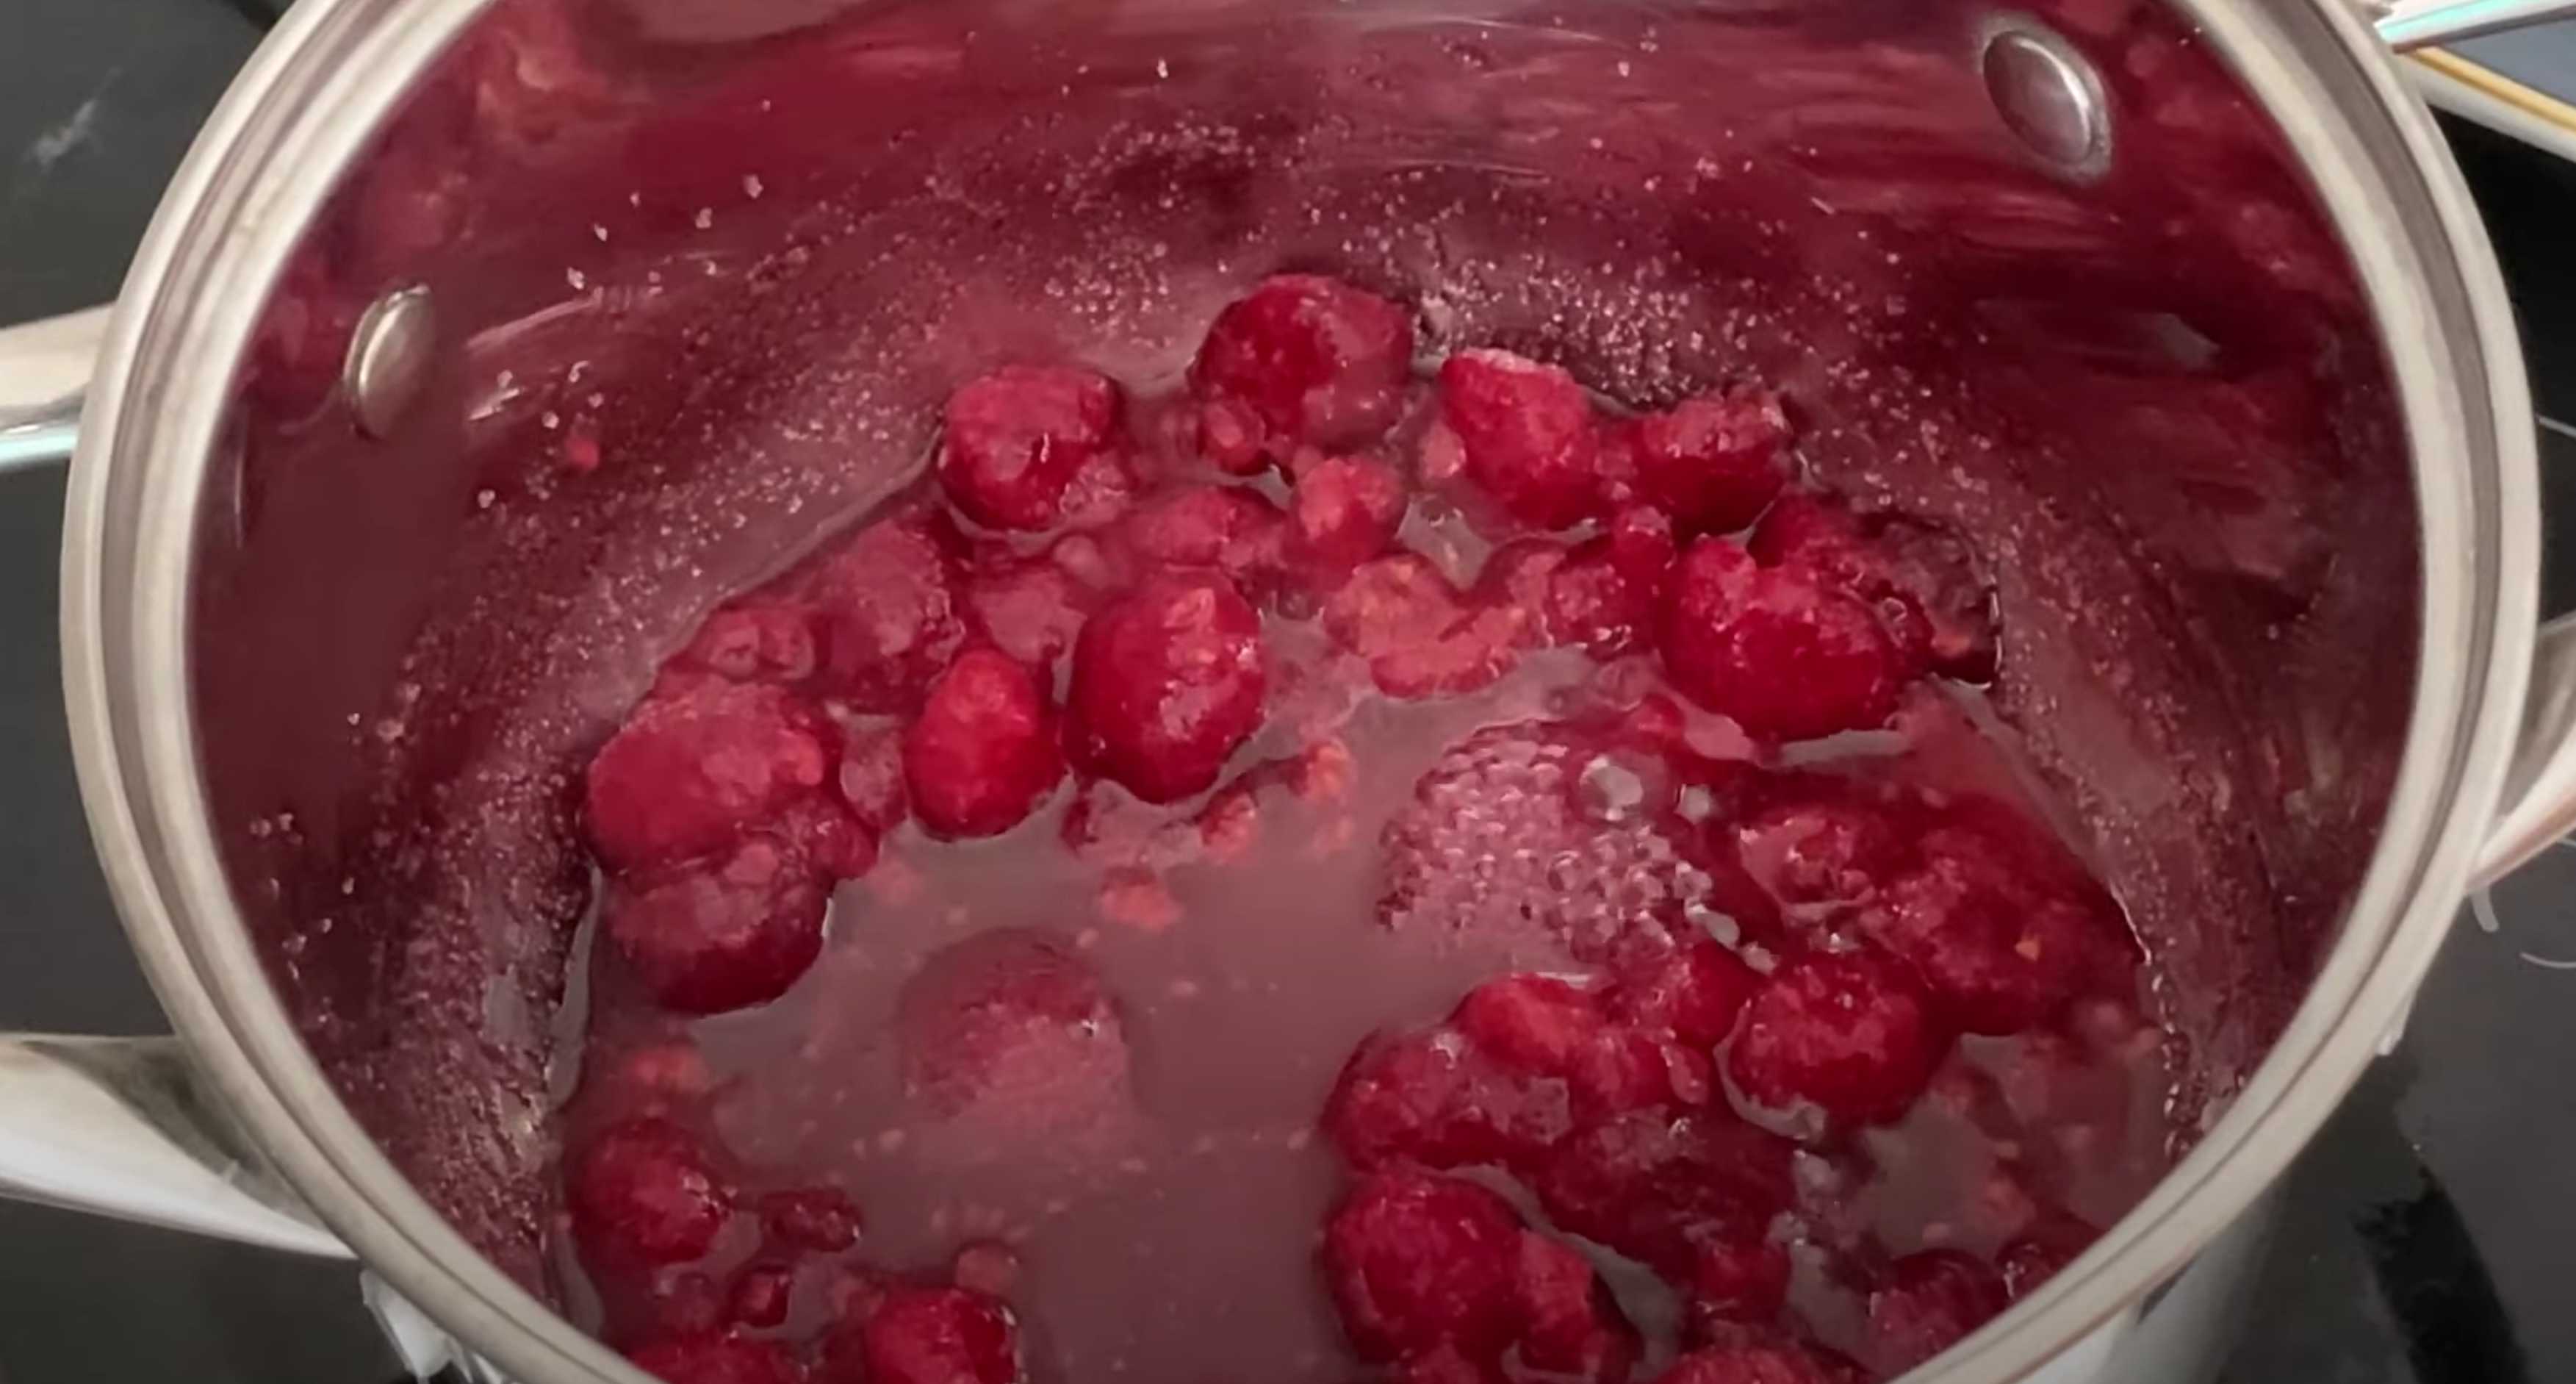 Place raspberries in a saucepan over high heat, add sugar and, stirring, bring to a boil until the sugar is completely dissolved.
Step 8:
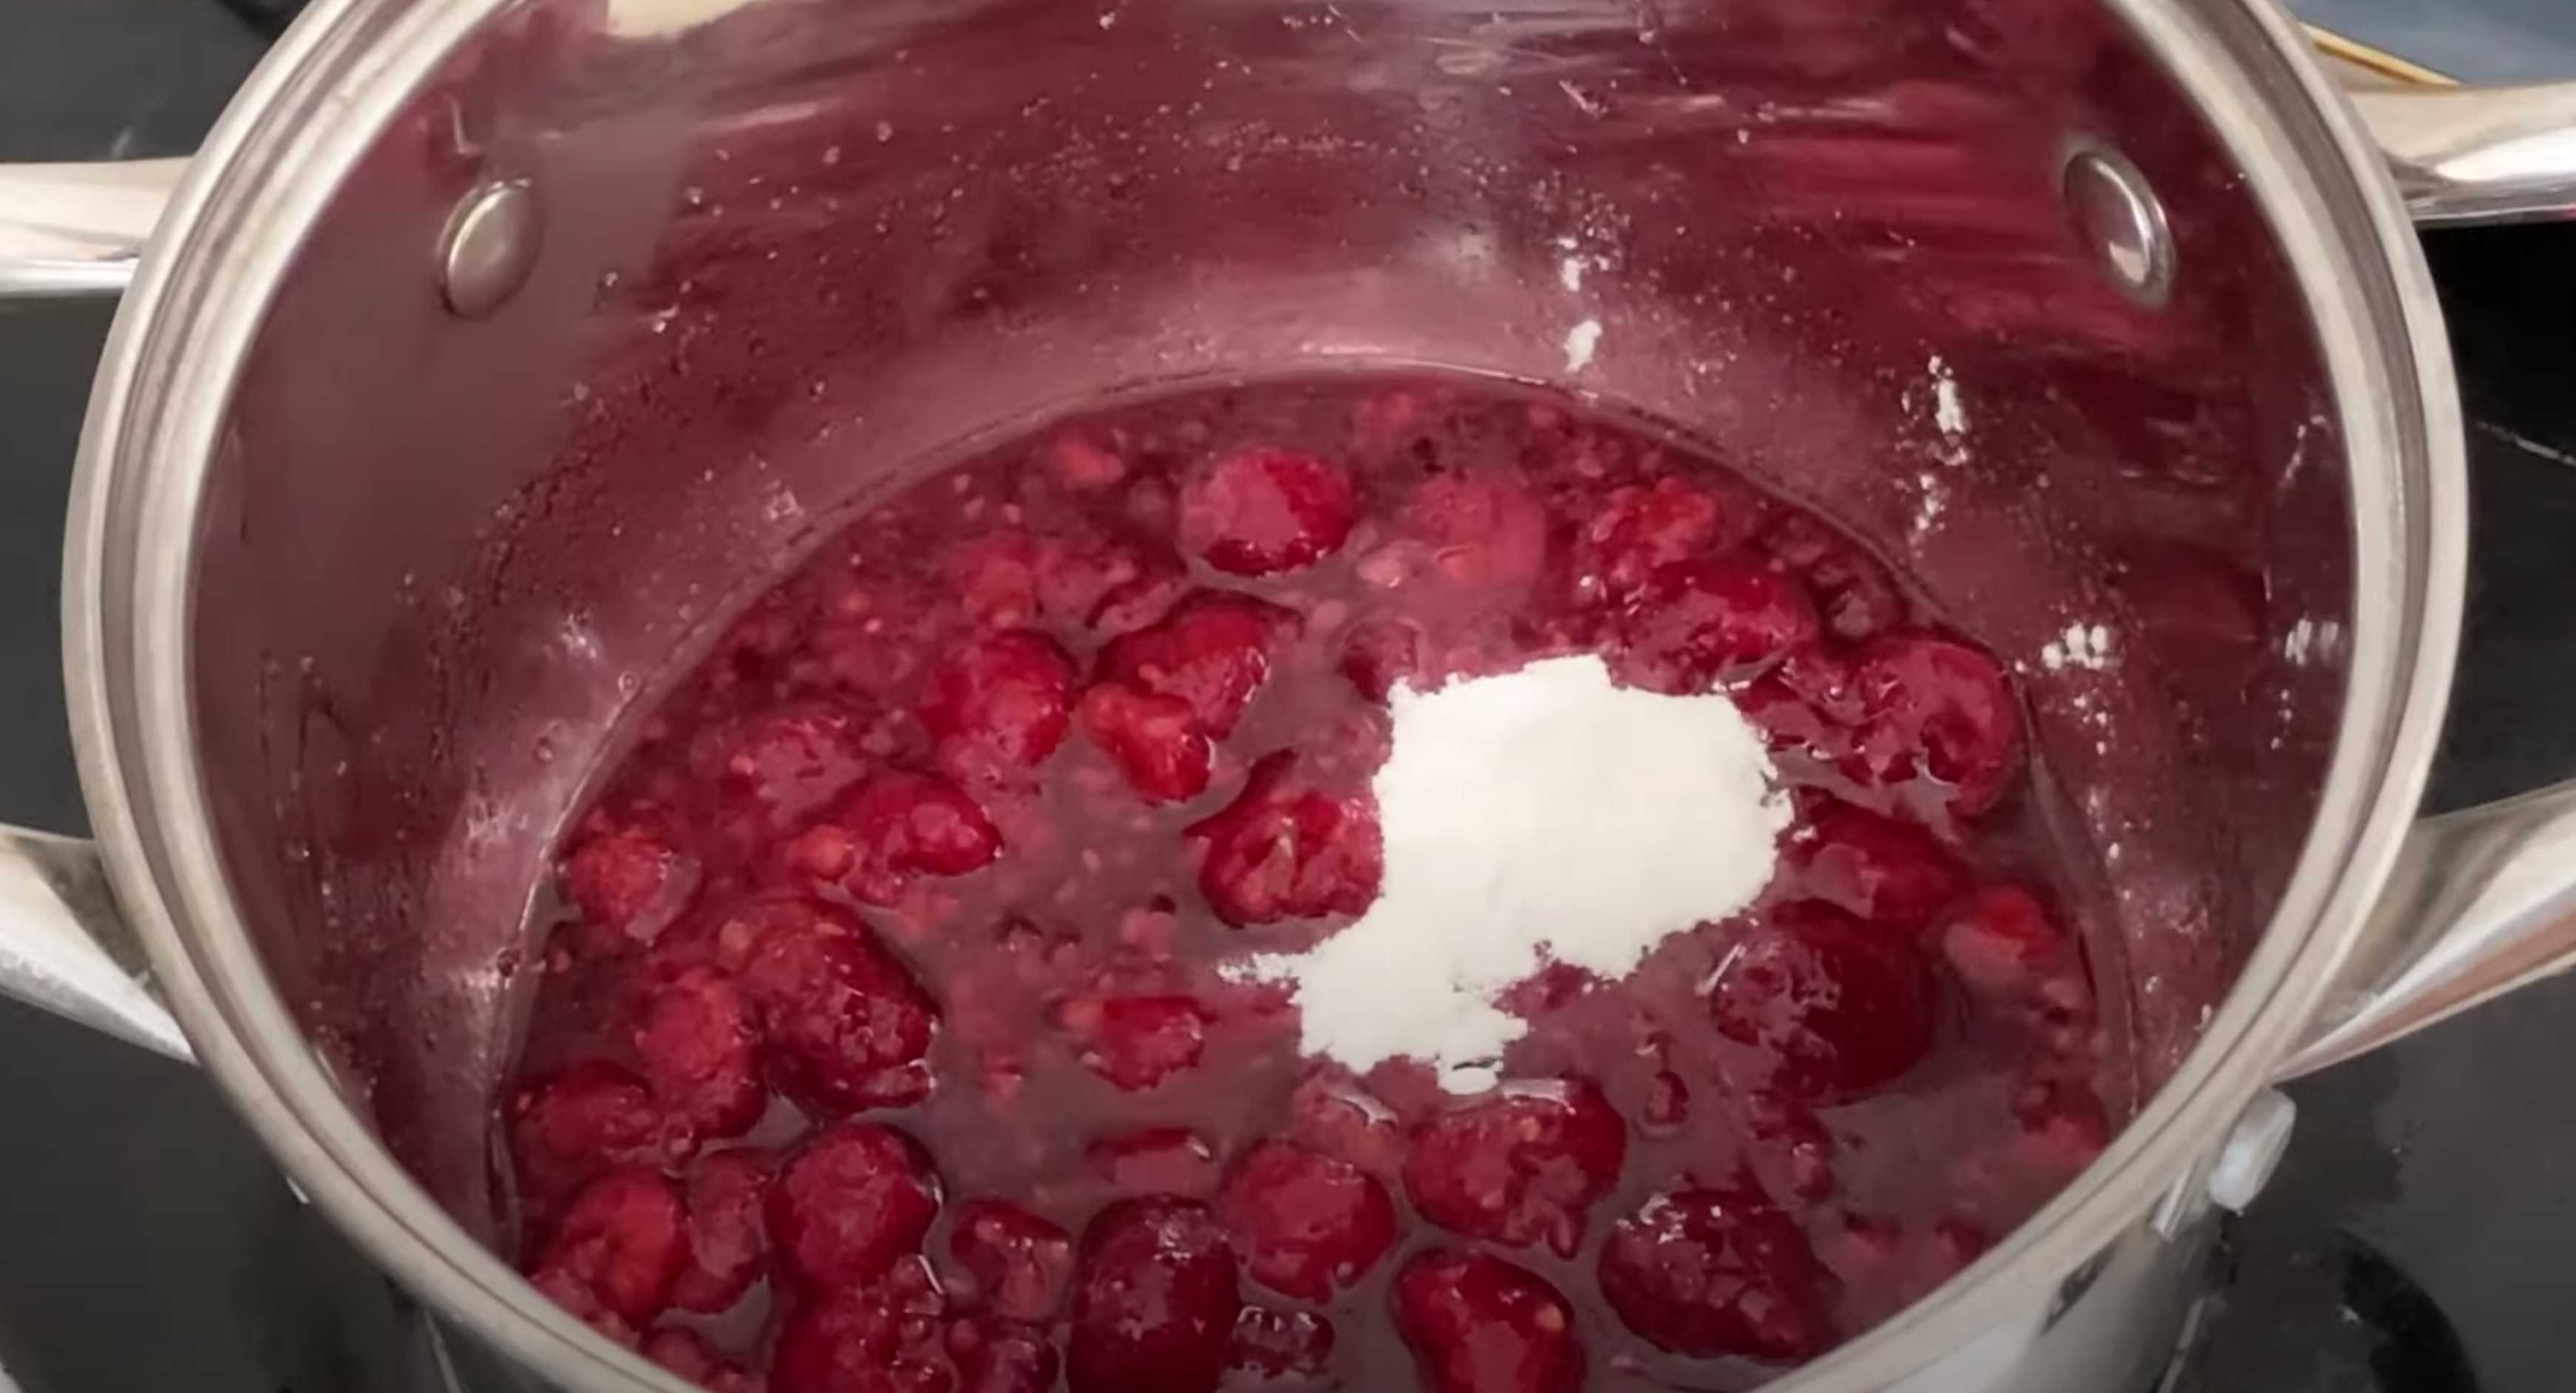 Add the starch and stir. When the mixture begins to thicken, turn off the heat.
Step 9:
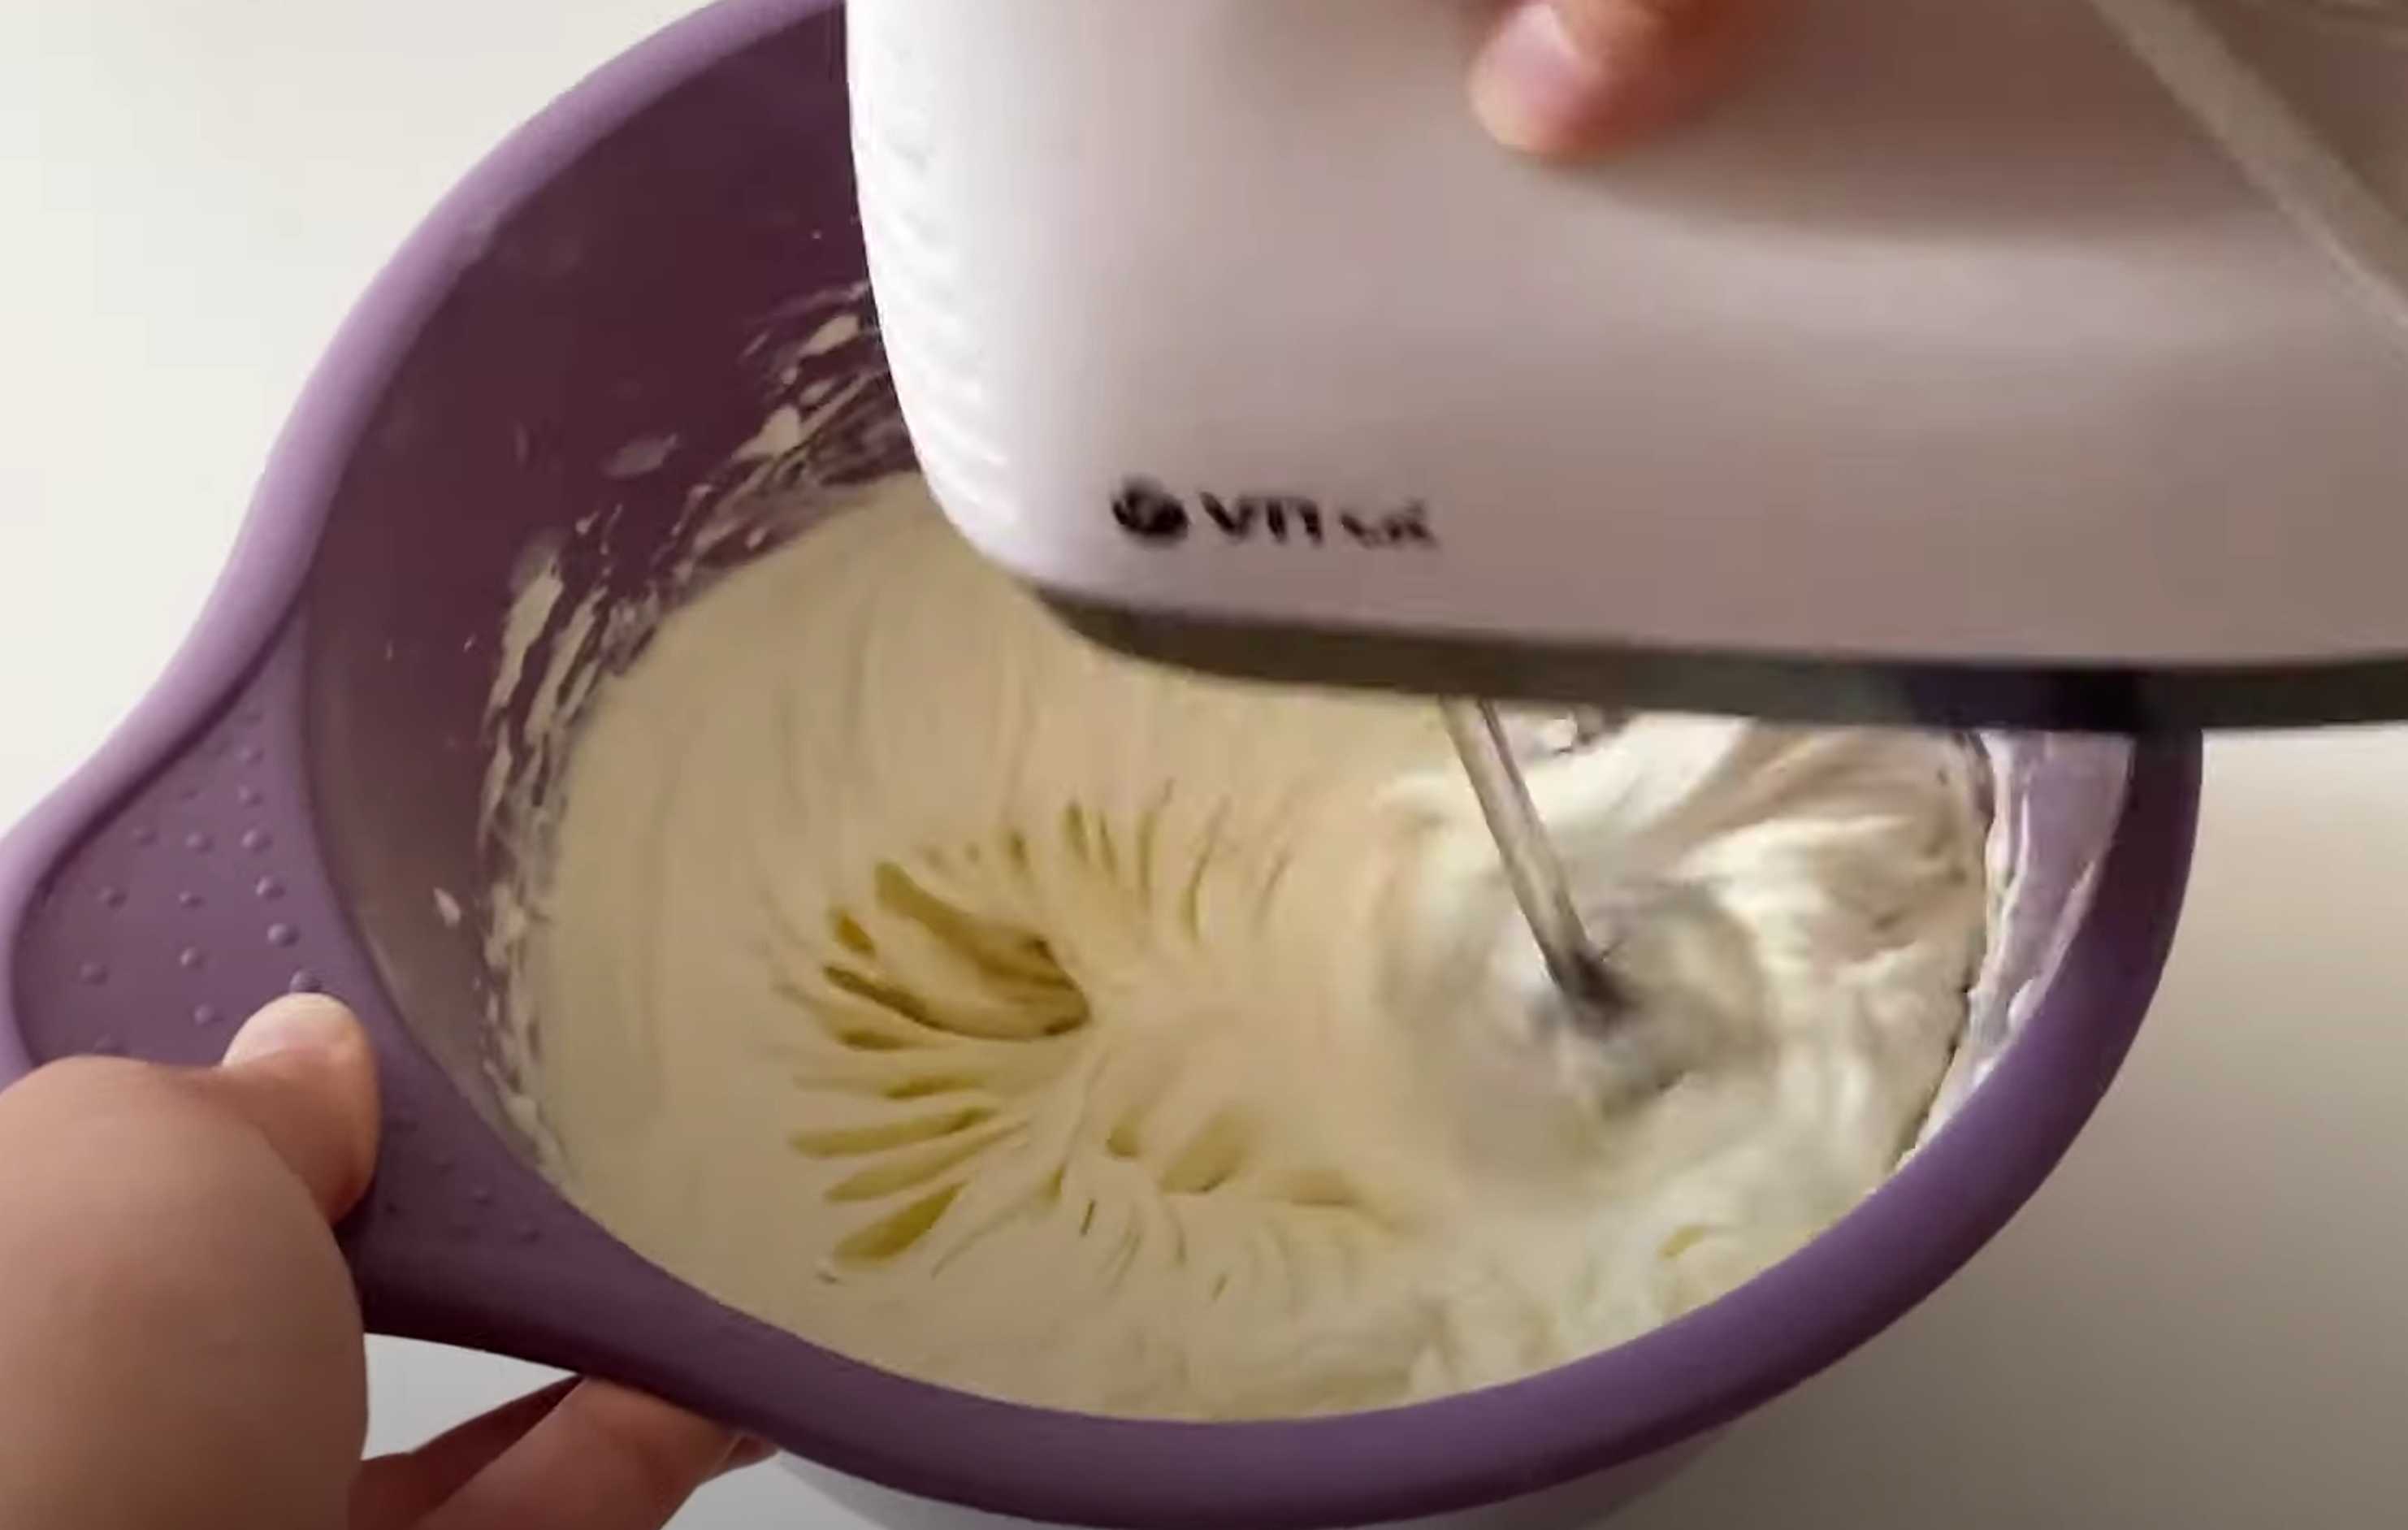 Place cream cheese and powdered sugar in a bowl, mix thoroughly and beat with a mixer.
Step 10:
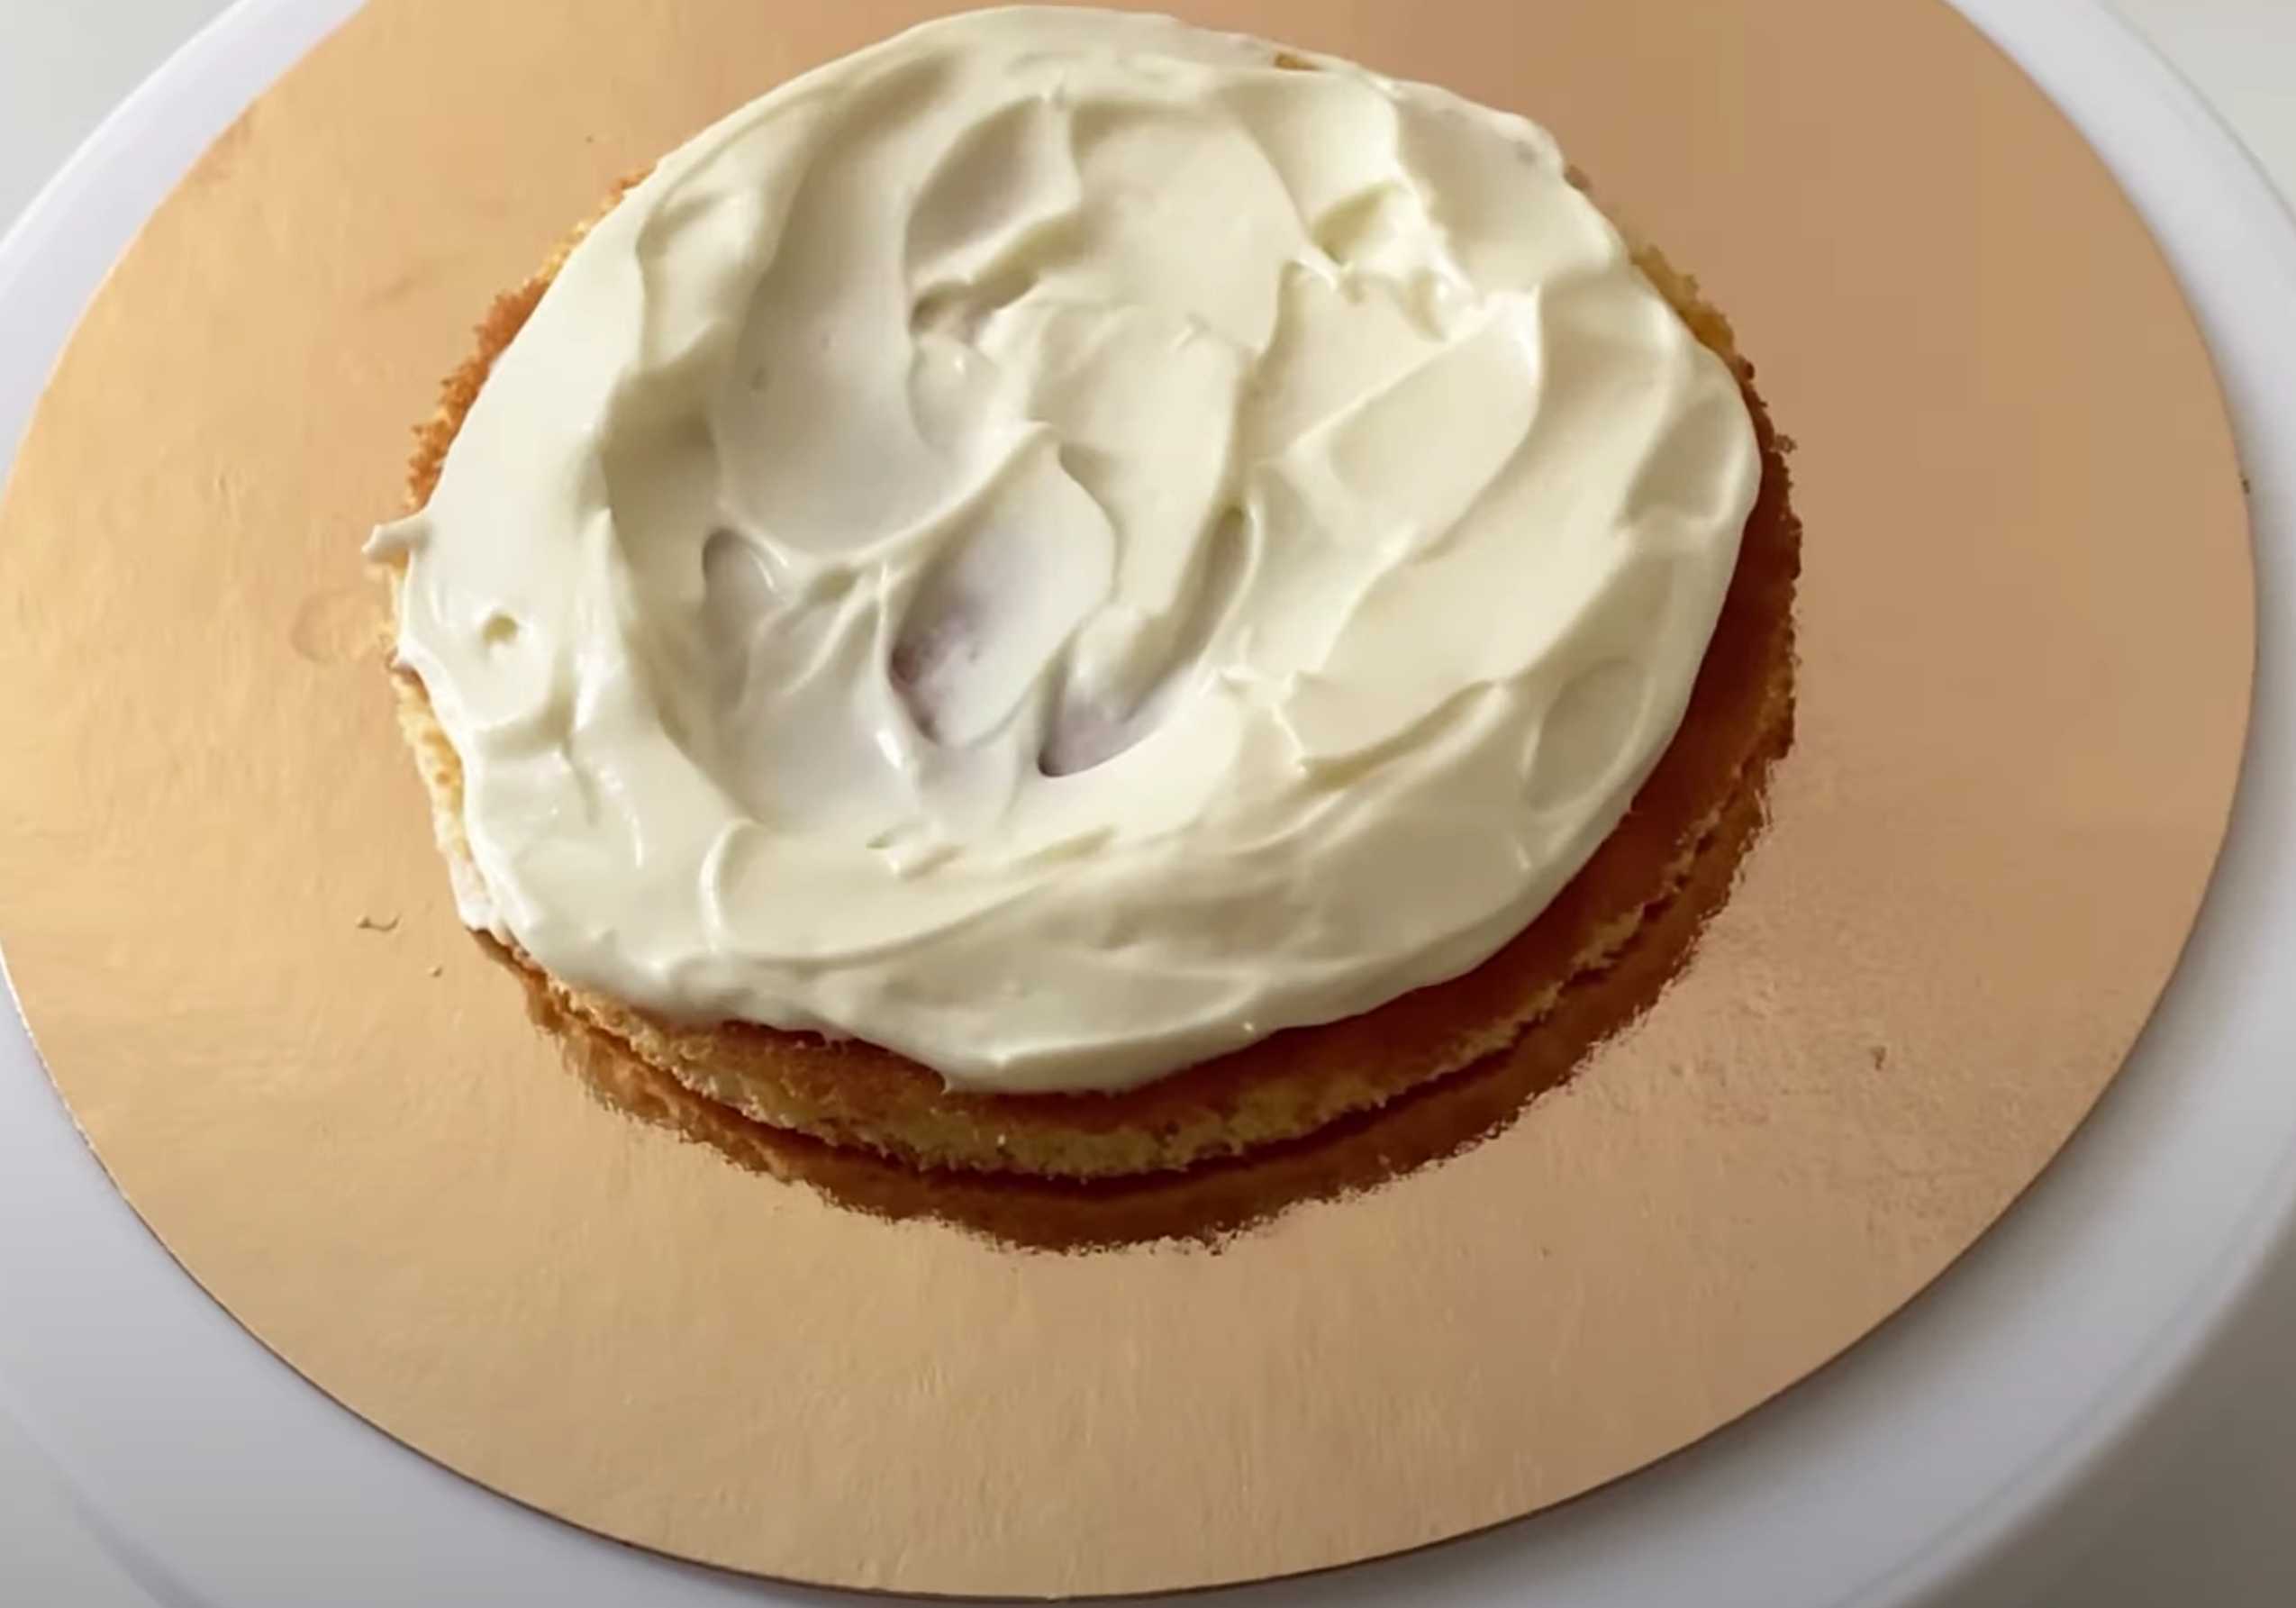 Using a pastry bag, apply the cream to the first cake layer and spread it with a spatula so that a depression remains for the berry filling.
Step 11:
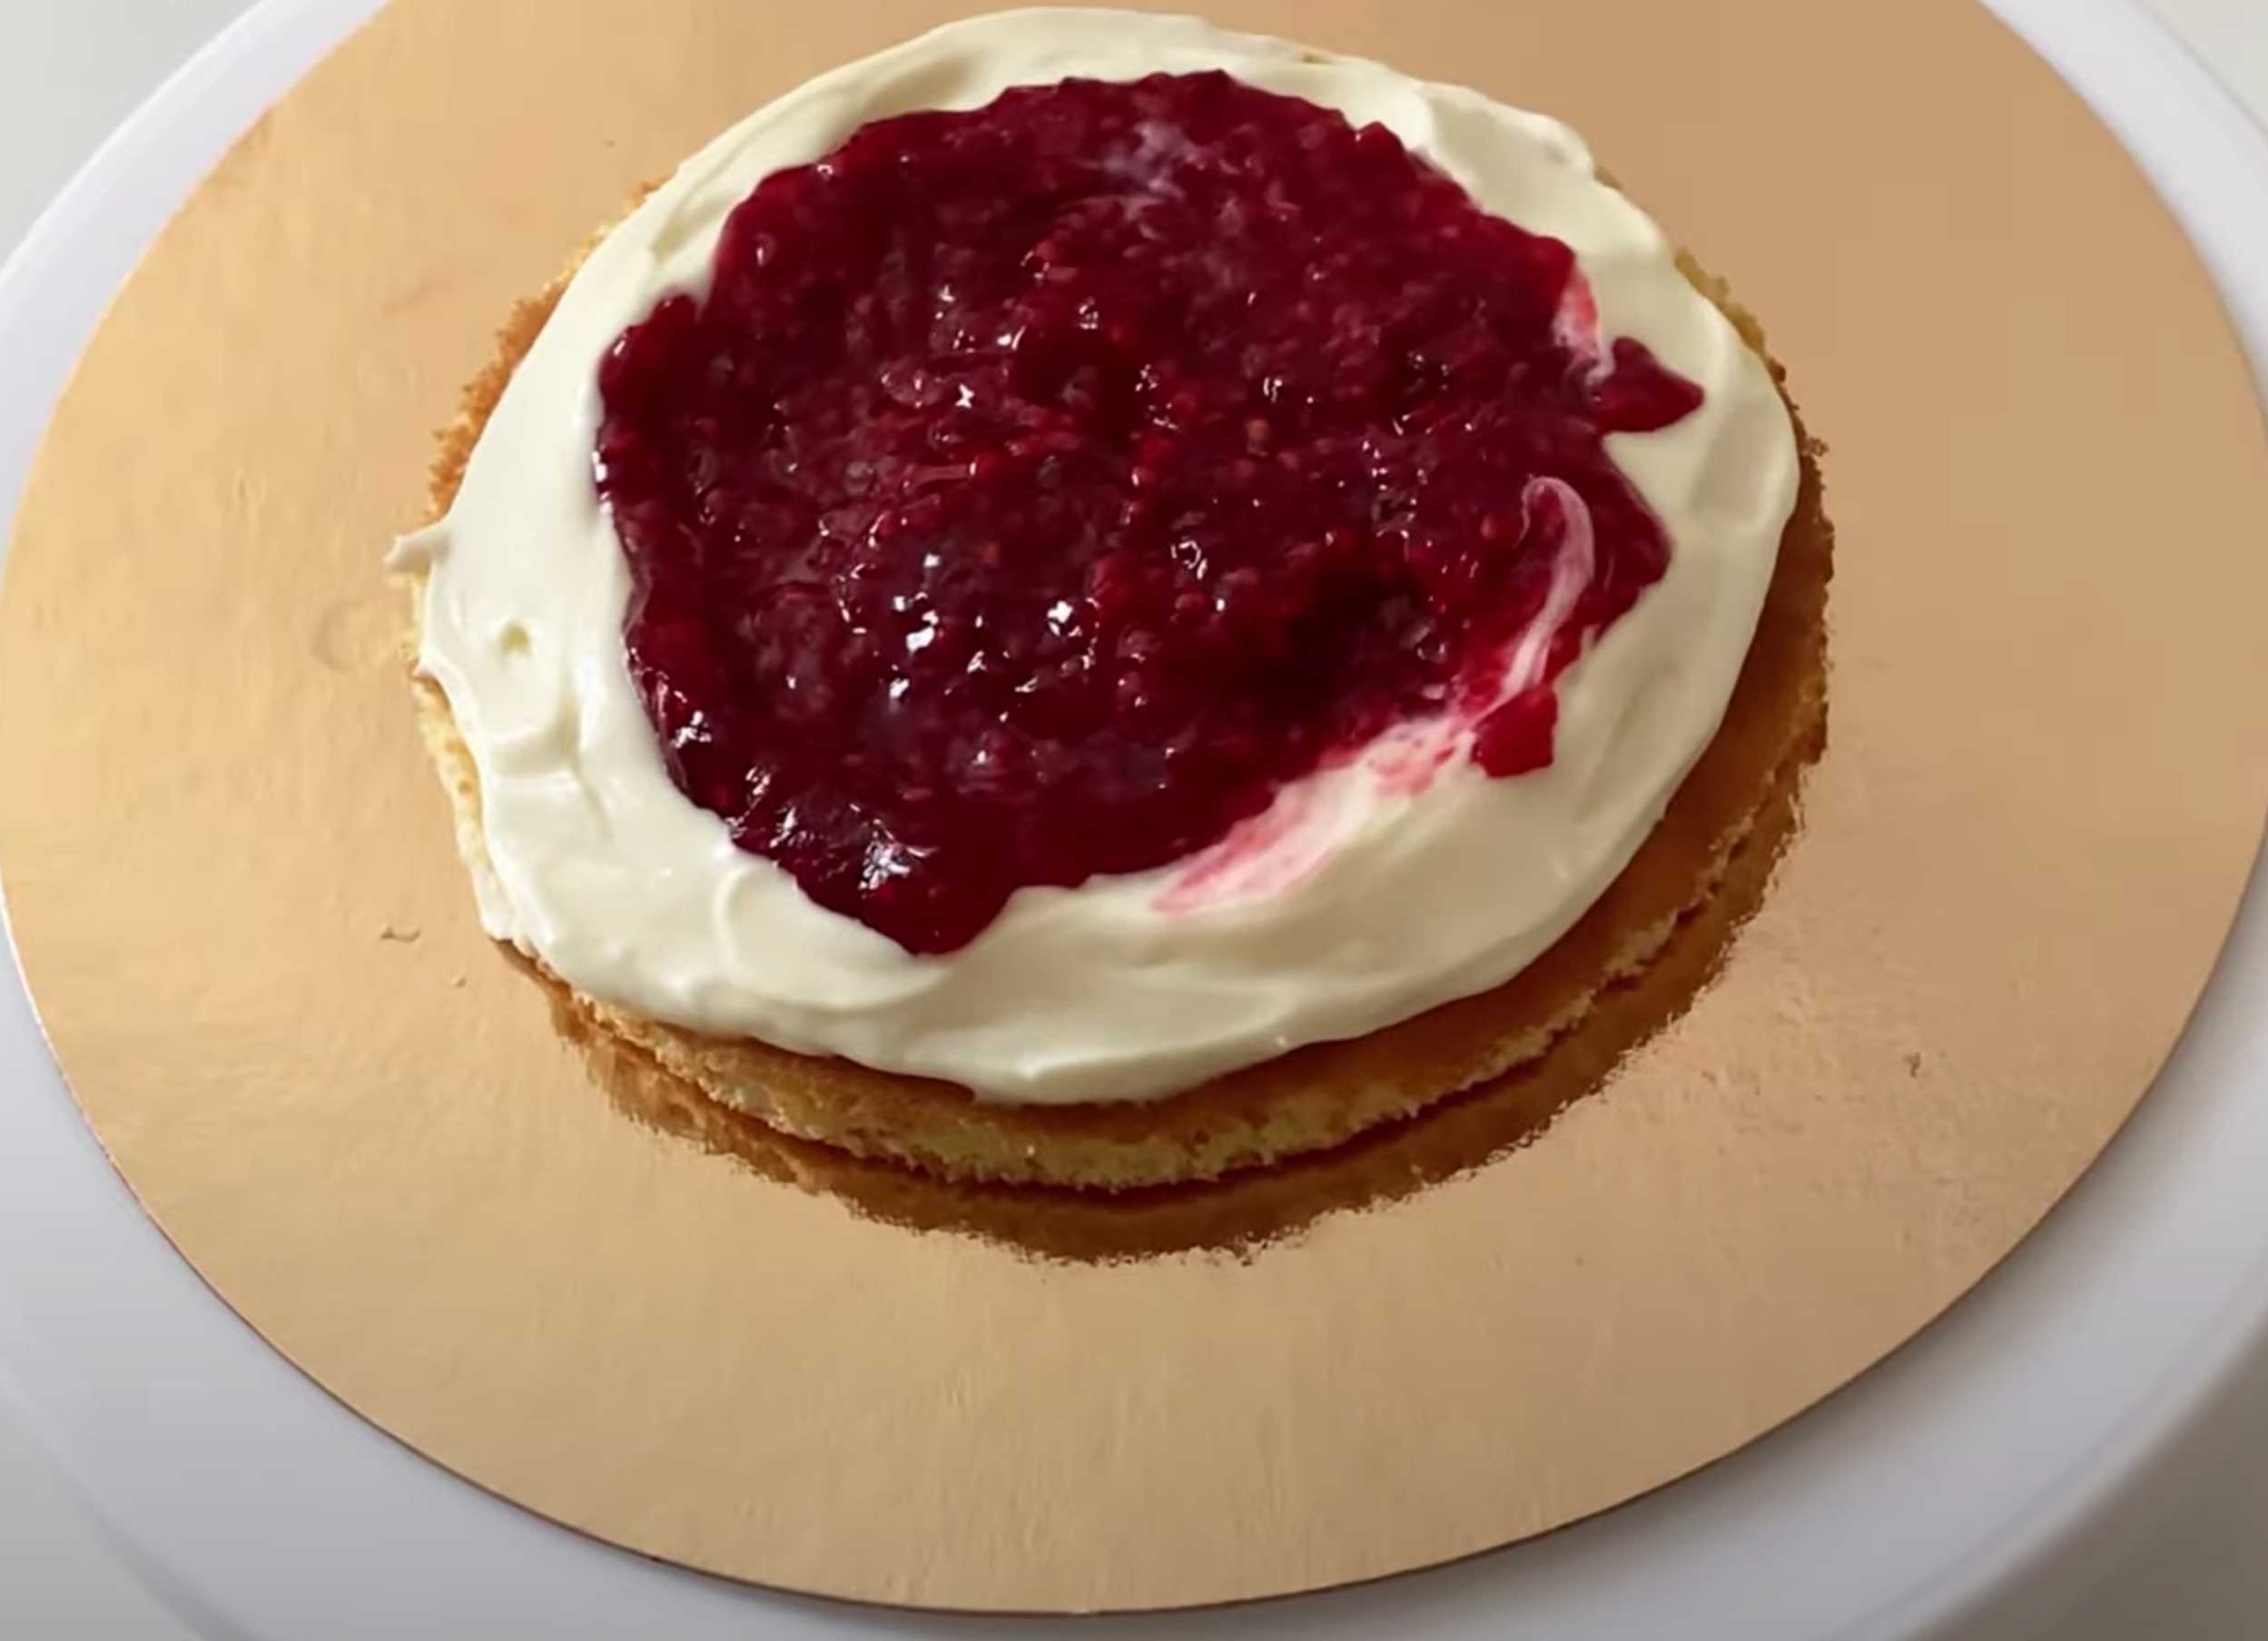 Fill the cavity with half of the filling and cover with another cake layer.
Step 12:
 Assemble the second cake in the same way.
Step 13:
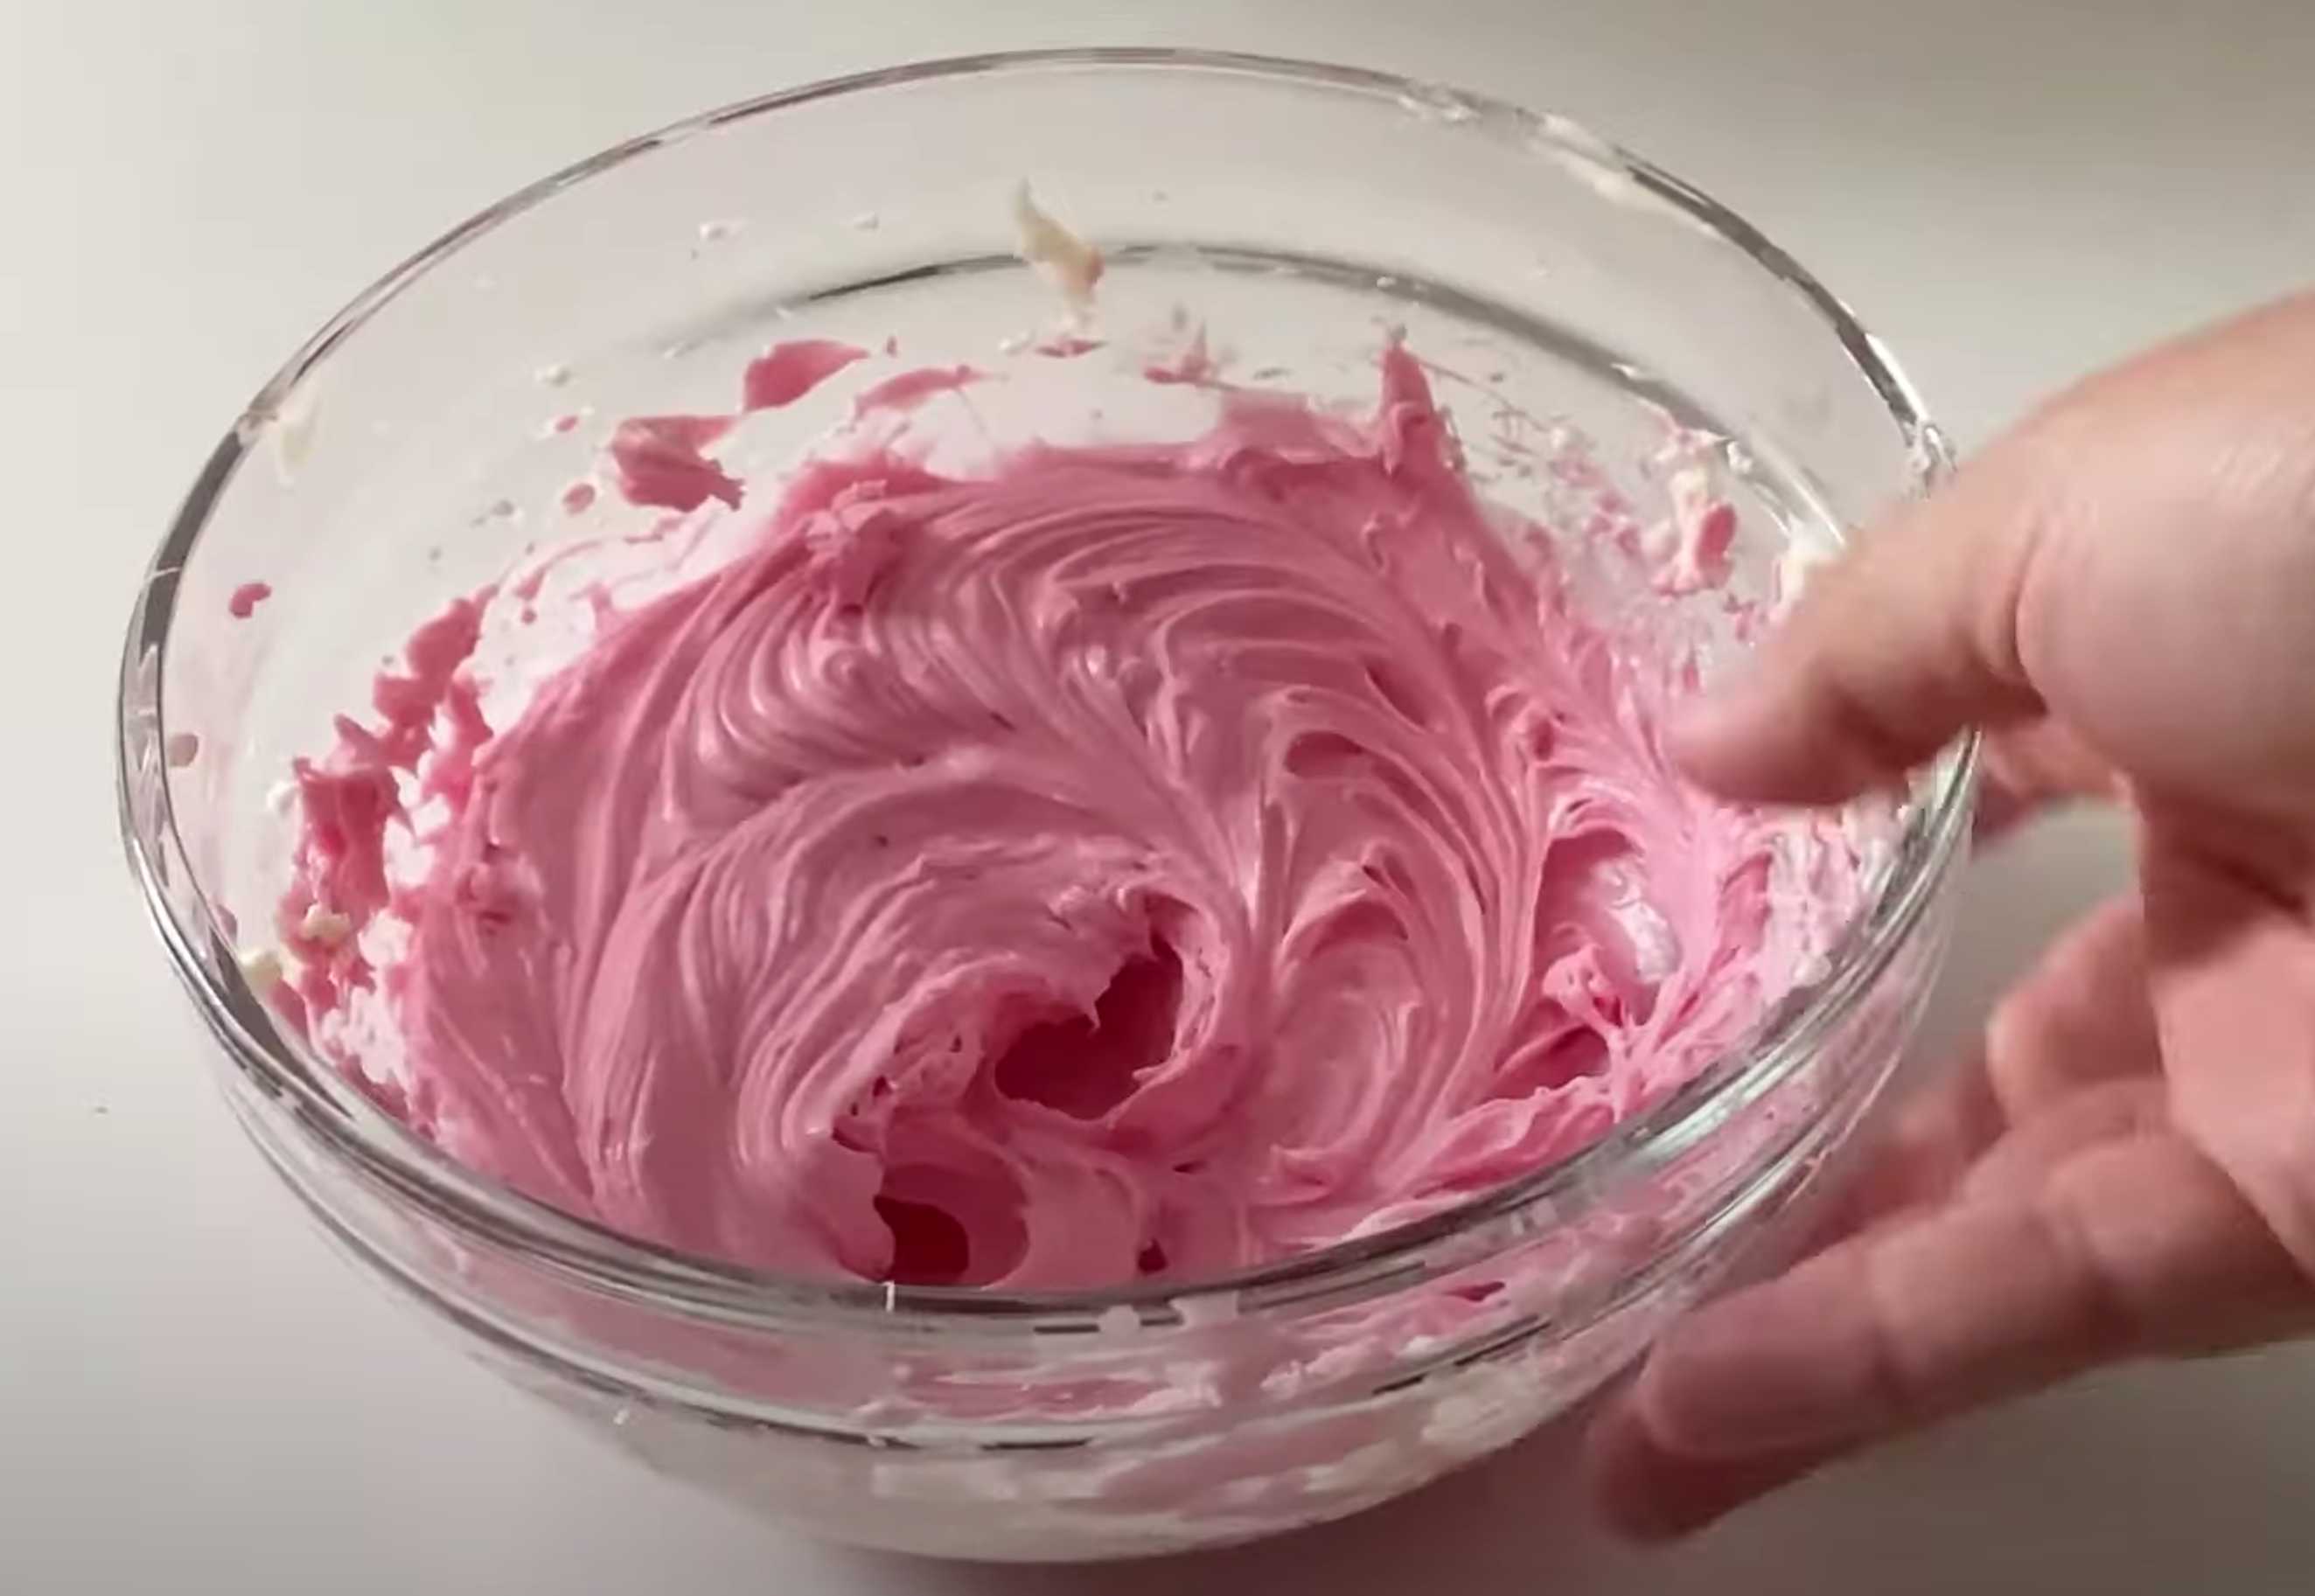 Divide the remaining cream into two parts. Add a little pink food coloring to one part and mix with a mixer.
Step 14:
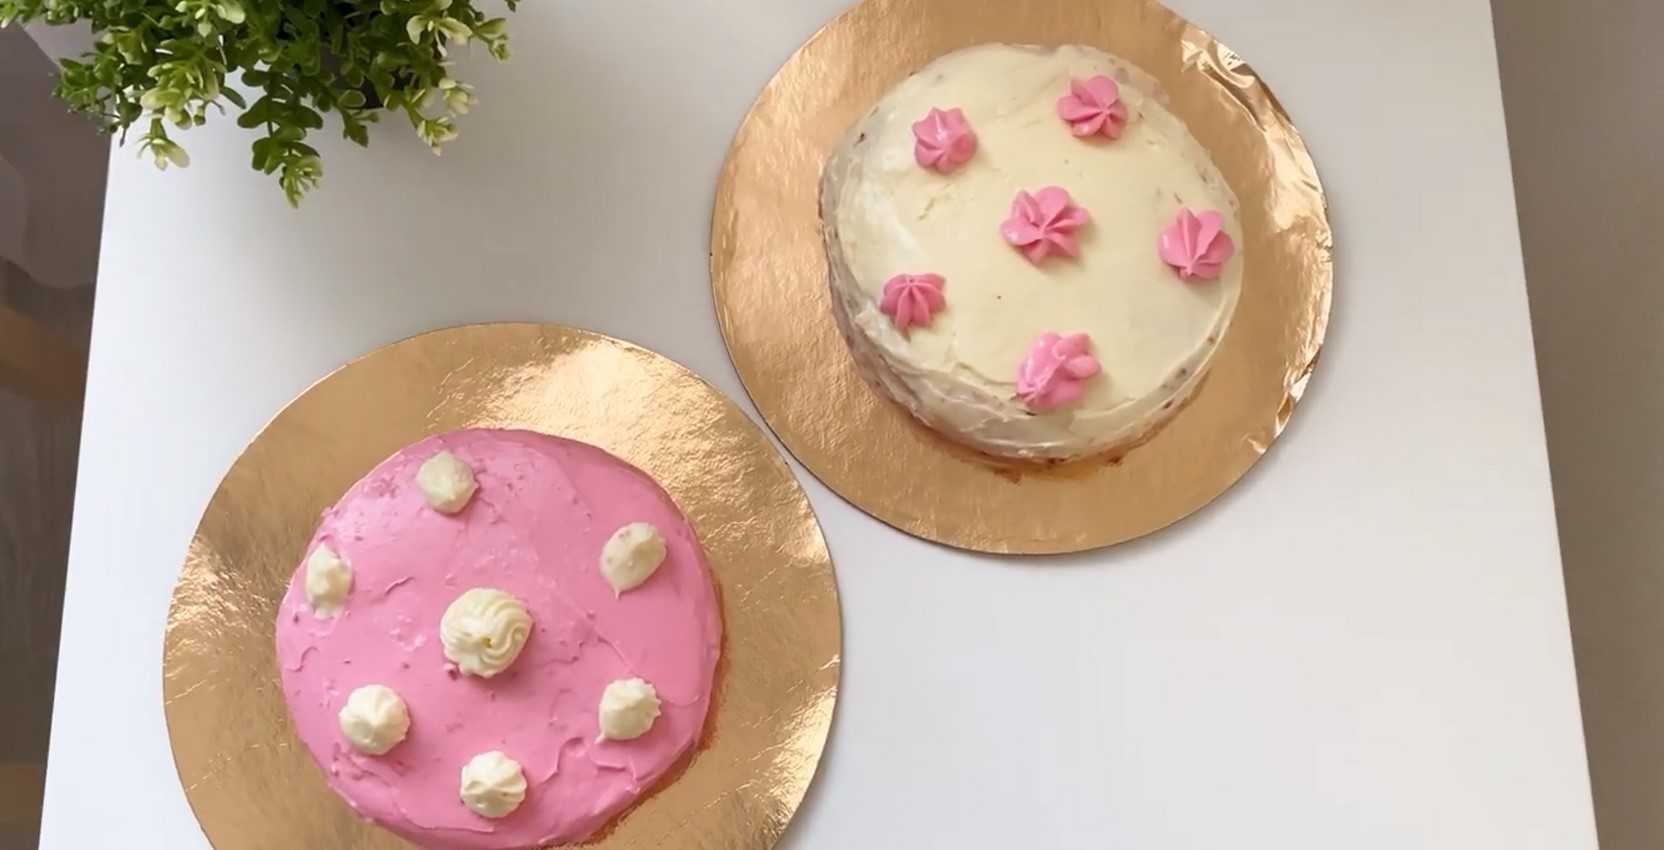
 Cover the cakes with cream on top and sides.
Step 15:
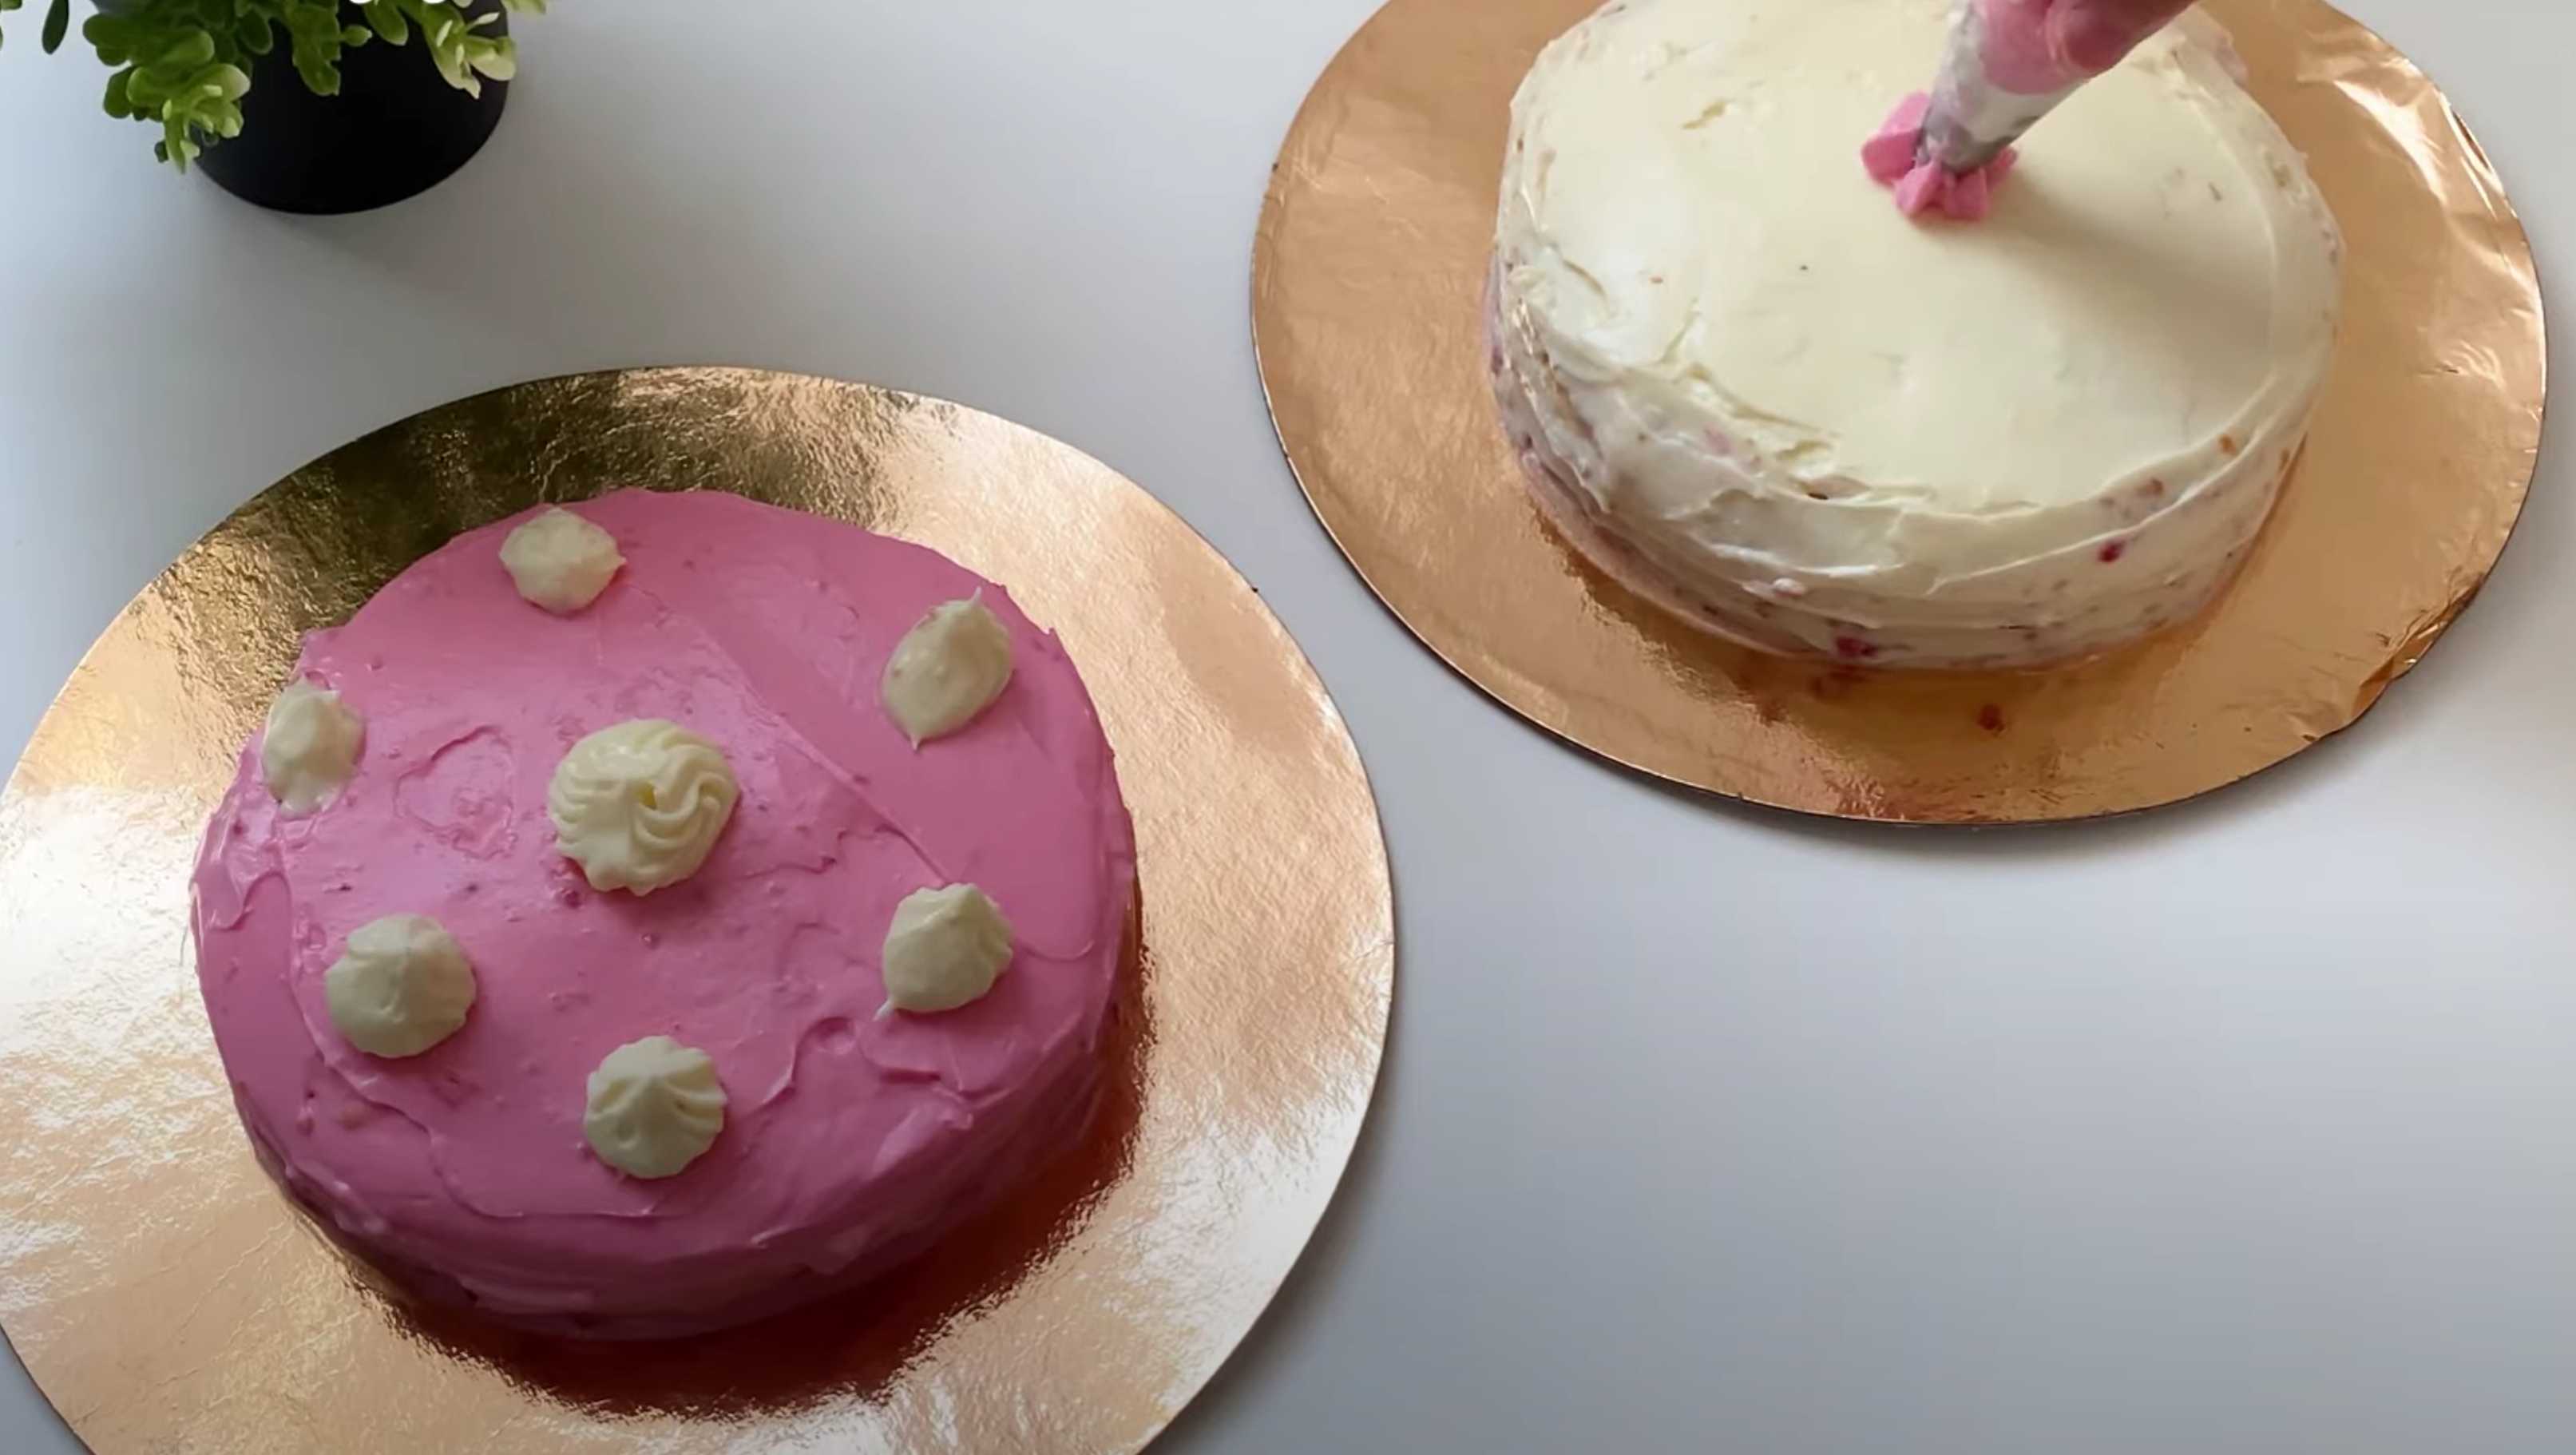 Using pastry tips, decorate the tops of the cakes with the remaining cream in opposite colors.
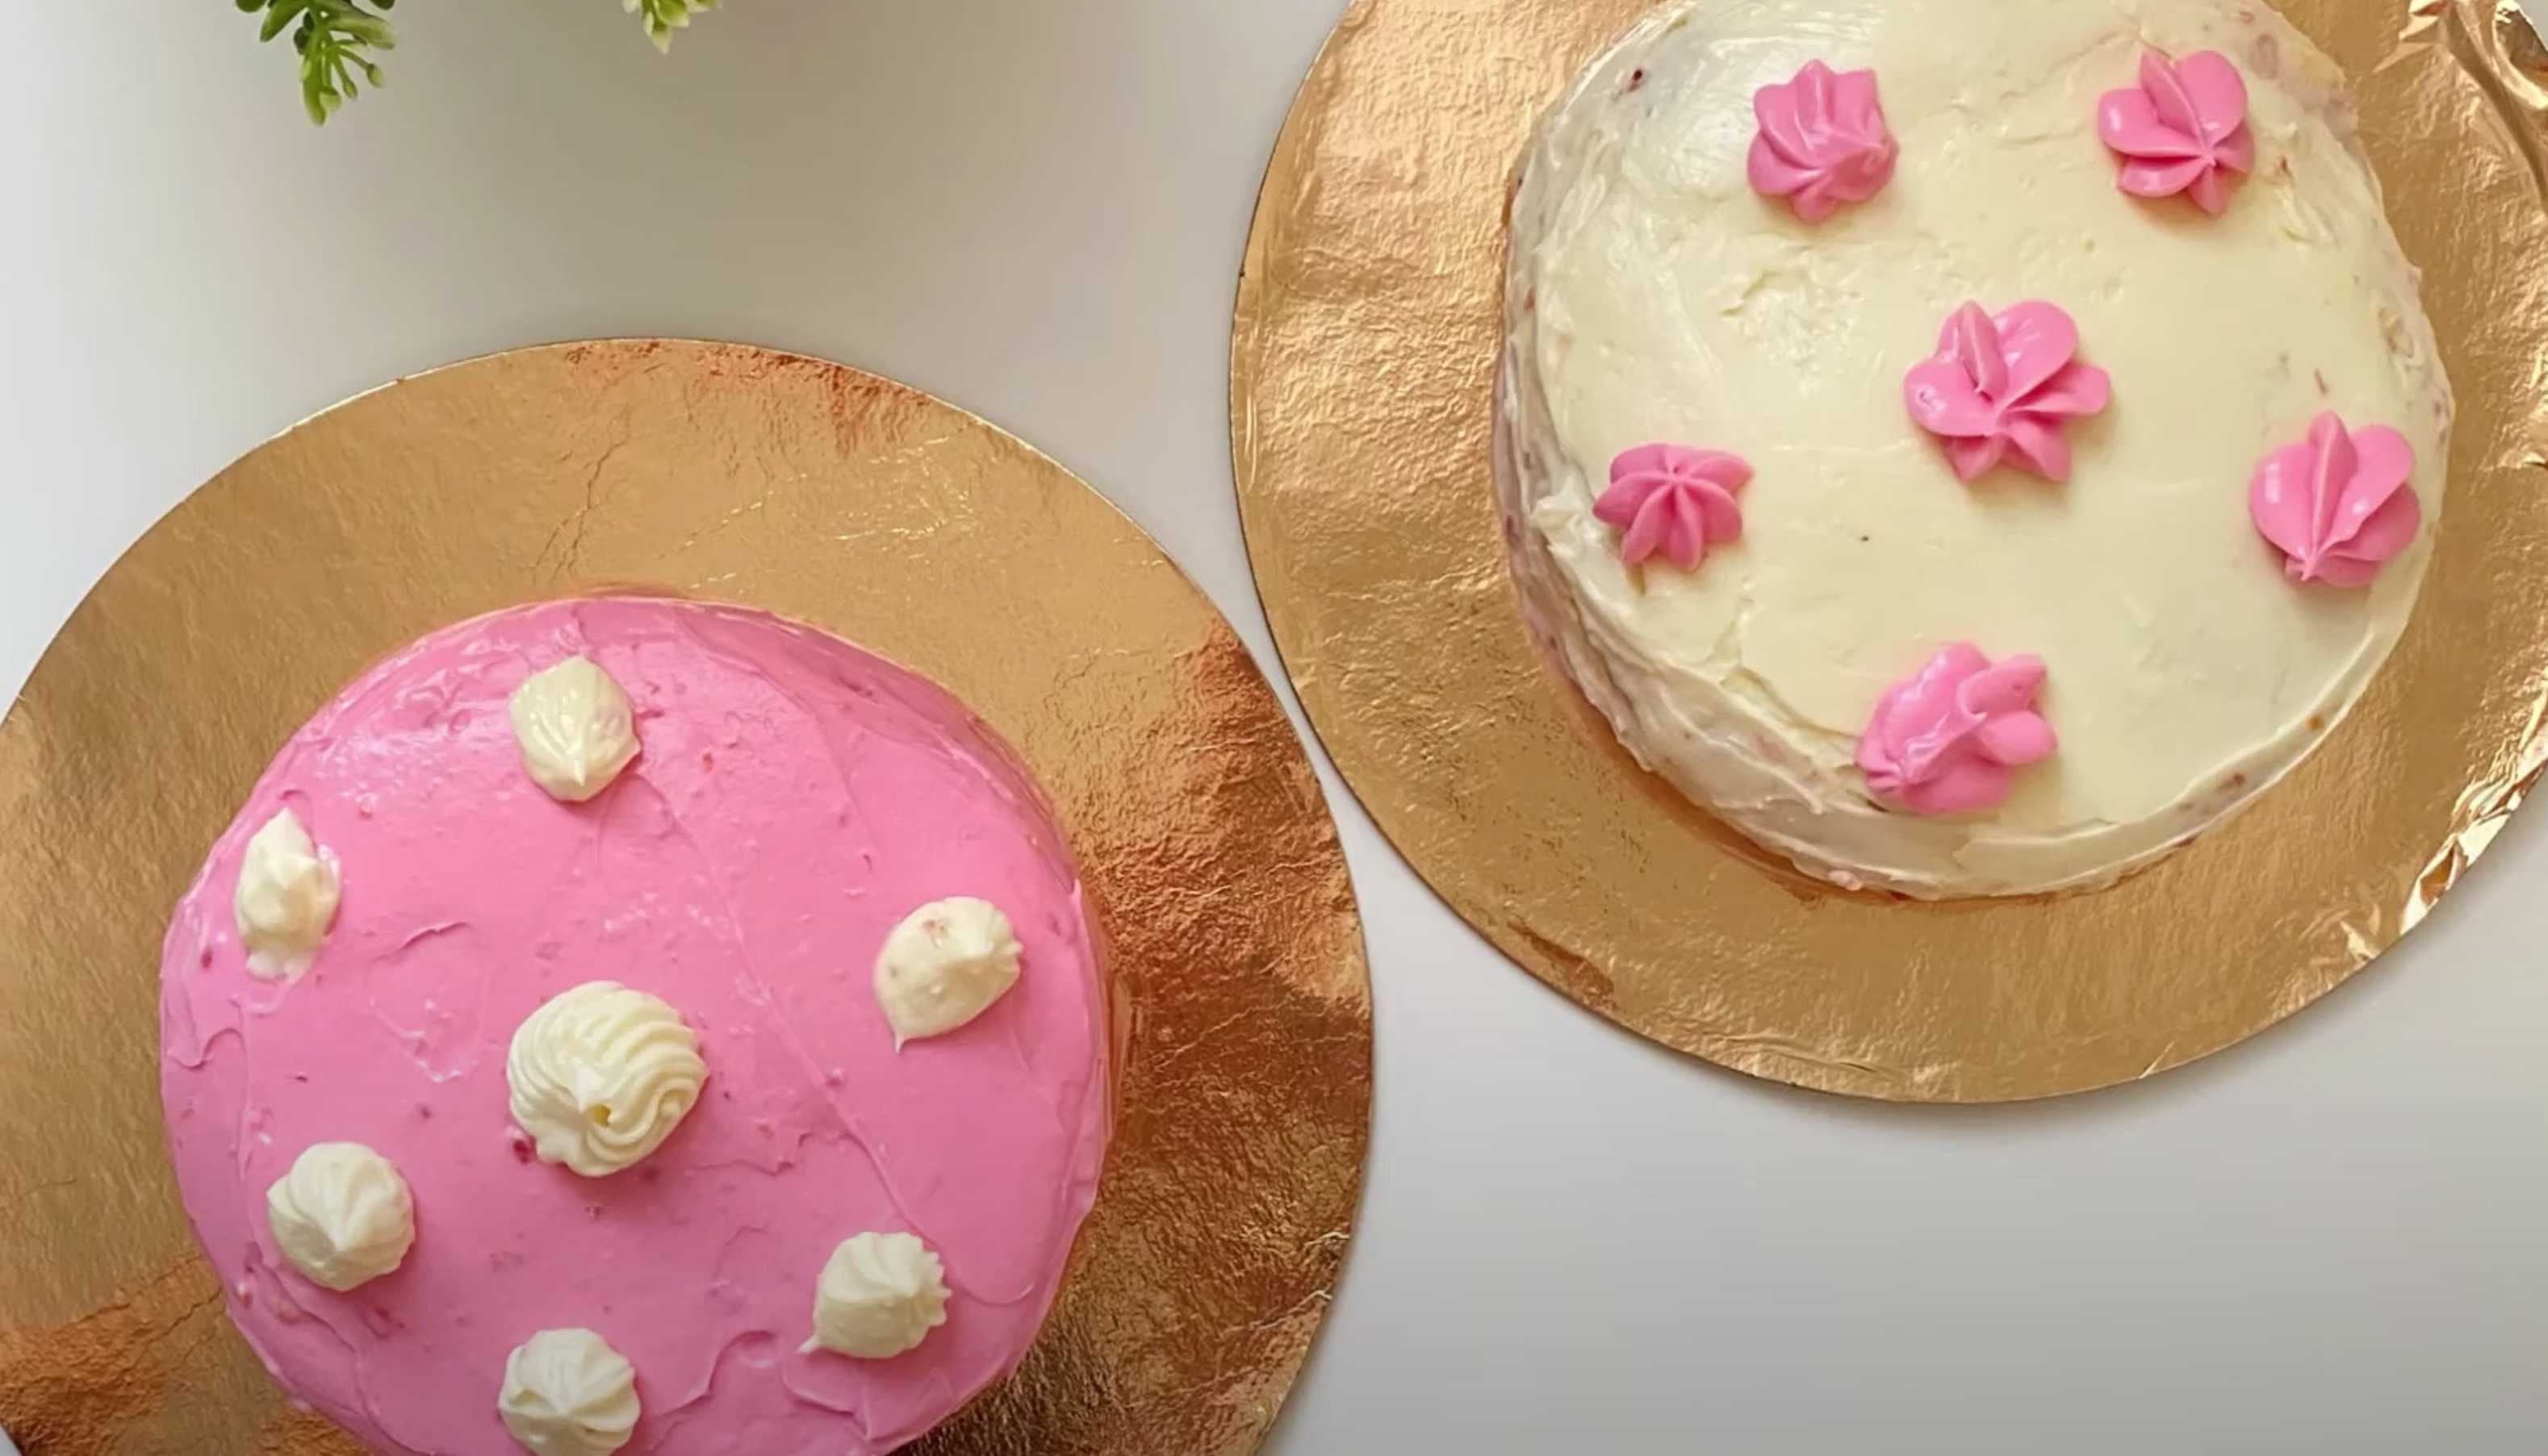
Cooking tips
Be careful with the finished sponge cake - if it breaks, it will be more difficult to assemble the cakes.
To secure the first cake layer on the plate, drop a little cream onto it.
If you cut the cakes into smaller diameters, the cakes will be taller.
You can use any other berry instead of raspberries.