How to Properly Carve a Halloween Pumpkin
Step-by-step instructions on how to carve a Halloween pumpkin
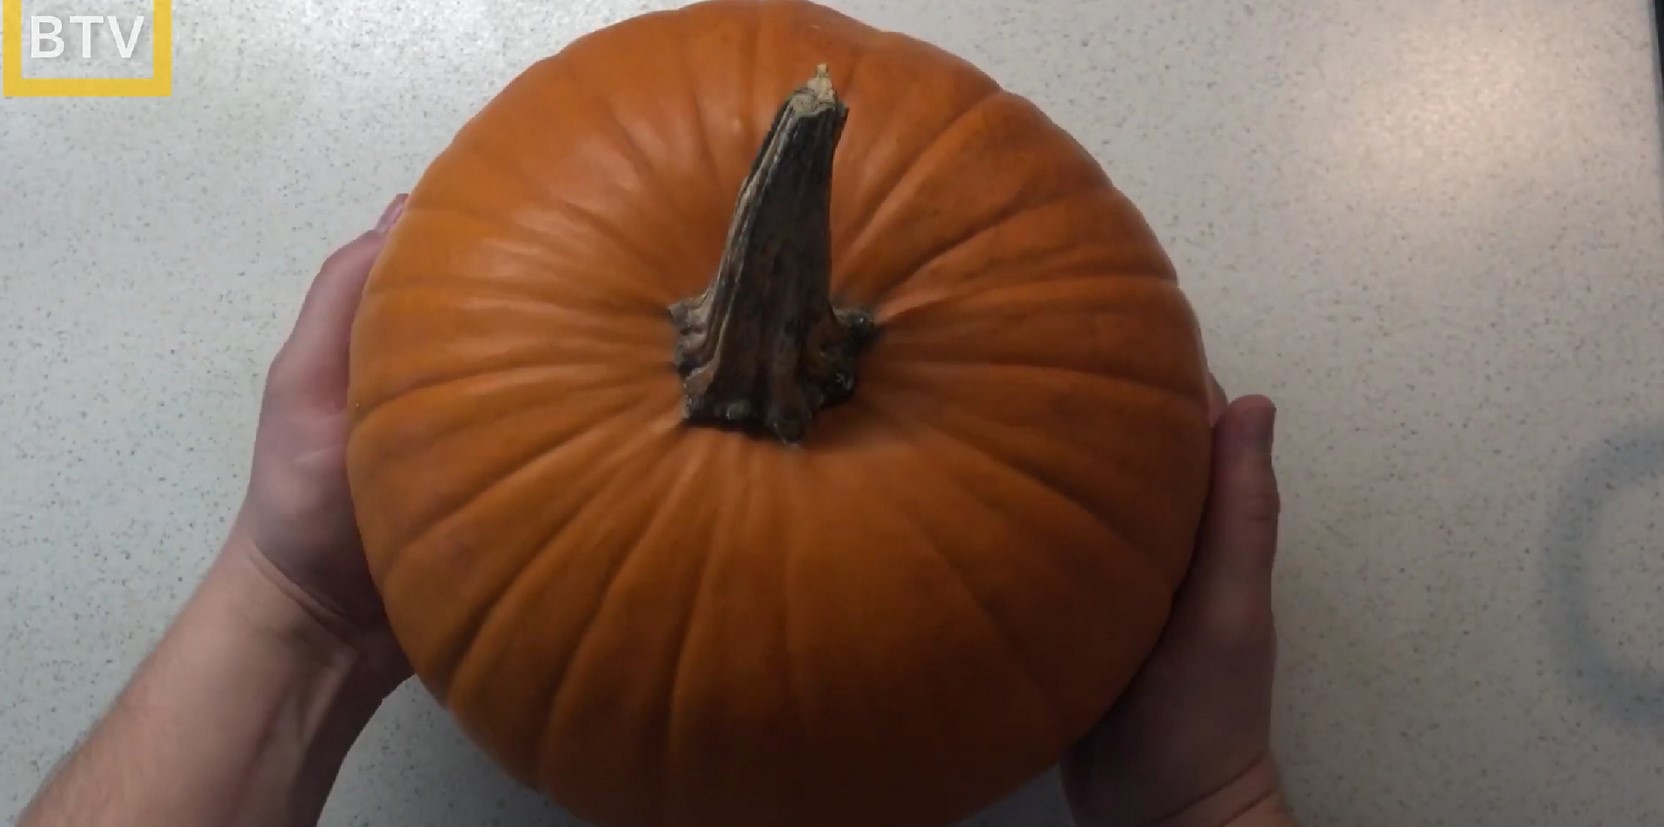
1. Prepare your workspace. Lay out all the necessary tools and place a sheet of newspaper or plastic film underneath to make it easier to clean up the remains of the pumpkin.
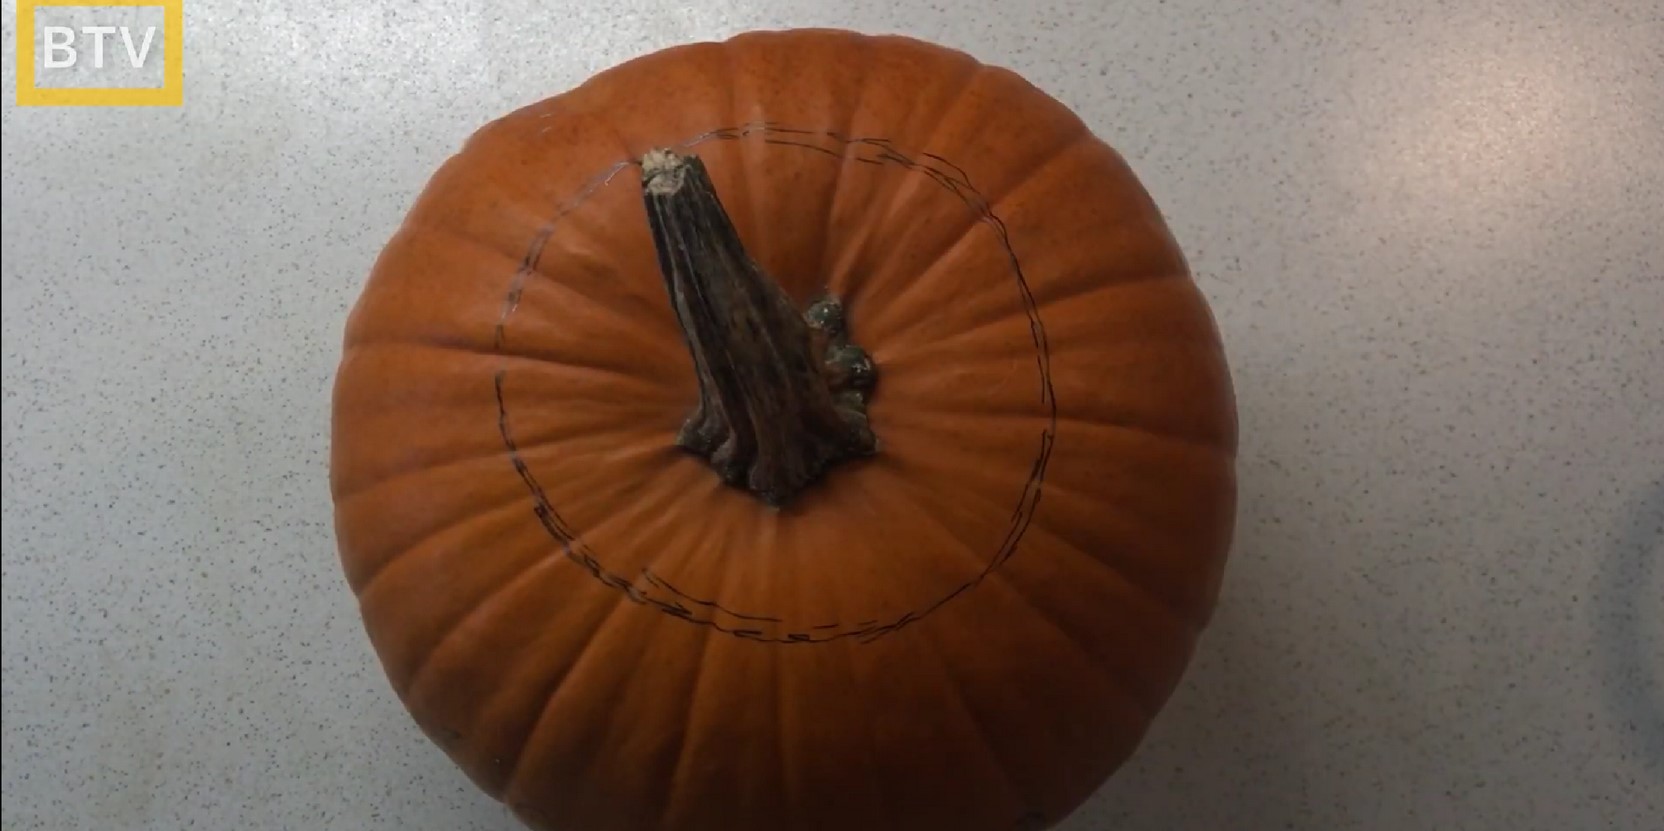
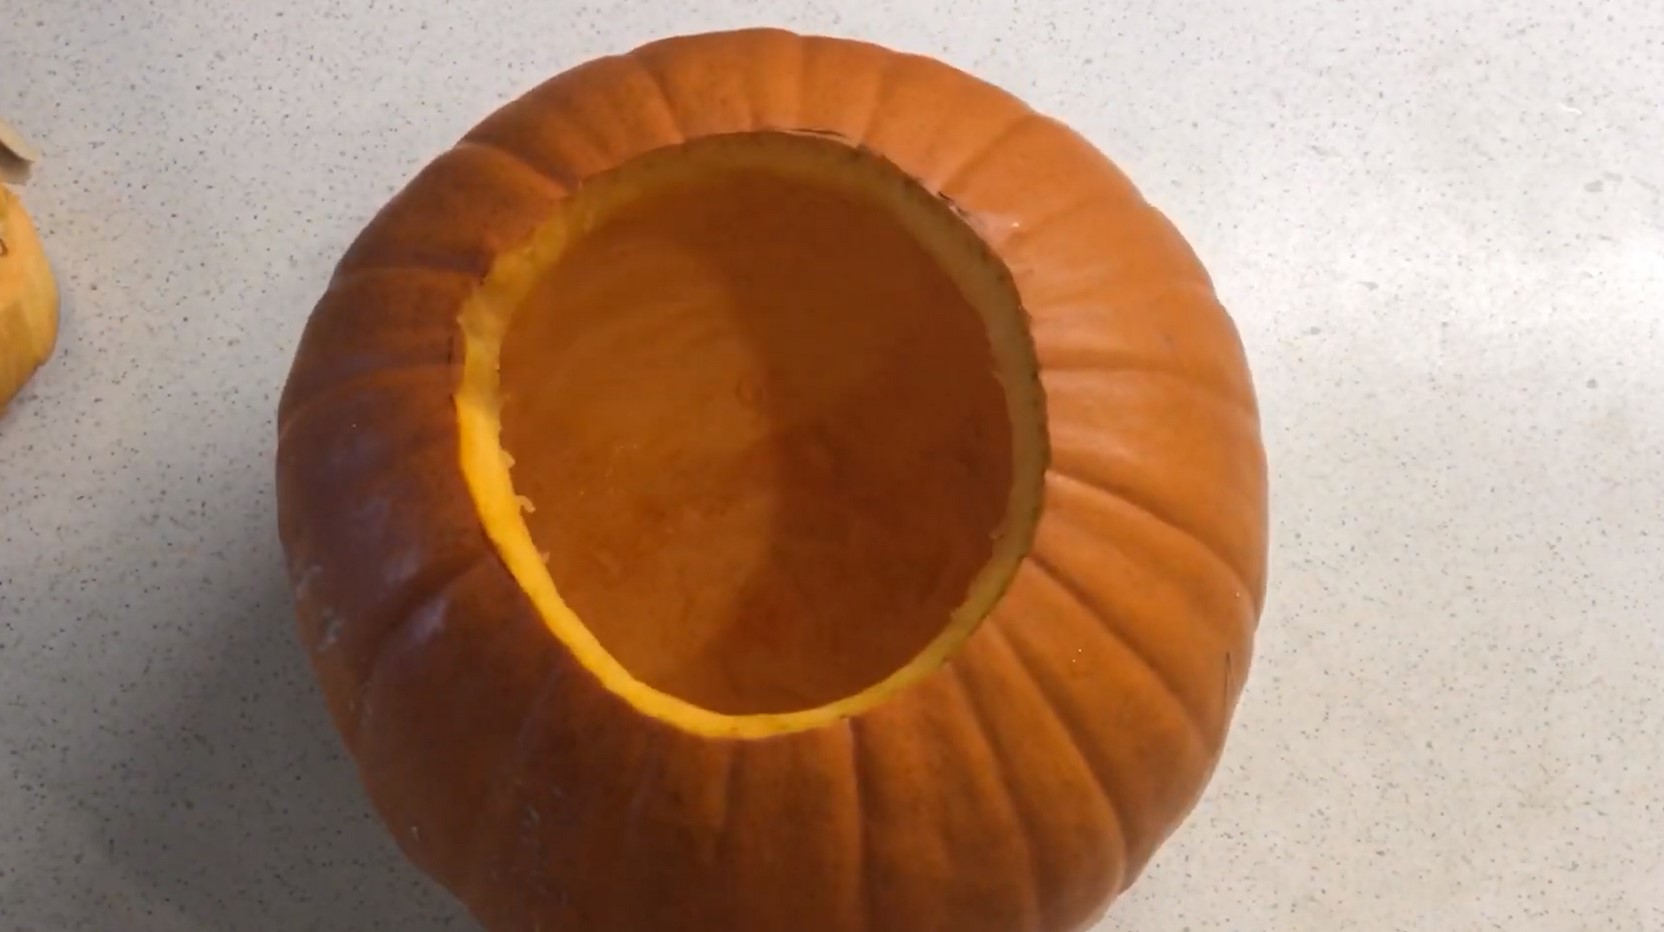
2. Cut off the top. Cut a lid out of the pumpkin—a circle around the stem with a diameter of about 10 cm. Hold the knife at an angle (tilt it inward) to prevent the lid from falling in. Remove the lid.
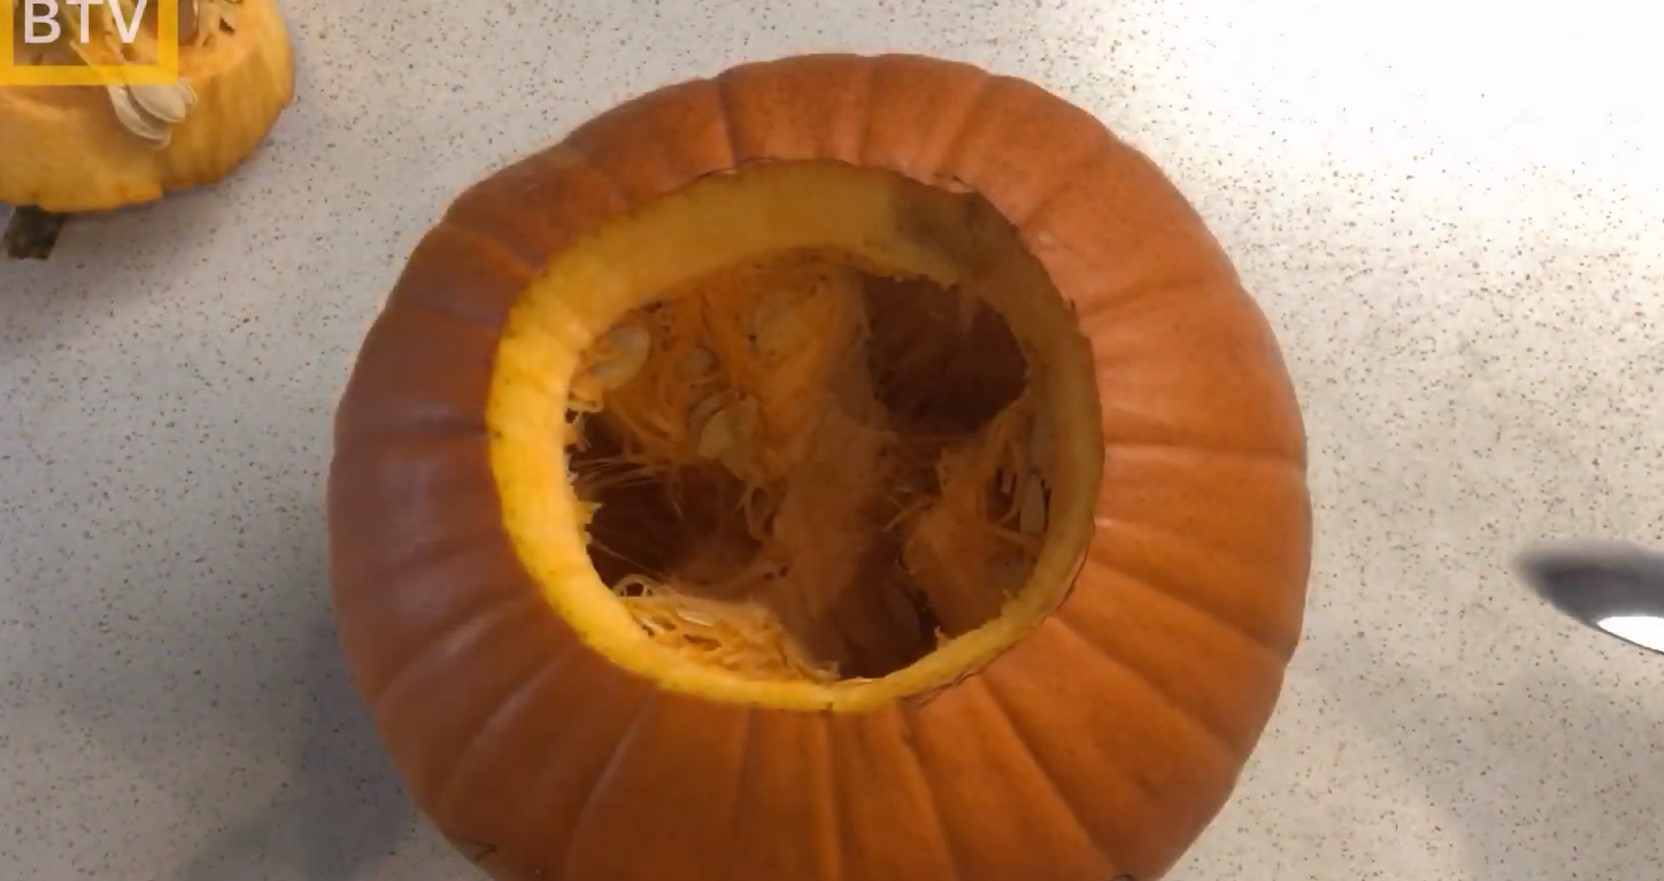
3. Clean out the insides. Use a spoon or ladle to remove the pulp and seeds. Try to remove as much pulp as possible—this will help the pumpkin last longer.
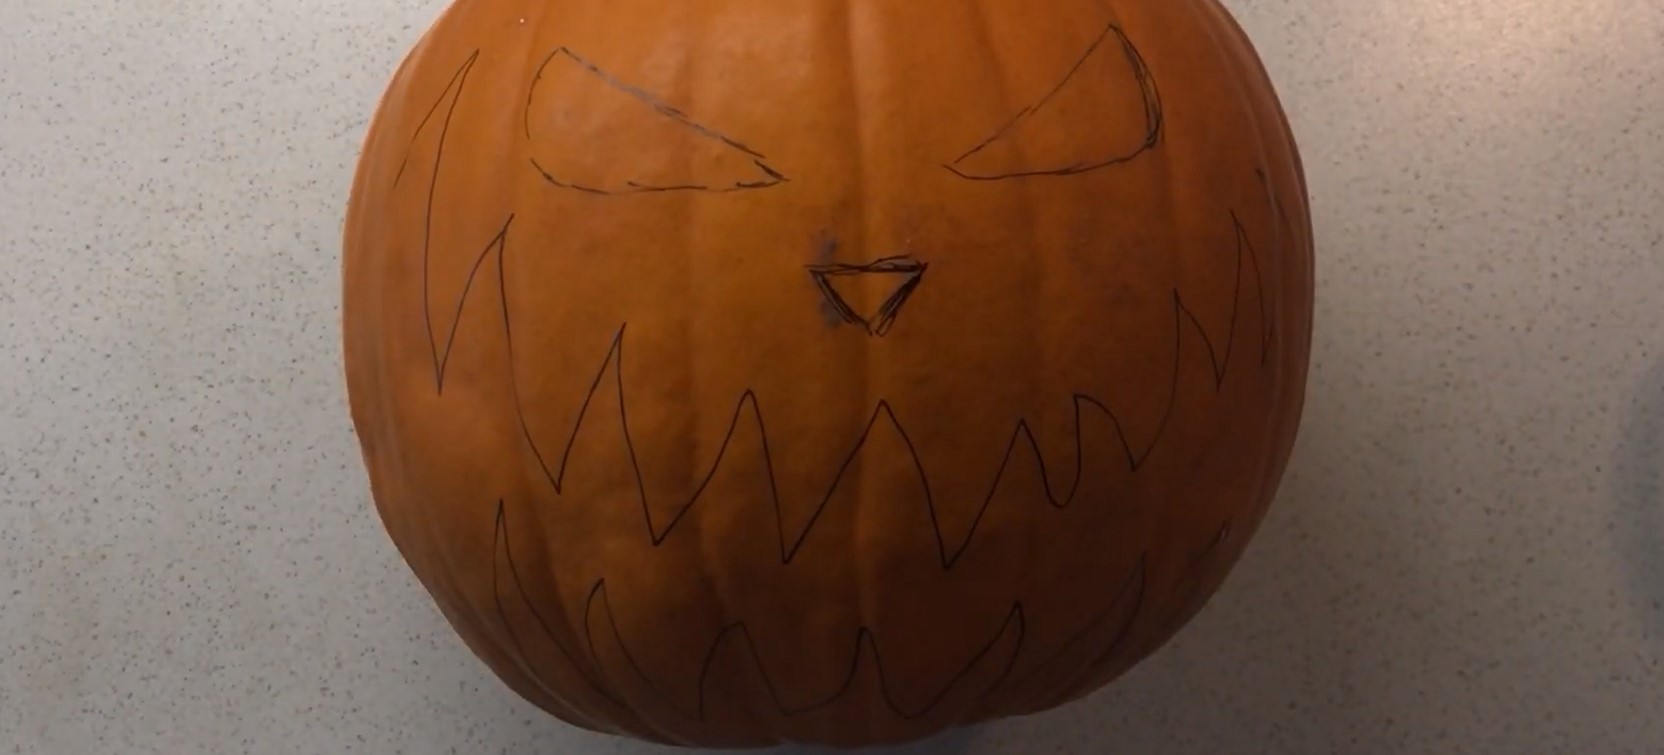
4. Draw the pumpkin's face. Using a marker, draw the eyes, nose, and mouth. You can go with the classic triangular eyes and zigzag mouth, or come up with your own. If you need a template, print it out and attach it to the pumpkin.
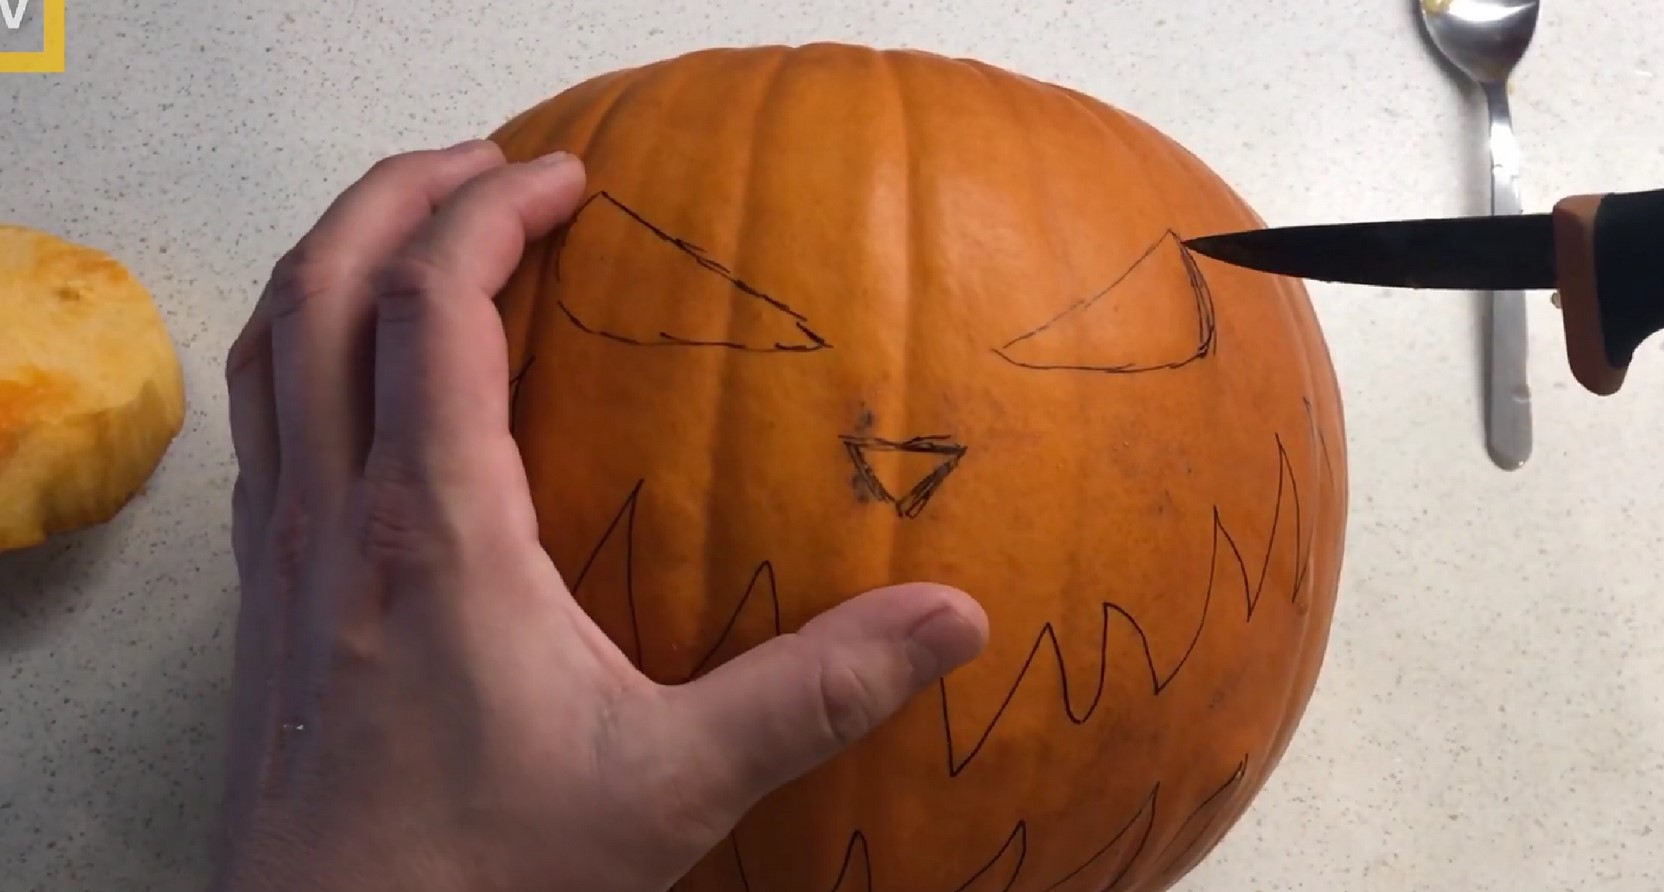
5. Cutting out the face. Cut along the lines you've drawn. First, make holes for the eyes, then for the nose, and finally for the mouth. Be careful, especially when working with small details—it's best to use a craft knife for these.
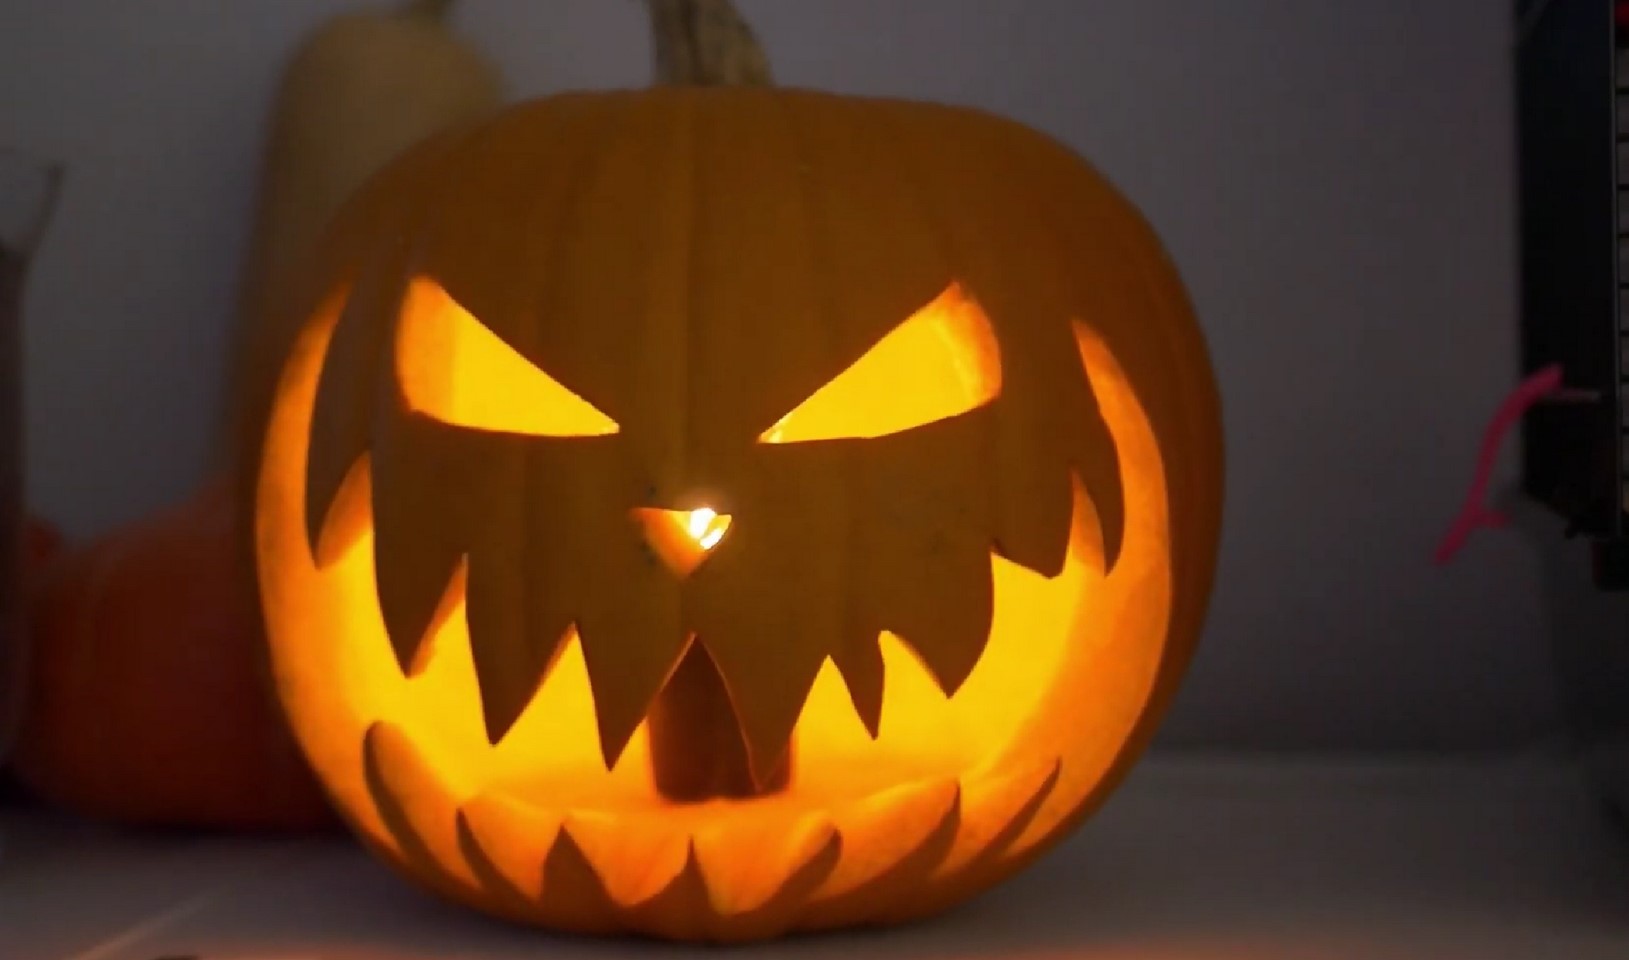
6. Wipe the pumpkin. Remove any debris from the surface and inside of the pumpkin to make the lantern look neat and glow better.
7. Place a candle or LED. Place a candle or lamp inside and light it. If using a candle, leave the lid open to allow air to circulate. If using a lamp, you can close the lid.
8. Decorate the pumpkin area. Place it in a visible place - in front of the entrance or on a windowsill.